No edit summary |
m (fixed image display issue) |
||
| Line 90: | Line 90: | ||
[[File:Sag_nj.hp.png]] | [[File:Sag_nj.hp.png]] | ||
[[ | [[File:Sag_nj.lp.png]] | ||
nj.[[File:Mp.png]]- has great air to air priority when out. | nj.[[File:Mp.png]]- has great air to air priority when out. | ||
Revision as of 06:18, 6 August 2021
Introduction
Feared throughout his homeland and beyond, Sagat reigned supreme until his narrow defeat at Ryu's hands. Humiliated and honorless, Sagat vows revenge at any cost. The tenacious tiger now stands on a new battlefield.
Sagat isn't easy to use, but is very good once you get him down. He's more for someone who likes to zone/turtle, as he doesn't really have much of a rush down ability. But when he hits you, it hurts.
Pros:
- Far reach
- Great anti-air
- Pure Power
- Versatile CC
Cons:
- Big
- Slow speed
- Normal are laggy and slow
Character Overview
Moves List
Normal Moves
STANDING
![]() - slow elbow to the face, not any real frame advantage.
- slow elbow to the face, not any real frame advantage.
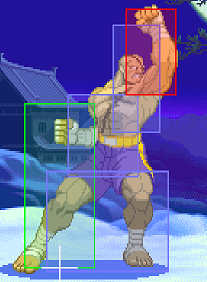
![]() - use up close to combo into tiger uppercut, most characters can duck this, doubles as a close anti-air, but comes out a bit slow.
- use up close to combo into tiger uppercut, most characters can duck this, doubles as a close anti-air, but comes out a bit slow.
![]() - Anti-jump and anti-air. Very good priority. Use to smack someone jumping from afar.
- Anti-jump and anti-air. Very good priority. Use to smack someone jumping from afar.
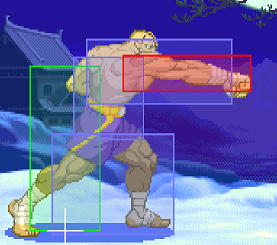
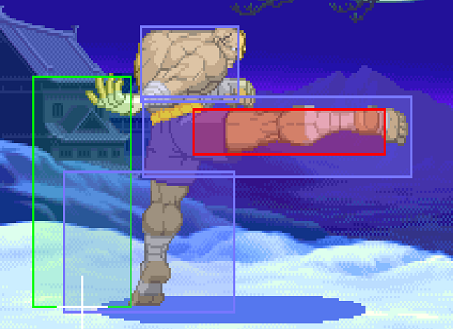
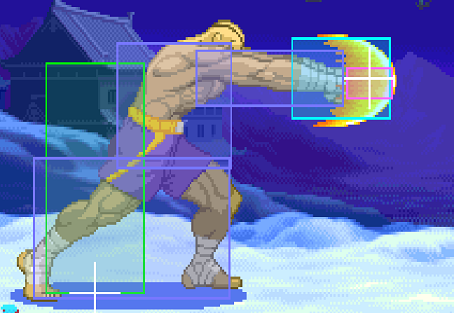
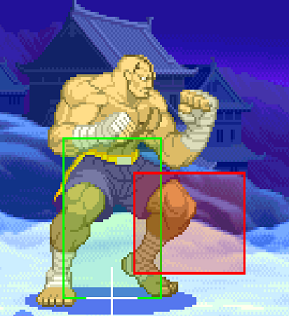
![]() - good range, but slow to come out and no real frame advantage, decent poke.
- good range, but slow to come out and no real frame advantage, decent poke.
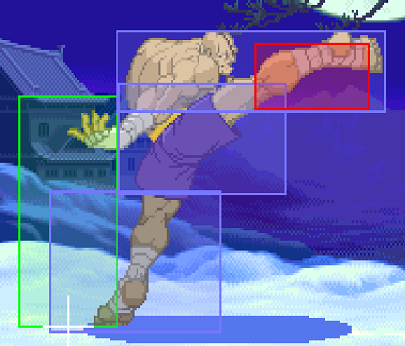
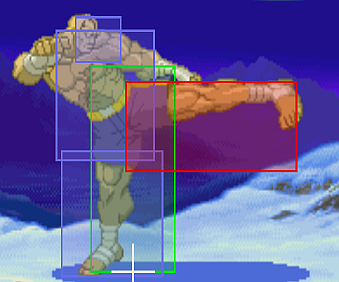
![]() - far ranged poke, whose real use is as a far anti-air. Be careful because if blocked on the ground (or hit) it can be reversal cc’s.
- far ranged poke, whose real use is as a far anti-air. Be careful because if blocked on the ground (or hit) it can be reversal cc’s.
CROUCHING
cr.![]() - slow, useless jab compared to cr.lk.
- slow, useless jab compared to cr.lk.
cr.![]() - decent priority, cancels into specials or super.
- decent priority, cancels into specials or super.
cr.![]() - powerful hit with decent priority.
- powerful hit with decent priority.
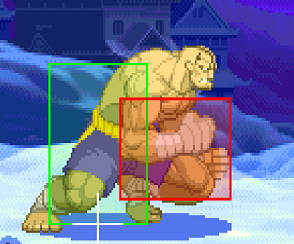
cr.![]() - offers small frame advantage and can link into itself, useful poke up close.
- offers small frame advantage and can link into itself, useful poke up close.
cr.![]() - far reaching low hit, slow recovery, good when spaced.
- far reaching low hit, slow recovery, good when spaced.
cr.![]() - slow sweep, your main cc starter.
- slow sweep, your main cc starter.
JUMPING
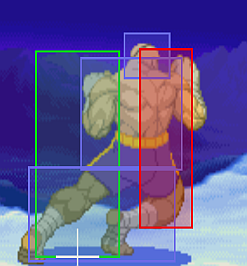
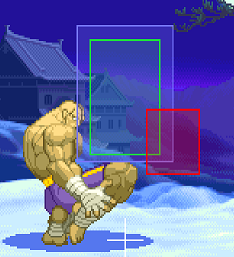
Jumping ![]() (Neutral jump)
(Neutral jump)
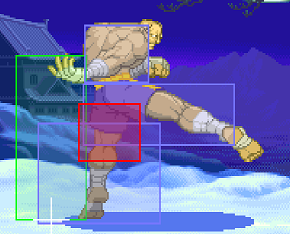
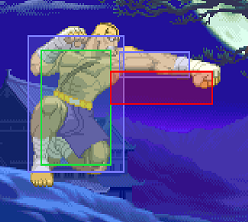
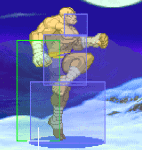
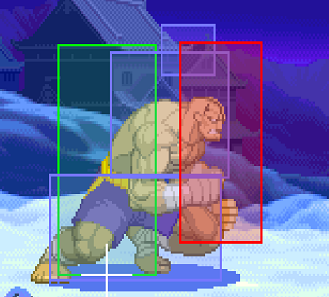
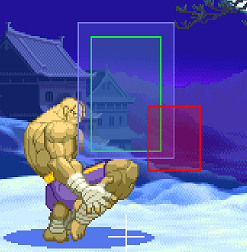
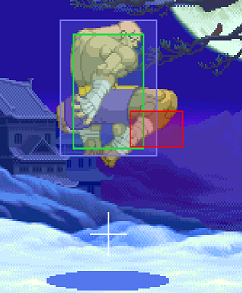
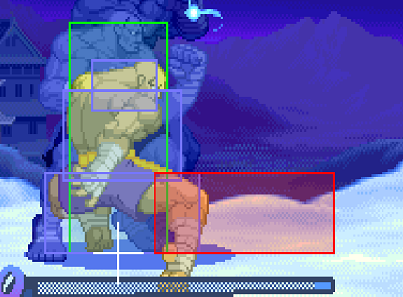
nj.![]() - has great air to air priority when out.
- has great air to air priority when out.
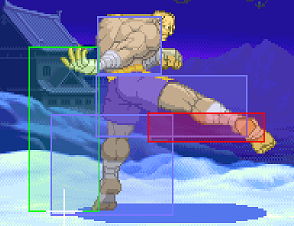
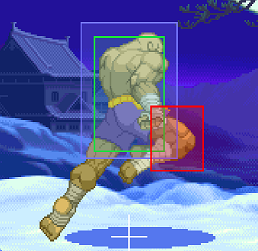
nj.![]() - great air-to-air, jump in, his universal air move.
- great air-to-air, jump in, his universal air move.
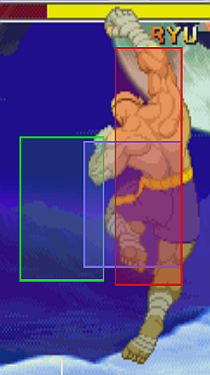
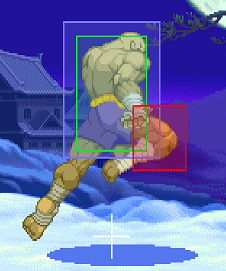
dj.![]() - has great air to air priority when out. Same as NJ
- has great air to air priority when out. Same as NJ ![]()
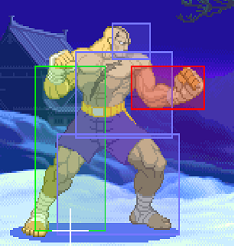
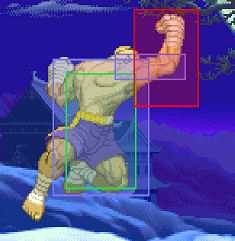
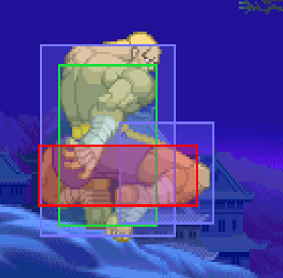
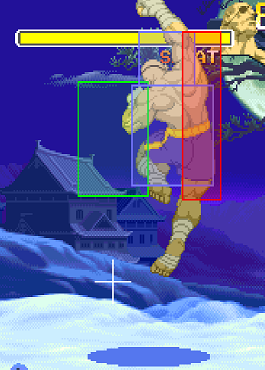
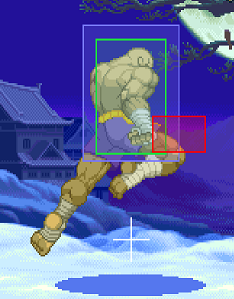
dj.![]() - His cross up, must be close.
- His cross up, must be close.
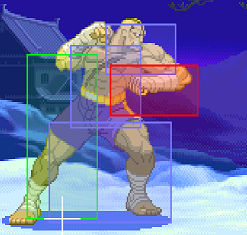
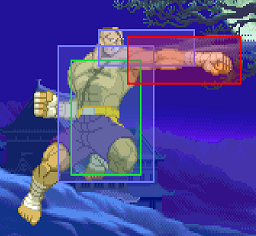
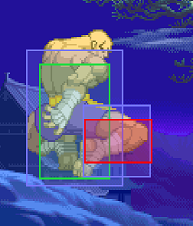
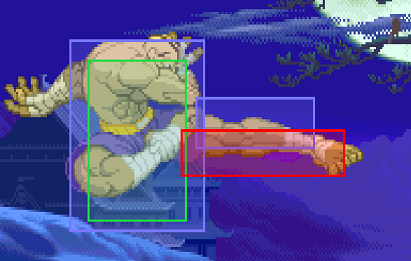
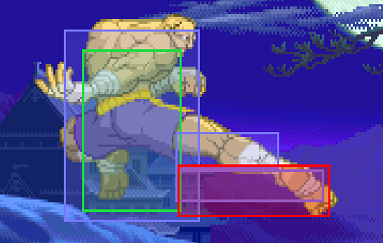
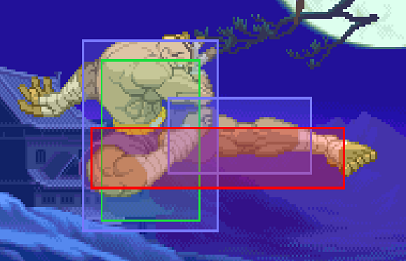
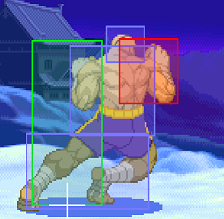
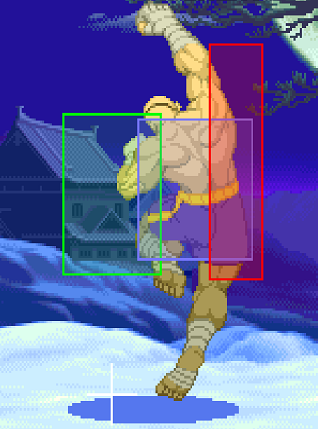
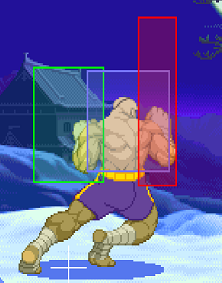
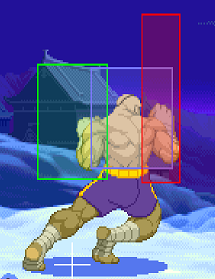
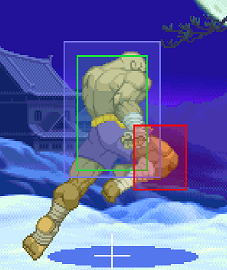
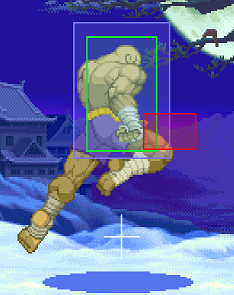
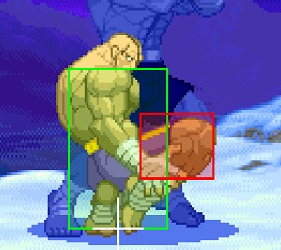
dj.![]() - Based on the hitbox, this thing -must- be able to crossup.
- Based on the hitbox, this thing -must- be able to crossup.
dj.![]() - great air-to-air, jump in, his universal air move. Same as NJ
- great air-to-air, jump in, his universal air move. Same as NJ ![]()
Command Moves
![]() ,
,![]() - (must be done QUICK)Fake Kick. No real use, and hard as hell to do. Basically a
- (must be done QUICK)Fake Kick. No real use, and hard as hell to do. Basically a ![]() fake (only does first half of his
fake (only does first half of his ![]() animation)
animation)
Normal Throws
![]() /
/![]() +
+![]()
![]() - Mash to get more hits, pathetic damage.
- Mash to get more hits, pathetic damage.
Alpha Counters
![]() +
+![]() - A powerful, single hit tiger uppercut. Use when close or vs air attacks.
- A powerful, single hit tiger uppercut. Use when close or vs air attacks.
![]() +
+![]() - A very fast mid kick, safer than his punch AC, but not as strong. use vs ground or air.
- A very fast mid kick, safer than his punch AC, but not as strong. use vs ground or air.
Special Moves
![]() +
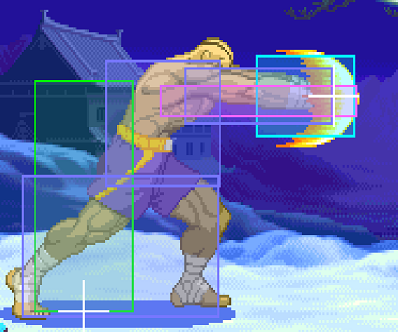
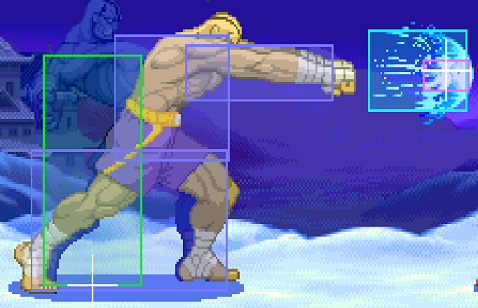
+![]() - Tiger Shot (high). Punch version goes high (actually goes over Sakura's fireball).
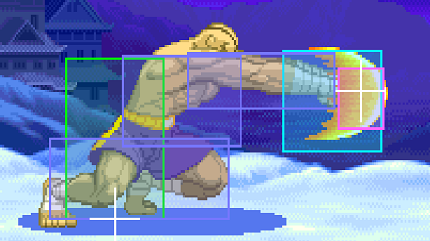
- Tiger Shot (high). Punch version goes high (actually goes over Sakura's fireball).
![]() +
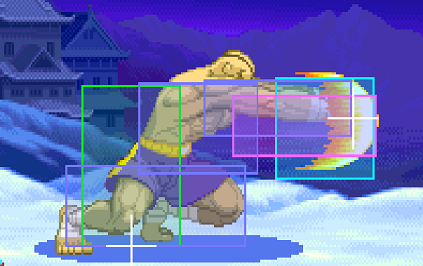
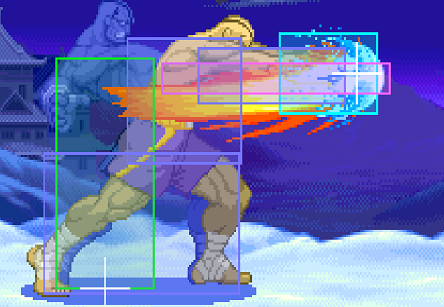
+![]() - Tiger Shot (low). Kick version goes low. Kick version will be used the most, and is his main zoning tool from afar. Starts far in front of sagat because of his animation, and does good damage.
- Tiger Shot (low). Kick version goes low. Kick version will be used the most, and is his main zoning tool from afar. Starts far in front of sagat because of his animation, and does good damage.
![]() +
+![]() - Tiger Blow, formerly known as Tiger Uppercut. Hp does massive damage when done deep as AA or on the ground, I wanna say roughly 20% damage. Always do deep tiger uppercuts for AA when possible.
- Tiger Blow, formerly known as Tiger Uppercut. Hp does massive damage when done deep as AA or on the ground, I wanna say roughly 20% damage. Always do deep tiger uppercuts for AA when possible.
![]() +
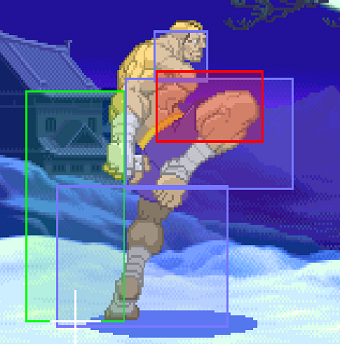
+![]() - Tiger Crush, formerly known as Tiger Knee. Use to advance quickly, or combo into. 2-hits blocked is safe, 1-hit blocked (or hit) can be punished, but is extremely hard to, leading to set-ups.
- Tiger Crush, formerly known as Tiger Knee. Use to advance quickly, or combo into. 2-hits blocked is safe, 1-hit blocked (or hit) can be punished, but is extremely hard to, leading to set-ups.
Super Combos
![]() ,
,![]() +
+![]() - Tiger Cannon. Awesome super to use in fireballs fights, not much use other than that.
- Tiger Cannon. Awesome super to use in fireballs fights, not much use other than that.
![]() ,
,![]() +
+![]() - Tiger Genocide. Only lvl 3 is worth it when comboed into, does massive damage.
- Tiger Genocide. Only lvl 3 is worth it when comboed into, does massive damage.
![]() ,
,![]() +
+![]() - Tiger Raid. Safe super to wake up with at lvl 2 or higher, very comboable. Safe on block.
- Tiger Raid. Safe super to wake up with at lvl 2 or higher, very comboable. Safe on block.
Combos
- meaty c.lk, c.mp xx tiger shot
- point blank s,mp xx hp tiger uppercut
- c.lk x2 xx super
- c.lk xx hp dp
- Corner, combo into tiger raid, hp tiger uppercut juggle.
- j.rh, c.mp xx tiger genocide (lvl 3) OUCH!
cr. lk, cr. lk
cr. lk, cr. lk xx super
cr.lk xx uppercut
(meaty) cr. mp xx raid super
(meaty) cr. mp xx CC
Cr.MP, HK Groun Tiger Sshot
Cross up j.LK,s.MP,HP Tiger Blow
Croner j.HK,cr.MP,LVl 1 Raid,HP Blow
The Basics
Sagats comfort zone is 3/4 to fullscreen away. From here you can anti air from afar and control the pace of the match. Punish all jump attempts hard. When the opponent does get close, AC them, or throw to get them away. His CC is very easy to land and is a round winner. Zone with slow fireballs, and punish far jump attempts with s.fp or s.mk, s.rh works too.
Tiger knee, then:
- CC
- throw
- block attack, AC
- You can also hp tiger uppercut at your own risk, but be careful because you are gonna get messed up if they block, cc is way safer. I would only cc at lvl 1, cause if they block its not too big a loss.
Advanced Strategy
Custom Combos
If you ever don't knock them down (ex. you mess up a sweep, so they are still standing) the cc still works.
lvl 1- c.rh cc hk tiger knee, hp tiger uppercut c.rh xx hp tiger uppercut x2
if you have JUST A LITTLE more than a lvl 1, you can get 2 hk tiger knees in, then dp. lvl 2- hk tiger knee x3, hp tiger uppercut
lvl 3- tiger knee x5, hp tiger uppercut
^^ hard as hell to do, better off doing 4 knees. either way it hurts, even if you go for 5 knees into hp tiger uppercut.
Anti-air custom combo:
Oh so nice. Since Sagat has such a far reaching s,mk, you can AA from far away and get his full custom.
Close aa cc: s.lp xx hk tiger knees xN, hp tiger uppercut.
far aa cc: s.mk xx hk tiger knees xN, hp tiger uppercut.
Lv1:
[CC]c.HK,HK TKx2,HP TB[/CC]
[CC]HK TKx3[/CC]
Lv3:
[CC]c.HK,HP TBx3[/CC]
[CC]c.HK,HK TKx6[/CC]
[CC]c.HK,HK TKx5,HP TB[/CC]
Sagat:
lvl 1- c.rh xx hp tiger uppercut x2
lvl 1- c.rh xx hk tiger knee, hp tiger uppercut
lvl 2/3- c.rh xx hk tiger knee xN, hp tiger uppercut
Match-ups
Vs. Adon: 5-5
Vs. Akuma: 4-6
He has a horrible matchup vs Ken\Akuma imo. If Sagat throws a high tiger shot, Ken\Akuma can roll under it and get in range. If Sagat throws a low one, Ken\Akuma can tatsu over it and get in range. Not to mention the fact that kens AC+k has huge range. So if Sagat wants to zone him, it has to be with normals instead of fireballs.
Vs. Birdie: 6-4
Vs. Charlie: 5-5
It's important to utilize the ground game as much as possible. Jumping in towards Charlie will do nothing but hurt you in the long run with his Flash Kick, normals, etc. You can throw out a slow tiger shot, and then bait another one and get Charlie to jump, which from there you have multiple options:
- If the Charlie player decides to do a jump in attack, use your Kick AC to push him further towards the corner which gives you a big advantage.
- If the opponent decides to empty jump to go for a throw or Activation, have your Uppercut on deck.
- If the opponent wants to walk forward towards you, have your St MK or Crouch normals ready.
Round 2/3 only : Most Charlie players like to start the round off with a Sonic Boom to start oppressing you, if you have meter and feel like that's their strat, use Tiger Cannon, ideally level 3 as it gives you the knockdown, further helping out with your aggressive play. From there use your HK Tiger Knee to push you forward.
You do NOT want Charlie to put you in the corner, as he'll make you do all the work to get out while pressuring you with the tools he has equipped.
Vs. Chun-Li: 4-6
If you've played Sagat (or to be precise Old Sagat) in Super Turbo, then there's alot of familiarity with this MU. You gain a big upper hand the moment you're stacked with meter, and the moment Chun gets cornered. Her floaty jump makes it easy for you to Tiger Uppercut her jump ins. However, don't get too Uppercut happy once she has meter, as she can use her jump in CC activation to her advantage either by attacking you the moment she lands, or just escaping entirely with her wall jump into activate. If you notice the Chun player is Activation happy, counter activate or do a very late Uppercut if you feeling ballsy. Otherwise, the moment she corners you, she'll make you do all the work like in the previous Charlie segment.
- Note* Due to her hurtbox when she throws out a Kikoken, it'll actually low profile your Tiger Cannon super unless you do it about a second later compared to the rest of the cast, only then will she get hit by it.
Vs. Dan: 8-2
The only thing you have to worry about from Dan is his Cr HP if you jump often, his CC activation, his Kick AC, Jump LK, or cr MK. Otherwise, this MU is very straightforward and easy. Do NOT let Dan avenge his father!
Vs. Dhalsim: 6-4
Vs. Gen: 7-3
Vs. Guy: 5-5
Vs. Ken: 4-6
He has a horrible matchup vs ken\akuma imo. If sagat throws a high tiger, ken\akuma can roll under it and get in range. If sagat throws a low one, ken\akuma can tatsu over it and get in range. Not to mention the fact that kens AC+k has huge range. So if sagat wants to zone him, it has to be with normals instead of fireballs.
Vs. M. Bison (dictator): 6-4
Vs. Rolento: 3-7
Vs. Rose: 4-6
This matchup is very space dependent and can go either way. It's best not to be full screen against Rose because she can easily absorb/reflect your Tiger Shots which is a core part of Sagat's game. A good button to use is your Stand MK, has a decent hitbox and pushback to further corner Rose. Once she's cornered, you can easily pin her down with Crouch HP, walk up throw if she doesn't have meter, and your fast walk back speed will help if she jumps in on you. There you can use St HP, St HK, or HP Uppercut. All three gives you great damage and stun potential. If Rose corners you, keep calm as some of your poke buttons will still come in handy, you can even whiff out some buttons to build meter. You can turn things around quickly the moment you have atleast one bar of meter in your arsenal. From there, you have Ground CCs, Anti-air CCs, buttons, and ACs.
Vs. Ryu: 5-5
Vs. Sagat (self):
Vs. Sakura: 7-3
Your High Tiger Shots will always punish Sakura on her FB recovery at certain ranges, if she jumps you got your go-to normals. The moment she's stunned, you can go all out with your damage potential. The only way Sakura can win is if she takes the risk by jumping in with meter.
Vs. Sodom: 5-5
Vs. Zangief: 6-4
