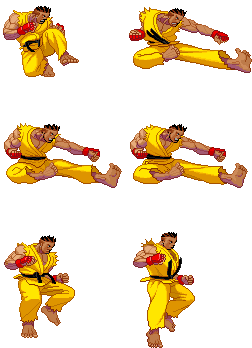
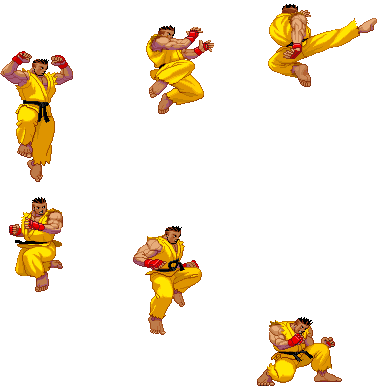
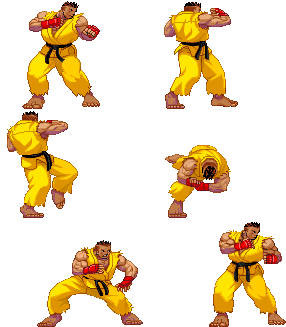
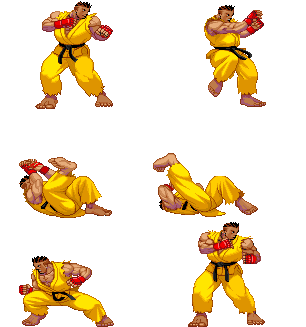
Street Fighter 3: 3rd Strike/Sean/2021

From SuperCombo Wiki

Introduction

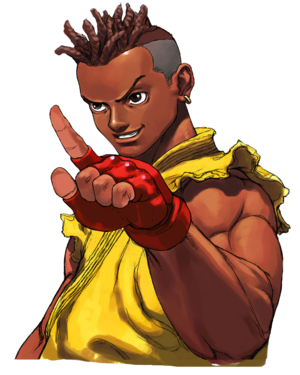
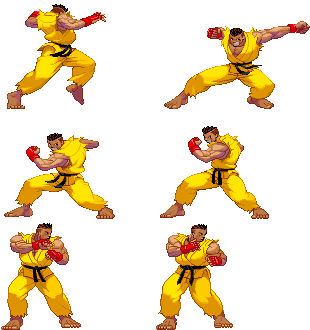
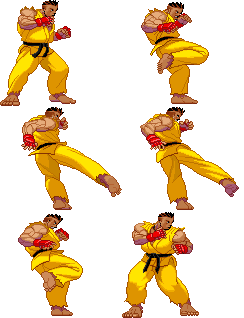
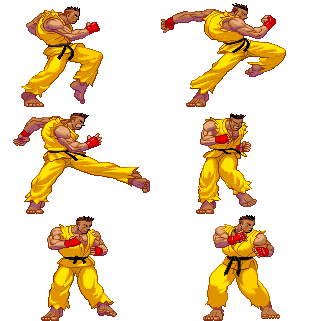
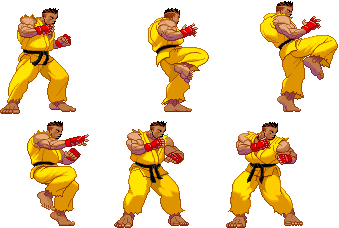
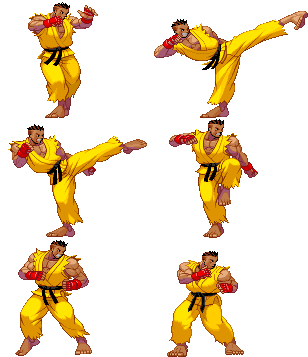
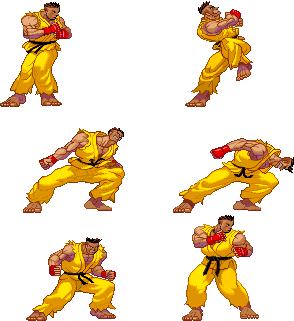
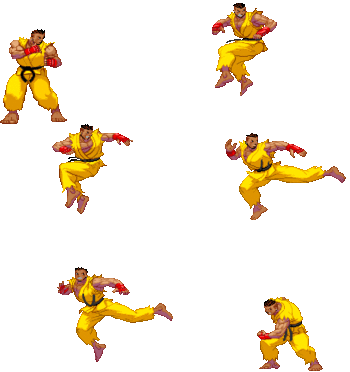
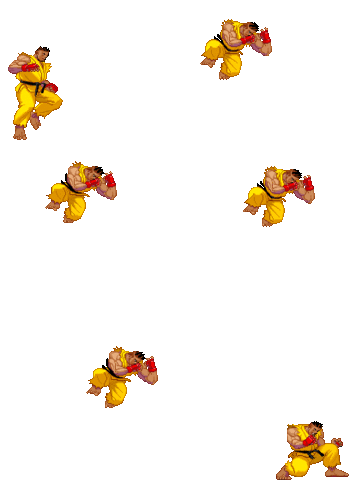
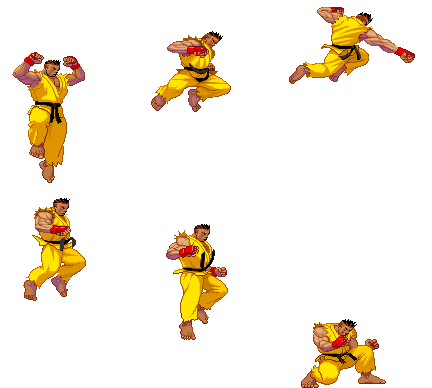
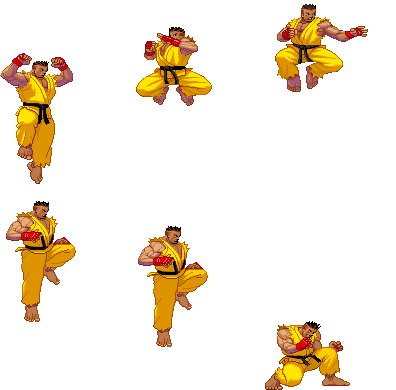
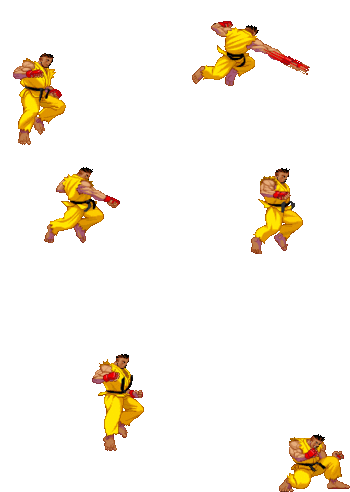
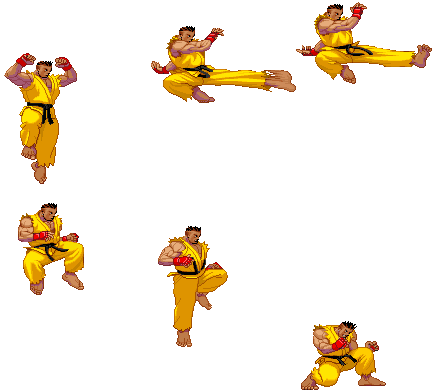
Sean is a young, prideful amateur martial artist from Brazil. He idolizes Ken, eventually becoming Ken's student and seeking to prove his worth as a fighter. Sean first appears in Street Fighter III: New Generation.

Sean is perhaps the most efficient definition of an underrated character in the history of fighting games. In the 2nd version of Street Fighter III, 2nd Impact, he was pretty much totally broken, doing tons of damage off of his lengthy combo strings. In response to this, Capcom did the responsible thing and made him an original character, as opposed to a black Ken in a yellow gi.

Well, they did it a little too well.

Other than being extremely hard to use and situational because of his hit-box placement and frame advantage (Dragon Smash's hit-box is located over his head), 3s makes Sean much more of a defensive counter character. When you play as him you have to understand that he does have a lot of good points, such as his MP-HK target combo, Cl.HK/Shoto normals, EX Tornado, and his supers. He trades pretty well if used properly with the right SA's against the right match-ups. He also has an assortment of AAs to choose from.

Super Arts

SA1: Hadou Burst

    • More Hit-Confirms
    • Situational Closer/Punisher
    • Anti-Air
    • More than 50% damage potential
    • 50% stun potential
    • Consumes 1-hit projectiles
    • Small Meter Length
    • Fast travel speed
    • Easy to Parry
    • Slightly long recovery
      • Game-plan: 4 Close Roundhouses can fill up a bar of Hadou Burst and you have 5 EX's in total. From a long range, the go-to confirm is Cr.MK. Up close, you have either Cl.HK, Cl.HP, Cr.MP or Cr.LK x2. After a parry, you have 3 choices: Cr.MP, Cr.MK and Cr.HP. Cr.HP is good against moves with long reach that recovers late and does great damage, Cr.MK is the standard, and Cr.MP is faster than the other 2 but you need to be within range. This super, like his others can link of a UOH. Parry -> Hadou Burst vs. certain "Parry-Bait Supers" near the corner can potentially deal near 50% if you have 2 stocks. To properly Anti-Air into this super, it has to be done off Cl.MP since that button doesn't reset the juggle counter like the other cancel-able ones. Be looking for opportunities to punish with this move, especially against crouching attacks. Sean can do a lot of "dash-back" set-ups with this super. The max damage output of this super can rival the max damage output of Ken's SA3.


SA2: Shoryu Cannon

    • More than 50% damage potential
    • Corner Juggles
    • True Anti-Air
    • Situational Closer/Punisher
    • High invincibility
    • Grants a free Mix-up afterwards
    • Goes through projectiles
    • Bad recovery and range
      • Game-plan: 6 Close Roundhouses fill up a bar and its 4 EX's in total. Cr.LK x 2 or Cl.HK are the go-to confirms for this super. It's main usage is as an Anti-air but still has to be timed correctly or many of the hits will whiff. Cl.HK x SA2 is the primary Anti-air, and should be one of the few things to go for when a super is stocked. This can punish moves that leave opponents too close on block (overheads, Sean tornado, Remy CBK's, etc). The strongest combo with a single stock of Shoryu Cannon (with the corner Cl.HK reset) is equal to Chun's strongest combo with Hoyokusen. With 2, it can deal from 70% to 80%. Beats a lot of Parry-baits with the exception of itself, Hyper Tornado, and a few other supers. It can link off of a UOH but only as a Meaty up close. It doesn't have much range so the main goal should be to always be close to the opponent. S.C. has 10 frames of invincibility and some of the highest priority in the game with the exception of a few supers.
      • Sean has 3 moves that can link into Shoryu Cannon: Standing Short, Standing Forward, and the Overhead Wheel Kicks. Standing Forward has to be done on Meaty up close (against Crouchers) for it to work. Same with the Wheel Kick but its a Yun/Yang only link.


SA3: Hyper Tornado

    • True Punisher
    • More than 50% damage potential
    • Higher invincibility
    • Travels through projectiles
    • Great range
    • 50% stun potential
    • Large Meter
    • Bad capacity for EX
      • Game-plan: The Punisher. Meter building is very important for this super. It takes 7 Close Roundhouses to fill it and you only get 3 EX's. It starts up in 3 frames (like Ken's Shippu) which allows him to punish a lot of things in the game once stocked. H.T has the same confirms as Hadou Burst (minus the ones with Dragon Smash) and can almost cover the same amount of range. The go-to confirms are Cr.LK x 2, Cr.MK/MP, and Cl.HK. Hyper Tornado has very high invincibility, even higher than Shoryu Cannon which means it blows up Parry-Baits more reliably (except against itself and a few supers), and it can travel through projectiles too but the projectile has to be far from the opponent or you risk wasting the super. Like his other supers, H.T can be linked off of a UOH too. The maximum damage potential of this super is just shy of Hugo's Gigas by a few pixels.


Strengths Weaknesses
  • Tricky moves that can be annoying for unexperienced opponent to understand
  • Good Health and stun for a defensive style character
  • Still has some decent pokes and anti airs, inherently as a shoto
  • Deals higher than average damage per single hit
  • Good forward and back dash
  • Good selection of supers
  • Has the most powerful cancel-able normal in the game (Cl.HK)
  • Has the strongest back throw of the shotos
  • Has more cancel frames on some of his normals than the other shotos
  • Relatively serviceable throw game
  • Underwhelming combo ability, hard to guarantee a knockdown or good damage
  • Worst DP in the game
  • Requires deep understanding of the game's mechanics (more so than other characters)
  • Linear and predictable offensive presence, limited tech and few tools
  • Many moves are unsafe or - on block
  • No reliable reversal without meter (depends on the match-up)
  • Over-reliance on parries
  • Specials leave him crouching on recovery
  • Some of his normals start-up/recover slower and/or do less damage than the other shotos
  • Has a bit of trouble building meter (there are ways around this)
  • Less advantage on Jump-ins than the other shotos
Sean
#3S_SE
3S Sean Art.png
Vitals
Life Points 1120
Stun Points 64
Super Art Stock/Size
SA1 3/72
SA2 2/96
SA3 1/120
Ground Movement
Forward Dash duration/distance 13 (17)
(112px)
Back Dash duration/distance 15 (54px)
Jumping
Back Jump duration 41(4+36+1)
Neutral Jump duration 37(4+32+1)
Forward Jump duration 38(4+33+1)
Back Super Jump duration 52(7+44+1)
Neutral Super Jump duration 52(7+44+1)
Forward Super Jump duration 52(7+44+1)
Wake up
Wake up duration 77
Quick rise duration 50

}}

3S Frame Data Glossary
Active

How many frames a move remains active (can hurt opponents) for. Consecutive sets of active frames on a multi-hit move are separated by an asterisk (ex: 3*5). If there is a gap between sets of active frames, the gap is denoted by a number in parentheses (ex: 2(4)2)

Attack

Attack level is L for low attacks (must be blocked crouching), H is for High attacks (which can be blocked high or low) and M for overhead (must be blocked standing). T is for throw attacks (which cannot be blocked).

Cancel options

Available cancel options.

  • "ch": Chain cancel (into itself or another light attack), refer to description for options.
  • "self": Self-only chain cancel. Much more restrictive than a standard chain cancel.
  • "tc": Target combo, refer to description for options. Successive attacks in a target combo may warrant their own move entry.
  • "dash": Grounded dashes.
  • "sj": Super jump.
  • "sp": Special move.
  • "su": Super Art.
Damage

Attack damage on hit in life points. Notation may denote multi-hit or "sweet spot" damage values on certain frames.

Hit/Block

These are frame advantage values when the attack hits or is blocked. If the number is positive, then the move will end before the defender can act again. If the number is negative, the defender will be able to act before the attacker and maybe even punish. D refers to knockdown on hit.

"Cr. Hit" is an additional frame advantage value denoting if the advantage on hit changes when the defender is being hit while crouching.

Kara Range

Almost all normal attacks can be canceled into a special or a multi-button command within three frames of startup. During that time, some attacks will shift position forward or backward and affect the reach of the special or command accordingly. This is denoted in pixels of range. There are a handful of moves in the game that can be kara-canceled after this initial window and will be denoted as a late kara-cancel.

Link

A combo that is performed by inputting the second move after the first move has completely recovered (as opposed to cancelling the first move's animation). In 3S, the final frame of a move's hitstun allows a character to block a normal or special move, as well as some projectile supers. Therefore, an attack's frame advantage must be 2 frames greater than the followup move's startup in order to link. Ex: a +6 normal can link into a 4f normal/special, or a 5f super.

Parry

This field will show a value of A if the attack can be parried standing or crouching, H if it must be parried standing or L if it must be parried crouching.

Recovery

How many frames it takes for a move to finish after it's been active.

Startup

How many frames it takes before the move becomes 'active' or has a hitbox. 3S uses classic startup notation, which does not include the first active frame. A move with 3 startup becomes active on frame 4.

Stun

Amount of stun added to the opponent's stun bar on hit.

Throw range

Range in pixels from the center of the character to the center of the opponent which allows a grab to connect.

Frame Data

Standing Normals

5LP
Stand LP
Lp.png
(seanlp).gif
Startup Active Recovery Hit Cr. Hit
3 2 5 5 5
Damage Stun Guard Parry Block
3 3 - A 5
  • Cancel options: self sp su
FATonline.png
5MP (cl)
Close MP
Mp.png (cl)
(seanclosemp).gif
Startup Active Recovery Hit Cr. Hit
4 5 10 1 2
Damage Stun Guard Parry Block
16 9 - H -
  • Cancel options: sp su
  • Self meter gain: Whiff: 2, Hit: 11, Block: 6.
  • Opponent meter gain: Whiff: 0, Hit: 2, Block: 0.
FATonline.png
5MP (far)
Far MP
Mp.png (far)
(seanmp).gif
Startup Active Recovery Hit Cr. Hit
5 4 13 1 2
Damage Stun Guard Parry Block
14 11 - H -
  • Self meter gain: Whiff: 2, Hit: 11, Block: 6.
  • Opponent meter gain: Whiff: 0, Hit: 2, Block: 0.
FATonline.png
5HP (cl)
Close HP
Hp.png (cl)
(seanclosehp).gif
Startup Active Recovery Hit Cr. Hit
5 5 15 -2 -
Damage Stun Guard Parry Block
21 13 - H -4
  • Cancel options: sp su
  • Self meter gain: Whiff: 3, Hit: 19, Block: 10.
  • Opponent meter gain: Whiff: 0, Hit: 4, Block: 0.
FATonline.png
5HP (far)
Far HP
Hp.png (far)
(seanhp).gif
Startup Active Recovery Hit Cr. Hit
9 4 19 -5 -3
Damage Stun Guard Parry Block
21 10 - H -7
  • 12 kara range
  • Self meter gain: Whiff: 2, Hit: 11, Block: 6.
  • Opponent meter gain: Whiff: 0, Hit: 2, Block: 0.
FATonline.png
5LK
Stand LK
Lk.png
(seanlk).gif
Startup Active Recovery Hit Cr. Hit
4 4 7 2 2
Damage Stun Guard Parry Block
5 3 - A 2
FATonline.png
5MK
Stand MK
Mk.png
(seanmk).gif
Startup Active Recovery Hit Cr. Hit
6 4 15 -1 -
Damage Stun Guard Parry Block
16 5 - A -2
  • Self meter gain: Whiff: 2, Hit: 11, Block: 6.
  • Opponent meter gain: Whiff: 0, Hit: 2, Block: 0.
FATonline.png
5HK (cl)
Close HK
Hk.png (cl)
(seanclosehk).gif
Startup Active Recovery Hit Cr. Hit
5 5 10 4 6
Damage Stun Guard Parry Block
25 11 - H 2
  • Cancel options: sp su
  • Self meter gain: Whiff: 3, Hit: 19, Block: 10.
  • Opponent meter gain: Whiff: 0, Hit: 4, Block: 0.
FATonline.png
5HK (far)
Far HK
Hk.png (far)
(seanfhk).gif
Startup Active Recovery Hit Cr. Hit
7 4 26 -7 -5
Damage Stun Guard Parry Block
21 11 - H -9
  • 8 kara range
  • Self meter gain: Whiff: 2, Hit: 11, Block: 6.
  • Opponent meter gain: Whiff: 0, Hit: 2, Block: 0.
FATonline.png


Command Normals

6HP
Sean Pachiki
F.png+Hp.png
(seanthp).gif
Startup Active Recovery Hit Cr. Hit
21 7 25 -4 -2
Damage Stun Guard Parry Block
22 13 - H -6
  • 14 kara range
  • Self meter gain: Whiff: 3, Hit: 18, Block: 8.
  • Opponent meter gain: Whiff: 0, Hit: 4, Block: 0.
FATonline.png
6HK
Rolling Sobat
F.png+Hk.png
(seanthk).gif
Startup Active Recovery Hit Cr. Hit
15 5 18 D D
Damage Stun Guard Parry Block
16 9 - H -5
  • Self meter gain: Whiff: 2, Hit: 11, Block: 6.
  • Opponent meter gain: Whiff: 0, Hit: 2, Block: 0.
FATonline.png


Crouching Normals

2LP
Crouch LP
D.png+Lp.png
(seanclp).gif
Startup Active Recovery Hit Cr. Hit
4 3 5 3 3
Damage Stun Guard Parry Block
3 3 - A 3
  • Cancel options: self sp su
FATonline.png
2MP
Crouch MP
D.png+Mp.png
(seancmp).gif
Startup Active Recovery Hit Cr. Hit
5 4 7 4 5
Damage Stun Guard Parry Block
14 7 - A 3
  • Cancel options: sp su
  • Self meter gain: Whiff: 2, Hit: 11, Block: 6.
  • Opponent meter gain: Whiff: 0, Hit: 2, Block: 0.
FATonline.png
2HP
Crouch HP
D.png+Hp.png
(seanchp).gif
Startup Active Recovery Hit Cr. Hit
7 5 17 -7 -5
Damage Stun Guard Parry Block
21 13 - A -9
  • Cancel options: sp su
  • Self meter gain: Whiff: 3, Hit: 19, Block: 10.
  • Opponent meter gain: Whiff: 0, Hit: 4, Block: 0.
FATonline.png
2LK
Crouch LK
D.png+Lk.png
(seanclk).gif
Startup Active Recovery Hit Cr. Hit
5 3 7 1 1
Damage Stun Guard Parry Block
3 3 - L 1
  • Cancel options: self sp su
FATonline.png
2MK
Crouch MK
D.png+Mk.png
(seancmk).gif
Startup Active Recovery Hit Cr. Hit
7 5 17 -2 -2
Damage Stun Guard Parry Block
15 3 - L -4
  • Cancel options: sp su
  • 13 kara range
  • Self meter gain: Whiff: 2, Hit: 11, Block: 6.
  • Opponent meter gain: Whiff: 0, Hit: 2, Block: 0.
FATonline.png
2HK
Crouch HK
D.png+Hk.png
(seanchk).gif
Startup Active Recovery Hit Cr. Hit
8 5 26 KND KND
Damage Stun Guard Parry Block
21 3 - L -16
  • 13 kara range
  • Self meter gain: Whiff: 3, Hit: 19, Block: 10.
  • Opponent meter gain: Whiff: 0, Hit: 4, Block: 0.
FATonline.png


Jumping Normals

8LP
Jump LP (Neutral)
U.png+Lp.png
(seanjlp).gif
Startup Active Recovery Hit Cr. Hit
5 - - - -
Damage Stun Guard Parry Block
7 7 - H -
FATonline.png
j.LP
Jump LP
Uf.png+Lp.png
(seanjlp).gif
Startup Active Recovery Hit Cr. Hit
4 - - - -
Damage Stun Guard Parry Block
8 7 - H -
FATonline.png
8MP
Jump MP (Neutral)
U.png+Mp.png
(seanjmp).gif
Startup Active Recovery Hit Cr. Hit
6 5 - - -
Damage Stun Guard Parry Block
16 11 - H -
  • Self meter gain: Whiff: 2, Hit: 11, Block: 6.
  • Opponent meter gain: Whiff: 0, Hit: 2, Block: 0.
FATonline.png
j.MP
Jump MP
Uf.png+Mp.png
(seanjmp).gif
Startup Active Recovery Hit Cr. Hit
5 5 - - -
Damage Stun Guard Parry Block
16 9 - H -
  • Self meter gain: Whiff: 2, Hit: 11, Block: 6.
  • Opponent meter gain: Whiff: 0, Hit: 2, Block: 0.
FATonline.png
8HP
Jump HP (Neutral)
U.png+Hp.png
(seannjhp).gif
Startup Active Recovery Hit Cr. Hit
7 3 - - -
Damage Stun Guard Parry Block
23 15 - H -
  • Self meter gain: Whiff: 3, Hit: 19, Block: 10.
  • Opponent meter gain: Whiff: 0, Hit: 4, Block: 0.
FATonline.png
j.HP
Jump HP
Uf.png+Hp.png
(seajhp).gif
Startup Active Recovery Hit Cr. Hit
6 4 - - -
Damage Stun Guard Parry Block
23 13 - H -
  • Self meter gain: Whiff: 3, Hit: 19, Block: 10.
  • Opponent meter gain: Whiff: 0, Hit: 4, Block: 0.
FATonline.png
8LK
Jump LK (Neutral)
U.png+Lk.png
(seanjlk).gif
Startup Active Recovery Hit Cr. Hit
5 19 - - -
Damage Stun Guard Parry Block
8 7 - H -
FATonline.png
j.LK
Jump LK
Uf.png+Lk.png
(seanjlk).gif
Startup Active Recovery Hit Cr. Hit
4 10 - - -
Damage Stun Guard Parry Block
8 5 - H -
FATonline.png
8MK
Jump MK (Neutral)
U.png+Mk.png
(seannjmk).gif
Startup Active Recovery Hit Cr. Hit
5 6 - - -
Damage Stun Guard Parry Block
16 9 - H -
  • Self meter gain: Whiff: 2, Hit: 11, Block: 6.
  • Opponent meter gain: Whiff: 0, Hit: 2, Block: 0.
FATonline.png
j.MK
Jump MK
Uf.png+Mk.png
(seanjmk).gif
Startup Active Recovery Hit Cr. Hit
5 6 - - -
Damage Stun Guard Parry Block
16 9 - H -
  • Self meter gain: Whiff: 2, Hit: 11, Block: 6.
  • Opponent meter gain: Whiff: 0, Hit: 2, Block: 0.
FATonline.png
8HK
Jump HK (Neutral)
U.png+Hk.png
(seannjhk).gif
Startup Active Recovery Hit Cr. Hit
7 5 - - -
Damage Stun Guard Parry Block
23 13 - H -
  • Self meter gain: Whiff: 3, Hit: 19, Block: 10.
  • Opponent meter gain: Whiff: 0, Hit: 4, Block: 0.
FATonline.png
j.HK
Jump HK
Uf.png+Hk.png
(seanjhk).gif
Startup Active Recovery Hit Cr. Hit
6 4 - - -
Damage Stun Guard Parry Block
19 13 - H -
  • Self meter gain: Whiff: 3, Hit: 19, Block: 10.
  • Opponent meter gain: Whiff: 0, Hit: 4, Block: 0.
FATonline.png


Target Combos


Throws

LPLK
Seoi Nage
Lp.png+Lk.png
(seanhg).gif
Startup Active Recovery Hit Cr. Hit
2 1 21 KND KND
Damage Stun Guard Parry Block
21 10 - - -
  • 20 throw range
FATonline.png
4LPLK
Tomoe Nage
B.pngLp.png+Lk.png
(seansn).gif
Startup Active Recovery Hit Cr. Hit
2 1 21 KND KND
Damage Stun Guard Parry Block
24 4 - - -
  • 20 throw range
FATonline.png


Universal Overhead

MPMK
Straight Hit
Mp.png+Mk.png
(seanuoh).gif
Startup Active Recovery Hit Cr. Hit
15 8 7 - -
Damage Stun Guard Parry Block
7 3 - H -
FATonline.png


Taunt

HPHK
Ball Throw
Hp.png+Hk.png
(seant).gif
Startup Active Recovery Hit Cr. Hit
31 - 19 - -
Damage Stun Guard Parry Block
1 - - H -
  • Self meter gain: Whiff: 4, Hit: 11, Block: 7.
  • Opponent meter gain: Whiff: 0, Hit: 2, Block: 0.
FATonline.png


Special Moves

214P
Sean Roll
Qcb.png+P.png
(seanzenten).gif
Lp.png/Mp.png/Hp.png
LP Startup Active Recovery Hit Cr. Hit
2 19 7 - -
Damage Stun Guard Parry Block
- - - - -
FATonline.png
MP Startup Active Recovery Hit Cr. Hit
2 29 7 - -
Damage Stun Guard Parry Block
- - - - -
FATonline.png
HP Startup Active Recovery Hit Cr. Hit
2 43 7 - -
Damage Stun Guard Parry Block
- - - - -
FATonline.png
236K
Ryuubi Kyaku
Qcf.png+K.png
(seanwheel).gif
Lk.png/Mk.png/Hk.png
(seanhdkex).gif
Ex.png
LK Startup Active Recovery Hit Cr. Hit
25 8 15 - -
Damage Stun Guard Parry Block
21 19 - H -3
  • Self meter gain: Whiff: 3, Hit: 21, Block: 15.
  • Opponent meter gain: Whiff: 0, Hit: 6, Block: 0.
FATonline.png
MK Startup Active Recovery Hit Cr. Hit
25 8 15 - -
Damage Stun Guard Parry Block
21 19 - H -3
  • Self meter gain: Whiff: 3, Hit: 21, Block: 15.
  • Opponent meter gain: Whiff: 0, Hit: 6, Block: 0.
FATonline.png
HK Startup Active Recovery Hit Cr. Hit
25 8 15 - -
Damage Stun Guard Parry Block
21 19 - H -3
  • Self meter gain: Whiff: 3, Hit: 21, Block: 15.
  • Opponent meter gain: Whiff: 0, Hit: 6, Block: 0.
FATonline.png
EX Startup Active Recovery Hit Cr. Hit
25 8 15 - -
Damage Stun Guard Parry Block
32 19 - H -1
  • Self meter gain: Whiff: -40, Hit: -40, Block: -40.
  • Opponent meter gain: Whiff: 0, Hit: 0, Block: 0.
FATonline.png
214K
Tornado Kick
Qcb.png+K.png
(seandtornadokick).gif
Lk.png/Mk.png/Hk.png
(seantskex).gif
Ex.png
LK Startup Active Recovery Hit Cr. Hit
11 4 21 - -
Damage Stun Guard Parry Block
16 9 - H -7
  • Self meter gain: Whiff: 3, Hit: 19, Block: 13.
  • Opponent meter gain: Whiff: 0, Hit: 4, Block: 0.
FATonline.png
MK Startup Active Recovery Hit Cr. Hit
14 8 21 - -
Damage Stun Guard Parry Block
24 13 - H -6
  • Self meter gain: Whiff: 3, Hit: 20, Block: 14.
  • Opponent meter gain: Whiff: 0, Hit: 4, Block: 0.
FATonline.png
HK Startup Active Recovery Hit Cr. Hit
16 13 21 - -
Damage Stun Guard Parry Block
26 17 - H -6
  • Self meter gain: Whiff: 3, Hit: 21, Block: 15.
  • Opponent meter gain: Whiff: 0, Hit: 4, Block: 0.
FATonline.png
EX Startup Active Recovery Hit Cr. Hit
9 11 17 - -
Damage Stun Guard Parry Block
28 21 - H -3
  • Self meter gain: Whiff: -40, Hit: -40, Block: -40.
  • Opponent meter gain: Whiff: 0, Hit: 0, Block: 0.
FATonline.png
41236P
Sean Tackle
Hcf.png+P.png
(seantacklefull).gif
Lp.png/Mp.png/Hp.png
(seanatskex).gif
Ex.png
LP Startup Active Recovery Hit Cr. Hit
18 2 28 KND -
Damage Stun Guard Parry Block
30 16 - L -14
  • 34 throw range
FATonline.png
MP Startup Active Recovery Hit Cr. Hit
22 2 28 KND -
Damage Stun Guard Parry Block
30 16 - L -14
  • 34 throw range
FATonline.png
HP Startup Active Recovery Hit Cr. Hit
26 2 28 KND -
Damage Stun Guard Parry Block
30 16 - L -14
  • 34 throw range
FATonline.png
EX Startup Active Recovery Hit Cr. Hit
28 2 28 KND -
Damage Stun Guard Parry Block
40 28 - L -14
  • 34 throw range
  • Self meter gain: Whiff: -40, Hit: -40, Block: -40.
  • Opponent meter gain: Whiff: 0, Hit: 0, Block: 0.
FATonline.png
623P
Dragon Smash
Dp.png+P.png
(seands).gif
Lp.png/Mp.png/Hp.png
(seansrkex).gif
Ex.png
LP Startup Active Recovery Hit Cr. Hit
5 6 36 KND -
Damage Stun Guard Parry Block
23 11 - A -24
  • Cancel options: su
  • Self meter gain: Whiff: 2, Hit: 11, Block: 6.
  • Opponent meter gain: Whiff: 0, Hit: 2, Block: 0.
FATonline.png
MP Startup Active Recovery Hit Cr. Hit
7 6 36 KND -
Damage Stun Guard Parry Block
23 11 - A -24
  • Cancel options: su
  • Self meter gain: Whiff: 2, Hit: 11, Block: 6.
  • Opponent meter gain: Whiff: 0, Hit: 2, Block: 0.
FATonline.png
HP Startup Active Recovery Hit Cr. Hit
9 9 42 KND -
Damage Stun Guard Parry Block
23 11 - A -34
  • Cancel options: su
  • Self meter gain: Whiff: 2, Hit: 11, Block: 6.
  • Opponent meter gain: Whiff: 0, Hit: 2, Block: 0.
FATonline.png
EX Startup Active Recovery Hit Cr. Hit
8 12 42 KND -
Damage Stun Guard Parry Block
31 17 - A -37
  • Cancel options: su
  • Self meter gain: Whiff: -40, Hit: -40, Block: -40.
  • Opponent meter gain: Whiff: 0, Hit: 0, Block: 0.
FATonline.png


Super Arts

236236P (SA1)
Hadou Burst
Qcf.pngQcf.png+P.png (SA1)
(seansa1).gif
Startup Active Recovery Hit Cr. Hit
2 - 61 KND -
Damage Stun Guard Parry Block
39 9 - H -29
FATonline.png
236236P (SA2)
Shoryuu Cannon
Qcf.pngQcf.png+P.png (SA2)
(seansa2).gif
Startup Active Recovery Hit Cr. Hit
1 36 36 KND -
Damage Stun Guard Parry Block
38 - - A -43
FATonline.png
236236P (SA3)
Hyper Tornado
Qcf.pngQcf.png+P.png (SA3)
(seansa3).gif
Startup Active Recovery Hit Cr. Hit
2 14 53 KND -
Damage Stun Guard Parry Block
76 14 - A -31
FATonline.png

3S Navigation

General
Controls
Notation
HUD
Glossary
System
FAQ
Characters
Akuma
Alex
Chun-Li
Dudley
Elena
Hugo
Ibuki
Ken
Makoto
Q
Necro
Oro
Remy
Ryu
Sean
Twelve
Urien
Yang
Yun
Gill