Introduction
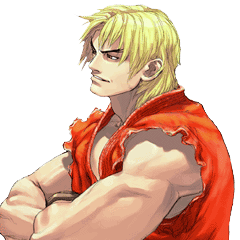
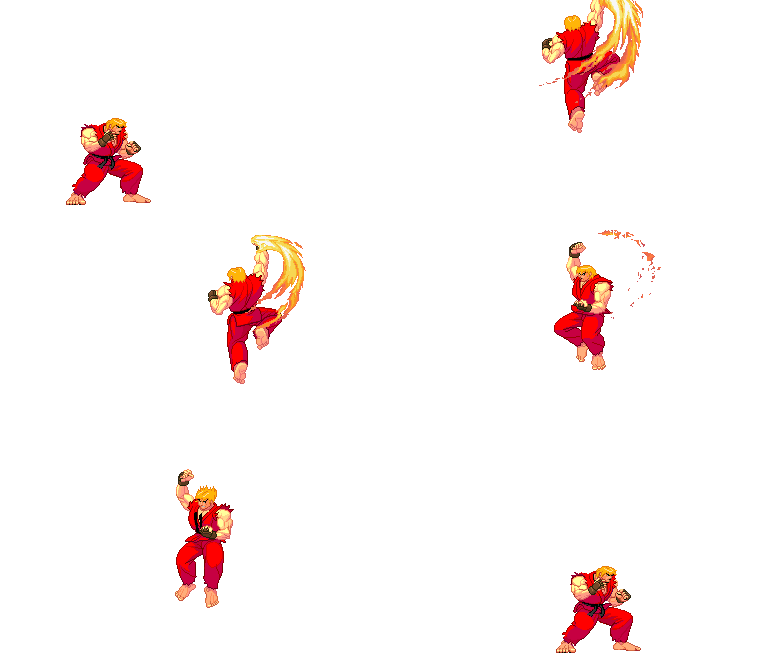
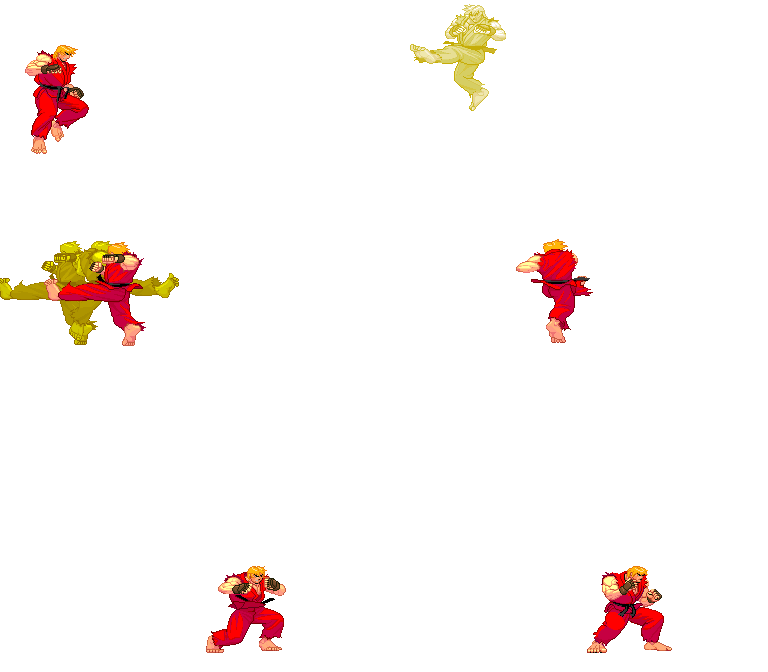
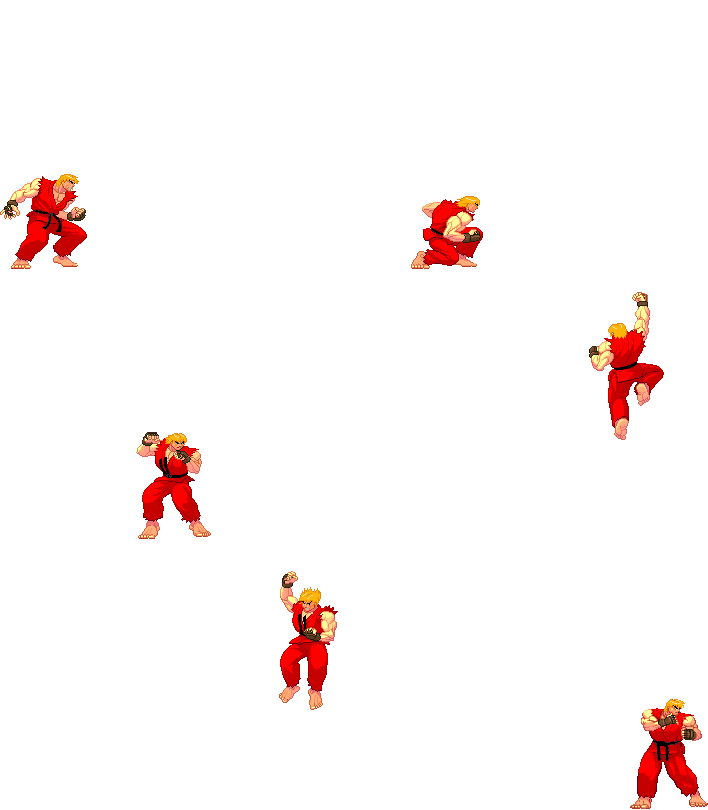
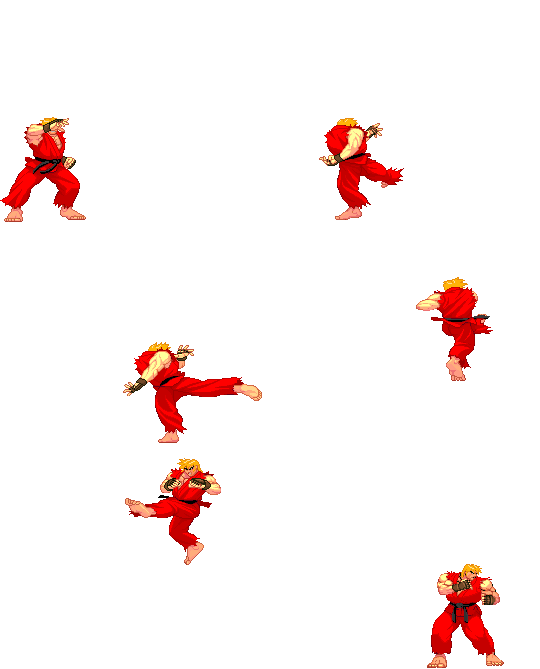
Ken is a very strong and highly effective shotoclone character with excellent meterless damage and strong versatility.
Ken needs little introduction, as one of the most famous fighting game characters ever, and often considered the stronger of the two major shotoclones in the game. He is one of the best characters in the game, mainly for incredibly high meterless damage off stray hits and great pokes, one of the best anti airs in the game, and a legendarily awesome super in SA3. Ken plays Third Strike extremely well and has been a dominant face in the competitive scene since the game launched back in the 90's.
| Strengths | Weaknesses |
|---|---|
|
|
Specific Character Information
- Stamina: 1200
- Stun Bar Length (dots): 64 (Normal)
- Stun Bar Recovery (frames it takes to recover 1 dot): 22
- Taunt: Increases damage for the next hit/combo by 31.3%. One taunt is the maximum.
- Best Kara-Throw: C+MK/C+HK
- Standard Throw Range (pixels): 20
- Kara Throw Range (pixels): 37
- Dash Forward (frames) / Moving Distance: 16 / 1,5
- Dash Backward (frames) / Moving Distance: 13 / 1
- Normal Wake up (frames): 75
- Quick Stand (frames): 48
Notable players
Japan
- Deshiken
America
- BigGameJames
- Neem
- FrankieBFG
- 5Star
- Boa
- Virsaga
All Americans listed can be found on Fightcade
Character Colors
Moves List
Throws
| Hiza Geri | |
| Tsukami Hiza Geri | |
| Jigoku Guruma |
Command Moves
| Inazuma Kakato Wari | Hold |
| Fumikomi Mae Geri | |
| Shiden Kakato Otoshi | |
| └Fake | Hold |
| Inazuma Kakato Wari |
Special Moves
| Hadou Ken | EX SC | |
| Shouryuu Ken | EX SC | |
| Tatsumaki Senpuu Kyaku | (Air) |
(EX) EX SC |
Super Arts
| I | Shouryuu Reppa | 112 Gauge Dots | 2 Stocks | 5.6 EX Uses | |
| II | Shinryuu Ken | 104 Gauge Dots | 1 Stock | 2.6 EX Uses | |
| III | Shippuu Jinrai Kyaku | 80 Gauge Dots | 3 Stocks | 6.0 EX Uses |
Target Combo
Move Analysis
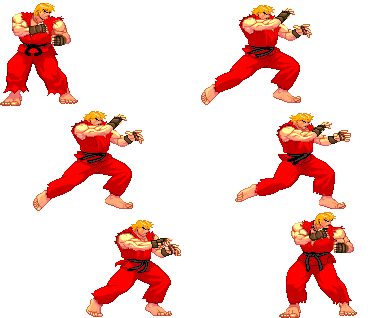
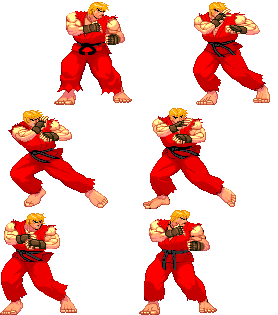
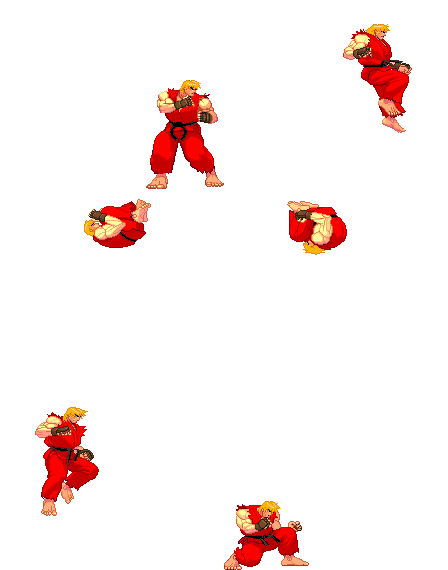
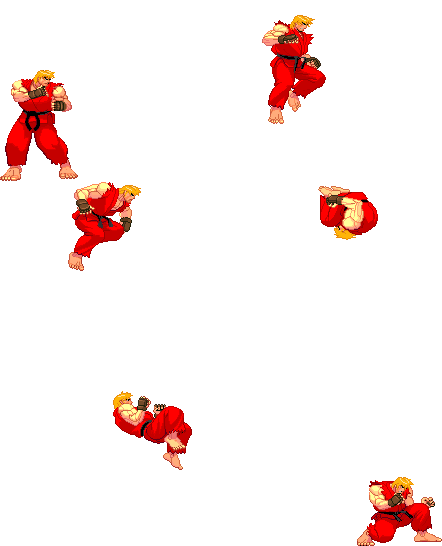
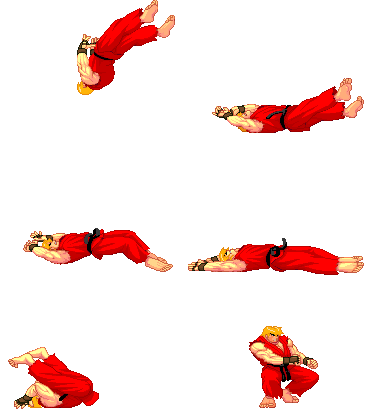
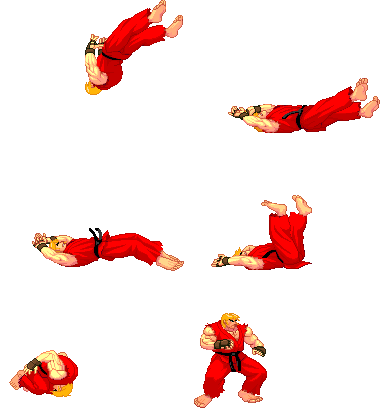
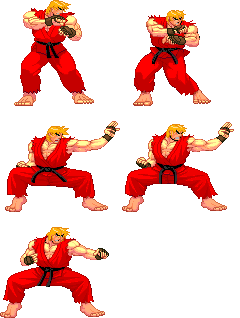
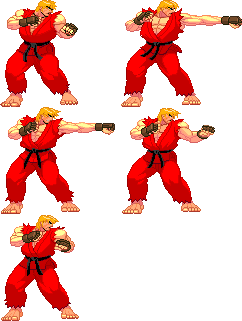
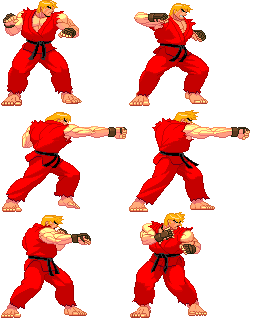
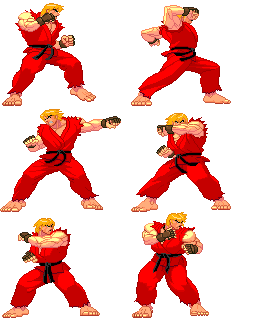
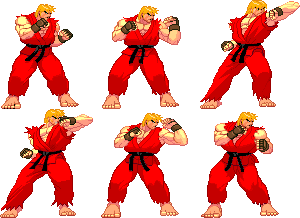
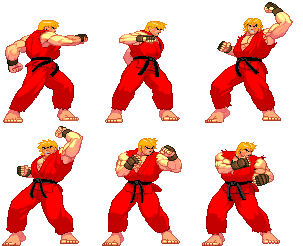
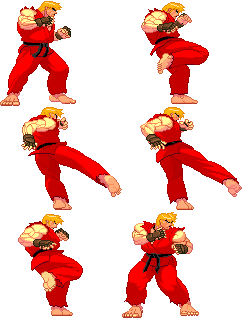
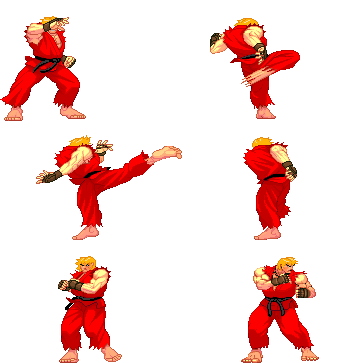
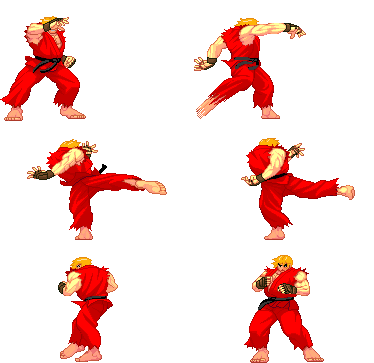
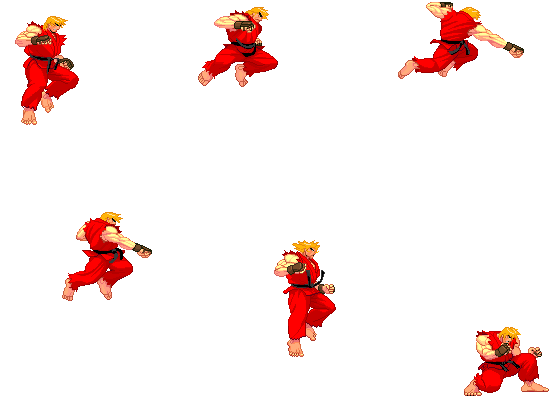
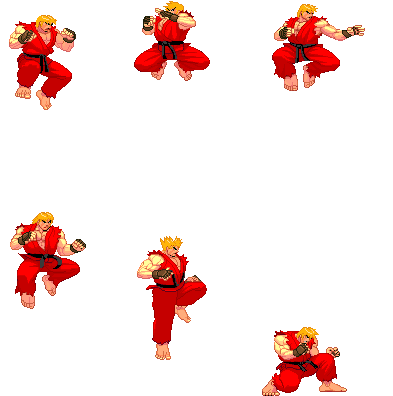
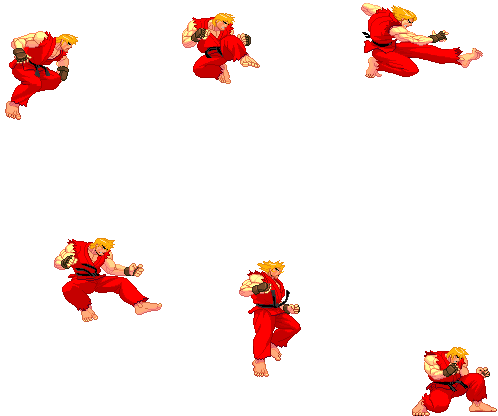
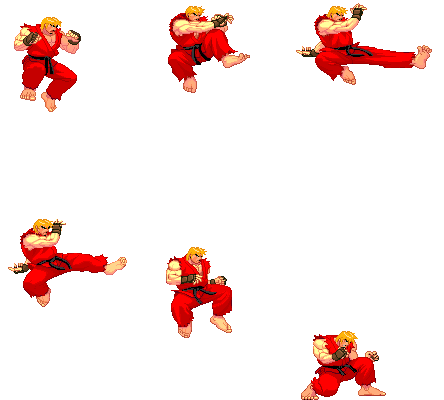
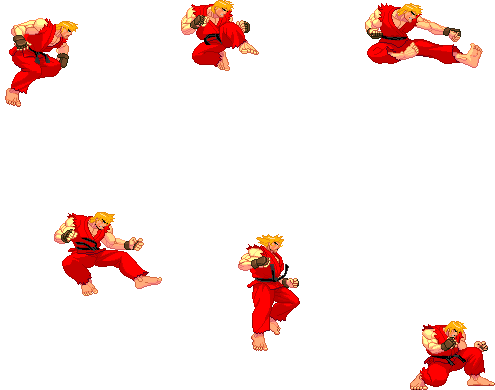
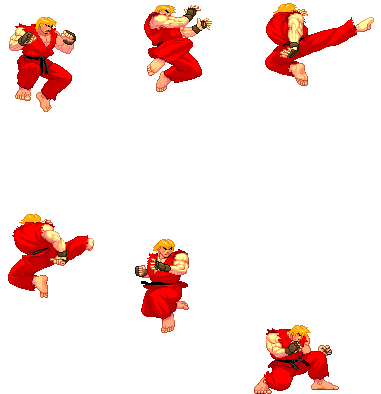
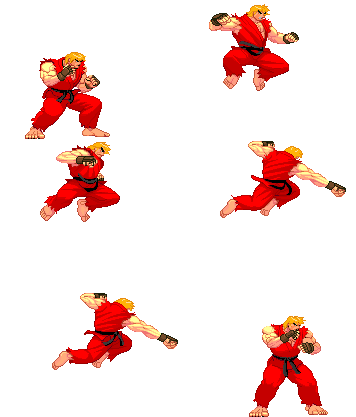
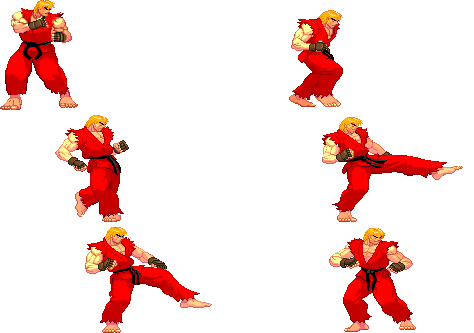
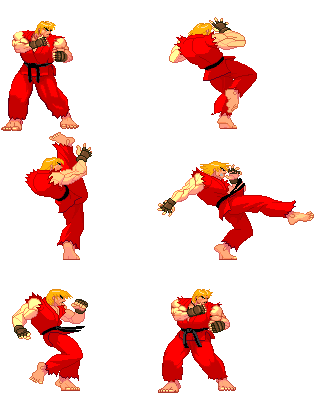
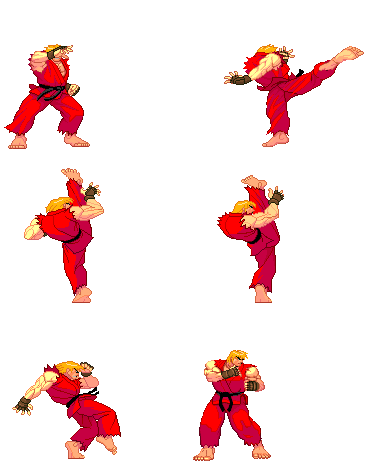
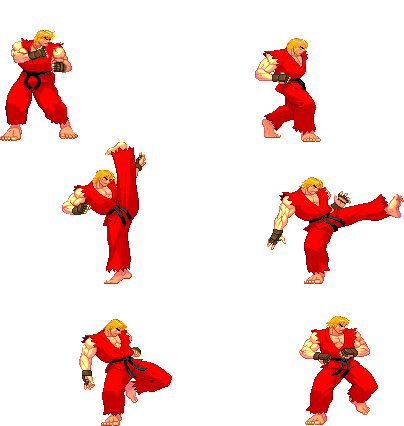
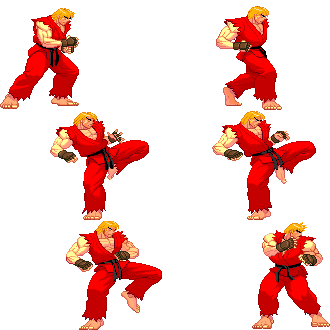
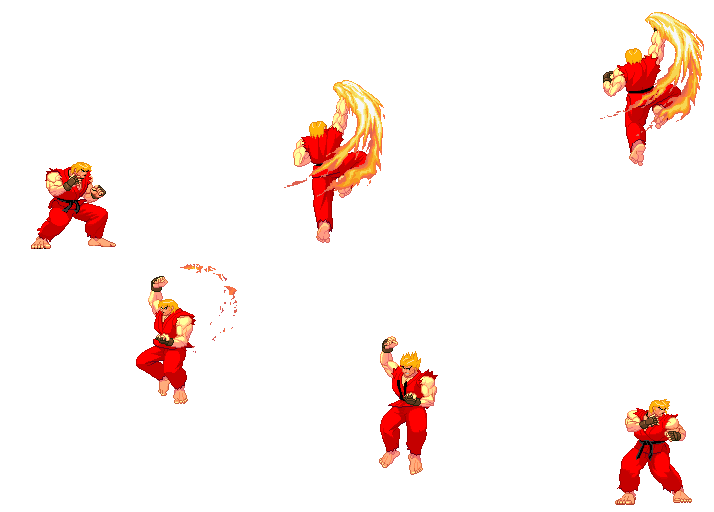
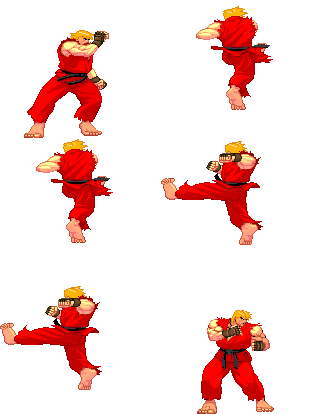
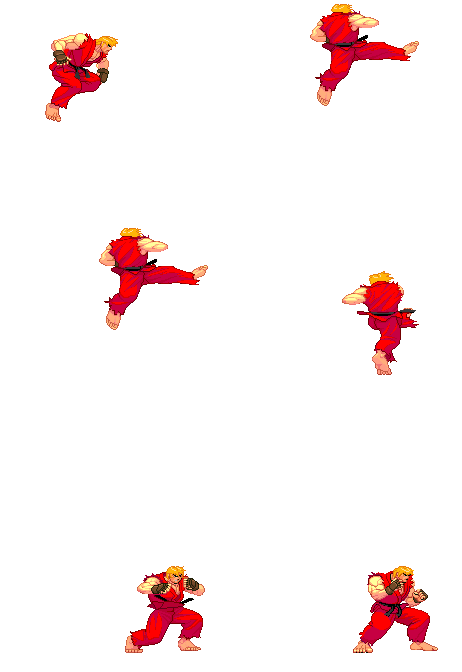
- All those sprites are taken from the site https://www.justnopoint.com/zweifuss/
- All Framedata in "Move Analysis" section are taken from Game Restaurant , this means the Framedata isn't from the Dreamcast version like Karathrow site, it's from Arcade version.
Please note that the images show in this section are for the 1st frame it hits, so this means the opponent is taking the hit in the image shown on the move. I use the 1st frame of every move (except taunt, dash, jump, wakeup and 2nd throw image sprites) because you will see the maximum range of every attack (mostly of the attacks). Note also that those images are ACCURATE, they are exactly the first frame it hits, so enemy takes damage but they still don't make the "pain" frame.
General
- Move: Move name
- Motion: What you must do to execute the move
- Damage: Damage it does (in pixels)
- Stun Damage: Stun Damage it does (in pixels)
- Chains into itself: If you can combo into the same movement
- Special Cancel: If you can cancel the move into a Special Move
- Super Cancel: If you can cancel the move into a Super Art
- Throw Range: Range of the throw (in pixels)
- Num.: Super Art number
- Super Art: Super Art name
- Super Art Stock: Number of Gauge Bars the Super Art have, also the length of each bar (in pixels)
Frame Data
- Startup: Number of frames it takes to start the move
- Hit: Number of frames that can hit the opponent
- Recovery: Number of frames it takes to recover from the move
- Blocked Advantage: Number of frames you are in advantage/disadvantage after opponent have been blocked the hit
- Hit Advantage: Number of frames you are in advantage/disadvantage after opponent have been take the hit
- Crouching Hit Advantage: Number of frames you are in advantage/disadvantage after opponent have been take the hit while he's crouching
- + # : You have # frames of advantage
- - # : You have # frames of disadvantage
- # ~ # : Advantage/disadvantage can vary from # to #
- Down: Enemy gets knocked down
- Guard: How opponent must guard the move, High (H), Low (L) or both (HL)
- Parry: How opponent must parry the move, High (H), Low (L) or both (HL)
- Juggle Value: Amount that this move adds to the Juggle Counter, Value (0~15), Resets (R), Doesn't Affect (-)
Gauge Increase
- Miss: Gauge you gain if you miss the move (in pixels)
- Blocked: Gauge you gain if the move gets blocked (in pixels)
- Hit: Gauge you gain if you hit the opponent with the move (in pixels)
- Parry: Gauge opponent gains when he parry the move (in pixels)
Basic Moves
| Move | Start-up frames | In ground frames | In air frames | Recovery frames | Total frames |
|---|---|---|---|---|---|
| Dash Forward | 2? | 8? | - | 6? | 16 |
Comments here
| Move | Start-up frames | In ground frames | In air frames | Recovery frames | Total frames |
|---|---|---|---|---|---|
| Dash Backwards | 4? | 4? | - | 6? | 13 |
Comments here
| Move | Motion | Startup Frames |
| Jump | BU or U or FU | 3 |
Comments here
| Move | Motion | Startup Frames |
| Super Jump | DBU or DU or DFU | 5 |
Comments here
| Move | Motion | Frames |
| Normal Wakeup | - | 75 |
Comments here
| Move | Motion | Frames |
| Quick Stand | Tap D when hitting the ground | 48 |
Comments here
| Move | Motion | Damage | Stun Damage | Chains into itself | Special Cancel | Super Cancel |
| Taunt | HP+HK | 5/5 | 3/3 | No | No | No |
Frame Data
| Startup | Hit | Recovery | Blocked Advantage | Hit Advantage | Crouching Hit Advantage | Guard | Parry |
| 15/9 | 1/1 | 27 | ? | ? | ? | HL | HL |
Gauge Increase
| Miss | Blocked | Hit | Parry (Gauge for opponent) |
| 4(6) | ? | ? | 8(4+4) |
Comments here
| Move | Motion |
| Parry (High) | Tap F when about taking a hit |
| Parry (Low) | Tap D when about taking a hit |
| Parry (Air) | Tap F in air when about taking a hit |
Frame Data
| Move | Frames you're frozen | Frames opponent is frozen | Frame Advantage when parry is successful | Frames before you can try another parry |
| Parry (High) | 16 | 16 | +4(LP/LK) +3(MP/MK) +2(HP/HK) 0(Special/Super) -16(Fireball) | 24(19 when attack comes from the air)*,** |
| Parry (Low) | 16 | 16 | +4(LP/LK) +3(MP/MK) +2(HP/HK) 0(Special/Super) -16(Fireball) | 24(19 when attack comes from the air)*,** |
| Parry (Air) | 16 | 16 | +4(LP/LK) +3(MP/MK) +2(HP/HK) 0(Special/Super) -16(Fireball) | 21(19 when attack comes from the air)*,** |
| * (If a parry attempt is successful, the 19/21/24 frame restriction is taken away and you can attempt another parry immediately) |
| ** (If another attack connects within 2 frames of your parry, it will automatically be parried) |
Gauge Increase
| Move | Gauge Increase |
| Parry (High) | 4*** |
| Parry (Low) | 4*** |
| Parry (Air) | 4*** |
| *** (You gain 4 of gauge for whatever attack parried, and for whatever hit you parry during multihit attack) |
You can buffer any motion during High or Low parry, but NOT during Air parry, also parry resets the juggle count (and thus resets all scaling).
- Parry information is taken from Shoryuken Forums, more exactly, from user JinraiPVC. Thanks for this information dude
Normal Moves
Standing Normals
| Move | Motion | Damage | Stun Damage | Chains into itself | Special Cancel | Super Cancel | Juggle Value |
| Far Jab | LP | 20(3 life points) | 3 | Yes | Yes | Yes | 15 |
Frame Data
| Startup | Hit | Recovery | Blocked Advantage | Hit Advantage | Crouching Hit Advantage | Guard | Parry |
| 5 | 3 | 4 | +4 | +4 | +4 | HL | HL |
Gauge Increase
| Miss | Blocked | Hit | Parry (Gauge for opponent) |
| 0 | 1 | 2 | 4 |
Comments here
| Move | Motion | Damage | Stun Damage | Chains into itself | Special Cancel | Super Cancel | Juggle Value |
| Far Strong | MP | 90(16 life points) | 11 | No | No | No | 15 |
Frame Data
| Startup | Hit | Recovery | Blocked Advantage | Hit Advantage | Crouching Hit Advantage | Guard | Parry |
| 6 | 3 | 10 | +3 | +4 | +5 | HL | H |
Gauge Increase
| Miss | Blocked | Hit | Parry (Gauge for opponent) |
| 2 | 4 | 8 | 4 |
Comments here
| Move | Motion | Damage | Stun Damage | Chains into itself | Special Cancel | Super Cancel | Juggle Value |
| Far Fierce | HP | 130(23 life points) | 13 | No | No | No | 15 |
Frame Data
| Startup | Hit | Recovery | Blocked Advantage | Hit Advantage | Crouching Hit Advantage | Guard | Parry |
| 9 | 3 | 15 | 0 | +2 | +4 | HL | H |
Gauge Increase
| Miss | Blocked | Hit | Parry (Gauge for opponent) |
| 3 | 6 | 14 | 4 |
Comments here
| Move | Motion | Damage | Stun Damage | Chains into itself | Special Cancel | Super Cancel | Juggle Value |
| Close Jab | (Close to opponent) LP | 20(3 life points) | 3 | No | Yes | Yes | 15 |
Frame Data
| Startup | Hit | Recovery | Blocked Advantage | Hit Advantage | Crouching Hit Advantage | Guard | Parry |
| 3 | 3 | 5 | +3 | +3 | +3 | HL | HL |
Gauge Increase
| Miss | Blocked | Hit | Parry (Gauge for opponent) |
| 0 | 1 | 2 | 4 |
Comments here
| Move | Motion | Damage | Stun Damage | Chains into itself | Special Cancel | Super Cancel | Juggle Value |
| Close Strong | (Close to opponent) MP | 100(17 life points) | 7 | No | Yes | Yes | 15 |
Frame Data
| Startup | Hit | Recovery | Blocked Advantage | Hit Advantage | Crouching Hit Advantage | Guard | Parry |
| 4 | 4 | 10 | +1 | +2 | +3 | HL | H |
Gauge Increase
| Miss | Blocked | Hit | Parry (Gauge for opponent) |
| 2 | 4 | 8 | 4 |
Comments here
| Move | Motion | Damage | Stun Damage | Chains into itself | Special Cancel | Super Cancel | Juggle Value |
| Close Fierce | (Close to opponent) HP | 130(23 life points) | 15 | No | Yes | Yes | 15 |
Frame Data
| Startup | Hit | Recovery | Blocked Advantage | Hit Advantage | Crouching Hit Advantage | Guard | Parry |
| 6 | 3 | 15 | -2 | 0 | +2 | HL | H |
Gauge Increase
| Miss | Blocked | Hit | Parry (Gauge for opponent) |
| 3 | 6 | 14 | 4 |
Comments here
| Move | Motion | Damage | Stun Damage | Chains into itself | Special Cancel | Super Cancel | Juggle Value |
| Short | LK | 40(7 life points) | 3 | No | No | No | 15 |
Frame Data
| Startup | Hit | Recovery | Blocked Advantage | Hit Advantage | Crouching Hit Advantage | Guard | Parry |
| 4 | 4 | 7 | +2 | +2 | +2 | HL | HL |
Gauge Increase
| Miss | Blocked | Hit | Parry (Gauge for opponent) |
| 0 | 1 | 2 | 4 |
Comments here
| Move | Motion | Damage | Stun Damage | Chains into itself | Special Cancel | Super Cancel | Juggle Value |
| Forward | MK | 110(19 life points) | 15 | No | No | No | 7 |
Frame Data
| Startup | Hit | Recovery | Blocked Advantage | Hit Advantage | Crouching Hit Advantage | Guard | Parry |
| 8 | 7 | 16 | -6 | -2 | 0 | HL | H |
Gauge Increase
| Miss | Blocked | Hit | Parry (Gauge for opponent) |
| 2 | 4 | 8 | 4 |
Comments here
| Move | Motion | Damage | Stun Damage | Chains into itself | Special Cancel | Super Cancel | Juggle Value |
| Roundhouse | HK | 150(26 life points) | 11 | No | No | No | 15 |
Frame Data
| Startup | Hit | Recovery | Blocked Advantage | Hit Advantage | Crouching Hit Advantage | Guard | Parry |
| 11 | 6 | 19 | -4 | -2 | 0 | HL | H |
Gauge Increase
| Miss | Blocked | Hit | Parry (Gauge for opponent) |
| 3 | 6 | 14 | 4 |
Comments here
Jumping Normals
| Move | Motion | Damage | Stun Damage | Chains into itself | Special Cancel | Super Cancel | Juggle Value |
| Jump Jab | (Air) LP | 50(60 if neutral jump)(8/10 life points) | 7 | No | No | No | 3 |
Frame Data
| Startup | Hit | Recovery | Blocked Advantage | Hit Advantage | Crouching Hit Advantage | Guard | Parry |
| 4(5 if neutral jump) | Until landing | - | -5~+7 | -5~+7 | +4~+7 | H | H |
Gauge Increase
| Miss | Blocked | Hit | Parry (Gauge for opponent) |
| 0 | 1 | 2 | 4 |
Comments here
| Move | Motion | Damage | Stun Damage | Chains into itself | Special Cancel | Super Cancel | Juggle Value |
| Jump Strong | (Air) MP | 100(17 life points) | 11 | No | No | No | 3 |
Frame Data
| Startup | Hit | Recovery | Blocked Advantage | Hit Advantage | Crouching Hit Advantage | Guard | Parry |
| 5(6 if neutral jump) | 5 | - | -2~+10 | -2~+10 | +7~+10 | H | H |
Gauge Increase
| Miss | Blocked | Hit | Parry (Gauge for opponent) |
| 2 | 4 | 8 | 4 |
Comments here
| Move | Motion | Damage | Stun Damage | Chains into itself | Special Cancel | Super Cancel | Juggle Value |
| Jump Fierce | (Air) HP | 130(17 life points) | 15 | No | No | No | 3 |
Frame Data
| Startup | Hit | Recovery | Blocked Advantage | Hit Advantage | Crouching Hit Advantage | Guard | Parry |
| 6 | 4 | - | -2~+10 | -2~+10 | +7~+10 | H | H |
Gauge Increase
| Miss | Blocked | Hit | Parry (Gauge for opponent) |
| 3 | 6 | 14 | 4 |
Comments here
| Move | Motion | Damage | Stun Damage | Chains into itself | Special Cancel | Super Cancel | Juggle Value |
| Neutral Jump Fierce | (Air) HP | 130(23 life points) | 15 | No | No | No | 3 |
Frame Data
| Startup | Hit | Recovery | Blocked Advantage | Hit Advantage | Crouching Hit Advantage | Guard | Parry |
| 7 | 3 | - | +3~+13/+6~+13 | +3~+13/+6~+13 | +10~+13/+12~+13 | H | H |
Gauge Increase
| Miss | Blocked | Hit | Parry (Gauge for opponent) |
| 3 | 6 | 14 | 4 |
Comments here
| Move | Motion | Damage | Stun Damage | Chains into itself | Special Cancel | Super Cancel | Juggle Value |
| Jump Short | (Air) LK | 50(8 life points) | 5(7 if neutral jump) | No | No | No | 3 |
Frame Data
| Startup | Hit | Recovery | Blocked Advantage | Hit Advantage | Crouching Hit Advantage | Guard | Parry |
| 4(5 if neutral jump) | 10(19 if neutral jump) | - | -8~+7 | -8~+7 | 0~+7 | H | H |
Gauge Increase
| Miss | Blocked | Hit | Parry (Gauge for opponent) |
| 0 | 1 | 2 | 4 |
Comments here
| Move | Motion | Damage | Stun Damage | Chains into itself | Special Cancel | Super Cancel | Juggle Value |
| Jump Forward | (Air) MK | 90(16 life points) | 9 | No | No | No | 3 |
Frame Data
| Startup | Hit | Recovery | Blocked Advantage | Hit Advantage | Crouching Hit Advantage | Guard | Parry |
| 5 | 6 | - | -6~+10/-3~+10 | -6~+10/-3~+10 | +6~+10/+7~+10 | H | H |
Gauge Increase
| Miss | Blocked | Hit | Parry (Gauge for opponent) |
| 2 | 4 | 8 | 4 |
Comments here
| Move | Motion | Damage | Stun Damage | Chains into itself | Special Cancel | Super Cancel | Juggle Value |
| Neutral Jump Forward | (Air) MK | 90(16 life points) | 9 | No | No | No | 3 |
Frame Data
| Startup | Hit | Recovery | Blocked Advantage | Hit Advantage | Crouching Hit Advantage | Guard | Parry |
| 5 | 6 | - | -6~+10/-3~+10 | -6~+10/-3~+10 | +6~+10/+7~+10 | H | H |
Gauge Increase
| Miss | Blocked | Hit | Parry (Gauge for opponent) |
| 2 | 4 | 8 | 4 |
Comments here
| Move | Motion | Damage | Stun Damage | Chains into itself | Special Cancel | Super Cancel | Juggle Value |
| Jump Roundhouse | (Air) HK | 125(22 life points) | 13 | No | No | No | 3 |
Frame Data
| Startup | Hit | Recovery | Blocked Advantage | Hit Advantage | Crouching Hit Advantage | Guard | Parry |
| 6 | 4 | - | +2~+13 | +2~+13 | +8~+13/+10~+13 | H | H |
Gauge Increase
| Miss | Blocked | Hit | Parry (Gauge for opponent) |
| 3 | 6 | 14 | 4 |
Comments here
| Move | Motion | Damage | Stun Damage | Chains into itself | Special Cancel | Super Cancel | Juggle Value |
| Neutral Jump Roundhouse | (Air) HK | 130(23 life points) | 13 | No | No | No | 3 |
Frame Data
| Startup | Hit | Recovery | Blocked Advantage | Hit Advantage | Crouching Hit Advantage | Guard | Parry |
| 7 | 5 | - | +2~+13 | +2~+13 | +8~+13/+10~+13 | H | H |
Gauge Increase
| Miss | Blocked | Hit | Parry (Gauge for opponent) |
| 3 | 6 | 14 | 4 |
Comments here
| Move | Motion | Damage | Stun Damage | Chains into itself | Special Cancel | Super Cancel | Juggle Value |
| Universal Overhead | MP+MK | 40(7 life points) | 3 | No | No | No | 1 |
Frame Data
| Startup | Hit | Recovery | Blocked Advantage | Hit Advantage | Crouching Hit Advantage | Guard | Parry |
| 15 | 8 | 7 | -5~+7 | 0~+8 | +1~+9 | H | H |
Gauge Increase
| Miss | Blocked | Hit | Parry (Gauge for opponent) |
| 0 | 1 | 2 | 4 |
Comments here
Throws
| Move | Motion | Damage | Stun Damage | Throw Range | Kara-Throw | Kara-Throw Range |
| Hiza Geri | LP+LK | 160(40x6)(27 life points) | 12(3x6) | 24 | C+MK/C+HK/B+MK/MK/HK | 37/37/34/32/32 |
Frame Data
| Startup | Hit | Recovery | Blocked Advantage | Hit Advantage | Crouching Hit Advantage | Guard | Parry |
| 2 | 1 | 21 | - | - | - | LP+LK | - |
Gauge Increase
| Miss | Blocked | Hit |
| 0 | 7 (for the player who blocked) | 12(6x2) |
Comments here
| Move | Motion | Damage | Stun Damage | Throw Range | Kara-Throw | Kara-Throw Range |
| Seoi Nage | F+LP+LK | 120(21 life points) | 9 | 24 | C+MK/C+HK/B+MK/MK/HK | 37/37/34/32/32 |
Frame Data
| Startup | Hit | Recovery | Blocked Advantage | Hit Advantage | Crouching Hit Advantage | Guard | Parry |
| 2 | 1 | 21 | - | - | - | LP+LK | - |
Gauge Increase
| Miss | Blocked | Hit |
| 0 | 7 (for the player who blocked) | 7 |
Comments here
| Move | Motion | Damage | Stun Damage | Throw Range | Kara-Throw | Kara-Throw Range |
| Jigoku Guruma | B+LP+LK | 110(19 life points) | 15 | 24 | C+MK/C+HK/B+MK/MK/HK | 37/37/34/32/32 |
Frame Data
| Startup | Hit | Recovery | Blocked Advantage | Hit Advantage | Crouching Hit Advantage | Guard | Parry |
| 2 | 1 | 21 | - | - | - | LP+LK | - |
Gauge Increase
| Miss | Blocked | Hit |
| 0 | 7 (for the player who blocked) | 7 |
Comments here
Crouching Normals
| Move | Motion | Damage | Stun Damage | Chains into itself | Special Cancel | Super Cancel | Juggle Value |
| Crouch Jab | D+LP | 20(3 life points) | 3 | Yes | Yes | Yes | 15 |
Frame Data
| Startup | Hit | Recovery | Blocked Advantage | Hit Advantage | Crouching Hit Advantage | Guard | Parry |
| 4 | 3 | 5 | +3 | +3 | +3 | HL | HL |
Gauge Increase
| Miss | Blocked | Hit | Parry (Gauge for opponent) |
| 0 | 1 | 2 | 4 |
Comments here
| Move | Motion | Damage | Stun Damage | Chains into itself | Special Cancel | Super Cancel | Juggle Value |
| Crouch Strong | D+MP | 90(16 life points) | 7 | No | Yes | Yes | 15 |
Frame Data
| Startup | Hit | Recovery | Blocked Advantage | Hit Advantage | Crouching Hit Advantage | Guard | Parry |
| 5 | 4 | 7 | +3 | +4 | +5 | HL | HL |
Gauge Increase
| Miss | Blocked | Hit | Parry (Gauge for opponent) |
| 2 | 4 | 8 | 4 |
Comments here
| Move | Motion | Damage | Stun Damage | Chains into itself | Special Cancel | Super Cancel | Juggle Value |
| Crouch Fierce | D+HP | 130(23 life points) | 13 | No | Yes | Yes | 15 |
Frame Data
| Startup | Hit | Recovery | Blocked Advantage | Hit Advantage | Crouching Hit Advantage | Guard | Parry |
| 7 | 5 | 17 | -8 | -6 | -4 | HL | HL |
Gauge Increase
| Miss | Blocked | Hit | Parry (Gauge for opponent) |
| 3 | 6 | 14 | 4 |
Comments here
| Move | Motion | Damage | Stun Damage | Chains into itself | Special Cancel | Super Cancel | Juggle Value |
| Crouch Short | D+LK | 20(3 life points) | 3 | Yes | Yes | Yes | 15 |
Frame Data
| Startup | Hit | Recovery | Blocked Advantage | Hit Advantage | Crouching Hit Advantage | Guard | Parry |
| 5 | 3 | 7 | +1 | +1 | +1 | L | L |
Gauge Increase
| Miss | Blocked | Hit | Parry (Gauge for opponent) |
| 0 | 1 | 2 | 4 |
Comments here
| Move | Motion | Damage | Stun Damage | Chains into itself | Special Cancel | Super Cancel | Juggle Value |
| Crouch Forward | D+MK | 85(15 life points) | 3 | No | Yes | Yes | 15 |
Frame Data
| Startup | Hit | Recovery | Blocked Advantage | Hit Advantage | Crouching Hit Advantage | Guard | Parry |
| 6 | 5 | 17 | -3 | -3 | -1 | L | L |
Gauge Increase
| Miss | Blocked | Hit | Parry (Gauge for opponent) |
| 2 | 4 | 8 | 4 |
Comments here
| Move | Motion | Damage | Stun Damage | Chains into itself | Special Cancel | Super Cancel | Juggle Value |
| Crouch Roundhouse | D+HK | 130(23 life points) | 3 | No | No | No | 15 |
Frame Data
| Startup | Hit | Recovery | Blocked Advantage | Hit Advantage | Crouching Hit Advantage | Guard | Parry |
| 6 | 5 | 26 | -13 | Down | Down | L | L |
Gauge Increase
| Miss | Blocked | Hit | Parry (Gauge for opponent) |
| 3 | 6 | 14 | 4 |
Comments here
Command Normals
| Move | Motion | Damage | Stun Damage | Chains into itself | Special Cancel | Super Cancel | Juggle Value |
| Fumikomi Mae Geri | F+MK | 80(14 life points) | 7 | No | No | No | 3 |
Frame Data
| Startup | Hit | Recovery | Blocked Advantage | Hit Advantage | Crouching Hit Advantage | Guard | Parry |
| 16 | 4 | 15 | -4 | -1 | 0 | HL | H |
Gauge Increase
| Miss | Blocked | Hit | Parry (Gauge for opponent) |
| 3 | 6 | 14 | 4 |
Comments here
| Move | Motion | Damage | Stun Damage | Chains into itself | Special Cancel | Super Cancel | Juggle Value |
| Inazuma Kakato Wari | B+MK | 130(60+80)(21 life points) | 11(7+7) | No | No | No | 2 • 1 |
Frame Data
| Startup | Hit | Recovery | Blocked Advantage | Hit Advantage | Crouching Hit Advantage | Guard | Parry |
| 18 | 2(0)2 | 10 | +1 | +2 | +3 | H/H | H/H |
Gauge Increase
| Miss | Blocked | Hit | Parry (Gauge for opponent) |
| 2(2+0) | 3(2+1) | 9(7+2) | 8(4+4) |
Comments here
| Move | Motion | Damage | Stun Damage | Chains into itself | Special Cancel | Super Cancel | Juggle Value |
| Inazuma Kakato Wari | Hold MK | 110/130(60+80)(29 life points) | 15/11(7+7) | No | No | No | 2 • 1 |
Frame Data
| Startup | Hit | Recovery | Blocked Advantage | Hit Advantage | Crouching Hit Advantage | Guard | Parry |
| 8 > 25 | 4/2/2 | 10 | +1 | +2 | +3 | HL/H/H | H/H/H |
Gauge Increase
| Miss | Blocked | Hit | Parry (Gauge for opponent) |
| 4(2+2+0) | 7(4+2+1) | 17(8+7+2) | 12(4+4+4) |
Comments here
| Move | Motion | Damage | Stun Damage | Chains into itself | Special Cancel | Super Cancel | Juggle Value |
| Shiden Kakato Otoshi | F+HK | 120(80)(21 life points) | 11(9) | No | No | No | 2 |
Frame Data
| Startup | Hit | Recovery | Blocked Advantage | Hit Advantage | Crouching Hit Advantage | Guard | Parry |
| 30 | 5 | 14 | -1 | +1 | +3 | H | H |
Gauge Increase
| Miss | Blocked | Hit | Parry (Gauge for opponent) |
| 3(0) | 6(1) | 14(2) | 4 |
Comments here
| Move | Motion | Damage | Stun Damage | Chains into itself | Special Cancel | Super Cancel | Juggle Value |
| Shiden Kakato Otoshi (Fake) | F+HK (Hold HK) | - | - | No | No | No | - |
Frame Data
| Startup | Hit | Recovery | Blocked Advantage | Hit Advantage | Crouching Hit Advantage | Guard | Parry |
| 30 | 5 | 18 | - | - | - | - | - |
Gauge Increase
| Miss | Blocked | Hit | Parry (Gauge for opponent) |
| - | - | - | - |
Comments here
Target Combo
| Move | Motion | Damage | Stun Damage | Chains into itself | Special Cancel | Super Cancel | Juggle Value |
| Target Combo | Close MP -> Close HP | 100+60 | 7+5 | No | Yes/Yes | Yes/Yes | 15/15 |
Frame Data
| Startup | Hit | Recovery | Blocked Advantage | Hit Advantage | Crouching Hit Advantage | Guard | Parry |
| 4 | - | - | -2 | 0 | +2 | HL/HL | H/H |
Gauge Increase
| Miss | Blocked | Hit | Parry (Gauge for opponent) |
| 2+? | 4+1 | 8+1 | 8(4+4) |
Comments here
Special Moves
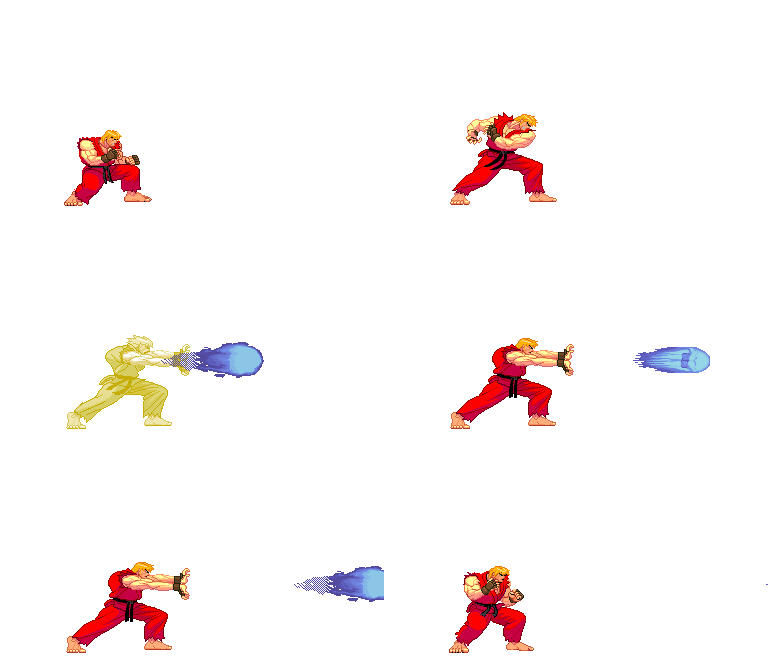
Please note that in this section you will see mainly 3 images for the special moves, this means the image on the left its done with LP (or LK), the image on the center its done with MP (or MK), and the image on the right its done with HP (or HK). Also its the same "rule" as the sections above, its the 1rst frame it hits for every of the moves.
| Move | Motion | Damage | Blocked Damage | Stun Damage | Super Cancel | Juggle Value |
| Hadouken | QCF+P | 60(10 life points) | 4 | 3 | Yes | 7 |
Frame Data
| Startup | Hit | Recovery | Blocked Advantage | Hit Advantage | Crouching Hit Advantage | Guard | Parry |
| 10 | 1 | 38 | -11 | -10 | -10 | HL | H |
Gauge Increase
| Miss | Blocked | Hit | Parry (Gauge for opponent) |
| 0 | 1 | 1 | 4 |
Comments here
| Move | Motion | Damage | Blocked Damage | Stun Damage | Super Cancel | Juggle Value |
| Shoryuken (Jab) | F, D, DF+LP | 150(100)(60)(26 life points) | 19(6)(4) | 11 | Yes | 3 |
| Shoryuken (Strong) | F, D, DF+MP | 165(110+55)(28 life points) | 21(14+7) | 15(11+5) | Yes/No | 3 • 3 |
| Shoryuken (Fierce) | F, D, DF+HP | 185(80+60+50)(32 life points) | 21(10+8+3) | 17(11+3+3) | Yes/Yes/No | 3 • 3 • 3 |
Frame Data
| Move | Startup | Hit | Recovery | Blocked Advantage | Hit Advantage | Crouching Hit Advantage | Guard | Parry |
| Shoryuken (Jab) | 2 | 8 | 26 | -17 | Down | Down | HL | HL |
| Shoryuken (Strong) | 3 | 2/12 | 28 | -24 | Down | Down | HL/HL | HL/HL |
| Shoryuken (Fierce) | 1 | 2/2/7 | 32 | -31 | Down | Down | HL/HL/HL | HL/HL/HL |
Gauge Increase
| Move | Miss | Blocked | Hit | Parry (Gauge for opponent) |
| Shoryuken (Jab) | 3 | 10 | 15 | 4 |
| Shoryuken (Strong) | 3 | 11(10+1) | 17(15+2) | 8(4+4) |
| Shoryuken (Fierce) | 3 | 12(10+1+1) | 19(15+2+2) | 12(4+4+4) |
Comments here
| Move | Motion | Damage | Blocked Damage | Stun Damage | Super Cancel | Juggle Value |
| Tatsumaki Senpuu Kyaku (Short) | QCB+LK | 115(80+30)(19 life points) | 12(10+2) | 10(7+3) | Yes/No | 3 • 15 |
| Tatsumaki Senpuu Kyaku (Forward) | QCB+MK | 140(60+30(x3))(23 life points) | 14(8+2(x3)) | 15(7+3(x3)) | Yes/No/No/No | 3 • 3 • 3 • 15 |
| Tatsumaki Senpuu Kyaku (Roundhouse) | QCB+HK | 160(60+30(x4))(27 life points) | 16(8+2(x4)) | 17(7+3(x4)) | Yes/No/No/No/No | (3x4) • 15 |
Frame Data
| Move | Startup | Hit | Recovery | Blocked Advantage | Hit Advantage | Crouching Hit Advantage | Guard | Parry |
| Tatsumaki Senpuu Kyaku (Short) | 6・16・22 | 2・3・2 | 14 | -5 | -3 | -3 | HL/HL | H/H |
| Tatsumaki Senpuu Kyaku (Forward) | 6・12・17・22・27・32・37 | 2x7 | 15 | -6 | -4 | -4 | HL/HL/HL/HL | H/H/H/H |
| Tatsumaki Senpuu Kyaku (Roundhouse) | 6・13・18・23・28・33・38・43・48 | 2x9 | 15 | -7 | -5 | -5 | HL/HL/HL/HL/HL | H/H/H/H/H |
Gauge Increase
| Move | Miss | Blocked | Hit | Parry (Gauge for opponent) |
| Tatsumaki Senpuu Kyaku (Short) | 3 | 9(8+1) | 15(13+2) | 8(4+4) |
| Tatsumaki Senpuu Kyaku (Forward) | 3 | 11(8+1x3) | 19(13+2x3) | 16(4+4+4+4) |
| Tatsumaki Senpuu Kyaku (Roundhouse) | 3 | 12(8+1x4) | 21(13+2x4) | 20(4+4+4+4+4) |
Comments here
| Move | Motion | Damage | Blocked Damage | Stun Damage | Super Cancel | Juggle Value |
| Air Tatsumaki Senpuu Kyaku (Short) | (Air) QCB+LK | 160*(80x4)(27 life points) | 5**(5x4) | 10***(5x4) | No/No | 3x4 |
| Air Tatsumaki Senpuu Kyaku (Forward) | (Air) QCB+MK | 160*(80x6)(40 life points) | 5**(5x6) | 10***(5x6) | No/No | 3x6 |
| Air Tatsumaki Senpuu Kyaku (Roundhouse) | (Air) QCB+HK | 160*(80x8)(40 life points) | 5**(5x8) | 10***(5x8) | No/No | 3x8 |
Frame Data
| Move | Startup | Hit | Recovery | Blocked Advantage | Hit Advantage | Crouching Hit Advantage | Guard | Parry |
| Air Tatsumaki Senpuu Kyaku (Short) | 7・10・15・18 | 1x4 | 12 | - | - | - | HL | H/H |
| Air Tatsumaki Senpuu Kyaku (Forward) | 7・10・15・18・23・26 | 1x6 | 12 | - | - | - | HL | H/H/H |
| Air Tatsumaki Senpuu Kyaku (Roundhouse) | 7・10・15・18・23・26・31・34 | 1x8 | 12 | - | - | - | HL | H/H/H/H |
Gauge Increase
| Move | Miss | Blocked | Hit | Parry (Gauge for opponent) |
| Air Tatsumaki Senpuu Kyaku (Short) | 2(1x2) | 4(2x2) | 18(9x2) | 8(4+4) |
| Air Tatsumaki Senpuu Kyaku (Forward) | 3(1x3) | 6(2x3) | 27(9x3) | 12(4+4+4) |
| Air Tatsumaki Senpuu Kyaku (Roundhouse) | 4(1x4) | 8(2x4) | 36(9x4) | 16(4+4+4+4) |
Comments here
EX Moves
| Move | Motion | Gauge Needed | Damage | Blocked Damage | Stun Damage | Super Cancel | Juggle Value |
| Hadouken (EX) | QCF+PP | 40 | 120(60+60)(20 life points) | 8(4+4) | 6(3+3) | Yes | 3 • 7 |
Frame Data
| Move | Startup | Hit | Recovery | Blocked Advantage | Hit Advantage | Crouching Hit Advantage | Guard | Parry |
| Hadouken (EX) | 10 | 1 | 38 | -6 | Down | Down | HL | H |
Gauge Increase
| Move | Miss | Blocked | Hit | Parry (Gauge for opponent) |
| Hadouken (EX) | - | - | - | 8(4+4) |
Comments here
| Move | Motion | Gauge Needed | Damage | Blocked Damage | Stun Damage | Super Cancel | Juggle Value |
| Shoryuken (EX) | F, D, DF+PP | 40 | 210(80+50+40+40)(34 life points) | 24(10+6+5+3) | 20(11+3(x3)) | Yes | 1 • 1 • 3 • 3 |
Frame Data
| Move | Startup | Hit | Recovery | Blocked Advantage | Hit Advantage | Crouching Hit Advantage | Guard | Parry |
| Shoryuken (EX) | 1 | 2/2/2/14 | 38 | -36 | Down | Down | HL | HL |
Gauge Increase
| Move | Miss | Blocked | Hit | Parry (Gauge for opponent) |
| Hadouken (EX) | - | - | - | 16(4+4+4+4) |
Comments here
| Move | Motion | Gauge Needed | Damage | Blocked Damage | Stun Damage | Super Cancel | Juggle Value |
| Tatsumaki Senpuu Kyaku (EX) | QCB+KK | 40 | 200(60+35(x4)+30)(34 life points) | 19(8+2(x5)) | 20(7+3(x5)) | Yes | (3x5) • 15 |
Frame Data
| Move | Startup | Hit | Recovery | Blocked Advantage | Hit Advantage | Crouching Hit Advantage | Guard | Parry |
| Tatsumaki Senpuu Kyaku (EX) | 4・11・15・19・23・27・31・35・39・43・48 | 2×11 | 13 | -3 | -1 | -1 | HL | H |
Gauge Increase
| Move | Miss | Blocked | Hit | Parry (Gauge for opponent) |
| Tatsumaki Senpuu Kyaku (EX) | - | - | - | 24(4+4+4+4+4+4) |
Comments here
| Move | Motion | Gauge Needed | Damage | Blocked Damage | Stun Damage | Super Cancel | Juggle Value |
| Air Tatsumaki Senpuu Kyaku (EX) | (Air) QCB+KK | 40 | 240(80(x10))(52 life points) | 5(5(x10)) | 15(5(x10)) | No | 1x10 |
Frame Data
| Move | Startup | Hit | Recovery | Blocked Advantage | Hit Advantage | Crouching Hit Advantage | Guard | Parry |
| Air Tatsumaki Senpuu Kyaku (EX) | 6・9・12・15・18・21・24・27・30・33・36・39・42 | 1x13 | 12 | - | Down | Down | HL | H |
Gauge Increase
| Move | Miss | Blocked | Hit | Parry (Gauge for opponent) |
| Air Tatsumaki Senpuu Kyaku (EX) | - | - | - | 20(4+4+4+4+4) |
Comments here
Super Arts
| Super Art | Super Art Name | Super Art Stock | Motion | Damage | Blocked Damage | Stun Damage | Damage/Gauge |
| I | Shoryureppa | 2 bars (112 each bar) | QCF QCF+P | 400*(69 life points) | 43** | 8 | 3.57(x2) |
| * 80+50+60+70+40+40+(40x6) Damage is when all hits connect. |
| ** 16+6+8+4+3+3+(3x6) Damage is when all hits connect. |
Frame Data
| Startup | Hit | Recovery | Blocked Advantage | Hit Advantage | Crouching Hit Advantage | Guard | Parry | Juggle Value |
| 1 | 1 | 11 | -38 | Down | Down | HLx7~9 | HLx7~9 | (Rx11) • 15 |
| * R means Reset. |
Comments here
| Super Art | Super Art Name | Super Art Stock | Motion | Damage | Blocked Damage | Stun Damage | Damage/Gauge |
| II | Shinryuken | 1 bar (104) | QCF QCF+K (Press K rapidly) | 495*(67 life points) | 58** | 0 | 4.75 |
| * 80+50+60+70+40+40+(40x6) Damage is when all hits connect. |
| ** 16+6+8+4+3+3+(3x6) Damage is when all hits connect. |
Frame Data
| Startup | Hit | Recovery | Blocked Advantage | Hit Advantage | Crouching Hit Advantage | Guard | Parry | Juggle Value |
| 2 | 2 | 61 | -80 | Down | Down | HLx3~5 | HLx3~5 | *Rx9~15 |
| * R means Reset. |
Comments here
| Super Art | Super Art Name | Super Art Stock | Motion | Damage | Blocked Damage | Stun Damage | Damage/Gauge |
| III | Shippu Jinrai Kyaku | 3 bars (80 each bar) | QCF QCF+K | 290*(51 life points) | 29** | 15 | 3.62(x3) |
| * 80+50+60+70+40+40+(40x6) Damage is when all hits connect. |
| ** 16+6+8+4+3+3+(3x6) Damage is when all hits connect. |
Frame Data
| Startup | Hit | Recovery | Blocked Advantage | Hit Advantage | Crouching Hit Advantage | Guard | Parry | Juggle Value |
| 2 | 2 | 27 | -11 | Down | Down | HLx5 | Hx5 | (*Rx8) · 15 · (**Rx6) |
| * R means Reset |
| ** Descending tatsu part. |
Comments here
Combos
Midscreen
Everyone
| 1st Move | 2nd Move | 3rd Move | 4th Move | Damage | Stun Damage |
| Crouch MK | Tatsumaki Senpuu Kyaku (EX) | - | - | 288 (25%) | 15 |
| Close MP | Close HP | Shoryuken (LP) | - | 288 (25%) | 20 |
| Close HP | Shoryuken (HP) | - | - | 311 (27%) | 28 |
Specific to:
Q
| 1st Move | 2nd Move | 3rd Move | 4th Move | Damage | Stun Damage |
| Close MP | Close HP | Shoryuken (LP) | Shoryuken (LP) | ??? (??%) | ?? |
Hugo, Makoto (standing), Urien (crouching), Dudley (crouching)
| 1st Move | 2nd Move | 3rd Move | 4th Move | Damage | Stun Damage |
| Close MP | Close HP | Shoryuken (MP) | SA3 | ??? (??%) | ?? |
Corner
Specific to:
Ryu, Akuma, Urien, Q, Necro, Elena, Chun-Li, Makoto, Sean, Ken and Twelve
| 1st Move | 2nd Move | 3rd Move | 4th Move | Damage | Stun Damage |
| Close MP | Close HP | Shoryuken (LP) | Shoryuken (LP) | ??? (??%) | ?? |
Hit Confirms
Everyone
| 1st Move | 2nd Move | 3rd Move | 4th Move | Damage | Stun Damage |
| Crouch LK | Crouch LK | - | - | ??? (??%) | ?? |
Specific to:
Yun, Akuma, Oro, Remy, Dudley, Elena, Chun-Li, Ibuki, Hugo, Makoto, Alex and Yang
| 1st Move | 2nd Move | 3rd Move | 4th Move | Damage | Stun Damage |
| Crouch LK | Crouch LK | Crouch LK | - | ??? (??%) | ?? |
Ryu, Yun, Akuma, Oro, Remy, Dudley, Elena, Chun-Li, Ibuki, Hugo, Makoto, Sean, Ken, Twelve, Alex and Yang
| 1st Move | 2nd Move | 3rd Move | 4th Move | Damage | Stun Damage |
| Crouch LK | Crouch LP | Crouch LK | - | ??? (??%) | ?? |
Super Art 1
Everyone
| 1st Move | 2nd Move | 3rd Move | 4th Move | Damage | Stun Damage |
| Crouch MK | Shoryuken (HP) (2hits) | Super Art 1 | - | 414 (36%) | 18 |
| Close HP | Hadouken | Super Art 1 | - | 426 (37%) | 18 |
Super Art 2
Everyone
| 1st Move | 2nd Move | 3rd Move | 4th Move | Damage | Stun Damage |
| Crouch MK | Super Art 2 | - | - | 552 (48%) | 0 |
| Close MP | Close HP | Super Art 2 | - | 552 (48%) | 10 |
Super Art 3
Everyone
| 1st Move | 2nd Move | 3rd Move | 4th Move | Damage | Stun Damage |
| Crouch LK | Crouch LK | Super Art 3 | - | 322 (28%) | 15 |
| Close MP | Close HP | Hadouken (HP) | Super Art 3 | ??? (??%) | ?? |
| Close MP | Close HP | Super Art 3 | - | 391 (34%) | 22 |
| Crouch MK | Shoryuken (MP) (1hit) | Super Art 3 | - | ??? (??%) | ?? |
| Close HP | Shoryuken (MP) (1hit) | Super Art 3 | - | ??? (??%) | ?? |
Specific to:
Hugo and Makoto
| 1st Move | 2nd Move | 3rd Move | 4th Move | Damage | Stun Damage |
| Close MP | Close HP | Shoryuken (MP) (1hit) | Super Art 3 | ??? (??%) | ?? |
Note about performing combos: I do super cancels like this for ken.
QCF M kick QCF and kick button but here's the real trick
The special thing to keep in mind is to press down and mk at the same time then follow through with the rest of the combo.
You can practice even during matches. Instead of holding down and performing mk just press down and mk at the same time.
I also do something similar for canceling Hadouken into SAIII but instead, do not press down and punch at the same time. The notation should
QCF, P, QCF, K.
Some people might have problems going from shoryuken to SAIII. My method is
F, QCF, P, QCF, K.
Hope this helps out future players. -Velius
Strategies
Overview
Super Art 3 is the super of choice, although SAI does more damage it has range. For example it will whiff at max range of cr. mk.
Ken has a fast dash and a good close up game with his MPxxHP chain and cr. LKx2 into shippu. Also his jumping mk is good for crossing up.
Basics
Learn how to use low forward because it is pretty safe, and can cancel into EX hadoken (use Ex hadoken cause it is safer that a regular hadoken). It can also cancel into SAIII.
Get a knockdown and do any of these:
- cr. short,cr. short xx Shippu.
- strong->fierce xx Shippu.
note:if you have trouble confirming the Shippu throw in a hadoken to buy some time, it only takes away 1 point of damage. So it wold be strong-> fierce xx hadoken xx Shippu)
- dashback, cr. forward xx Shippu.
- cr. strong -> Shippu.
- far strong -> Shippu.
- cr. short, walk up, throw.
If your beating him badly, chances are he'll do a shoryuken or super on wakeup so just block then punish it.
- Best punisher*
Close Fierce xx MP Shoryuken XX Shippu.
Super Art Selection
SAI (Shoryu-Reppa):
A decent super, would probably be his super of choice if SAIII didn't exist. Has numerous hit confirms, 2 stocks, and good damage. On the downside, doesn't have the incredible invincibility frames and lightning-fast startup of SAIII, and has significantly worse recovery.
SAII (Shinryu-Ken):
Not a very popular super, as it has very pronounced flaws and strengths. It is a fairly good anti-air (since you can mash unpredictably, and thus mess up the opponent's air-parry timings), and does the most damage out of his supers by a good amount. On the flip side, it has terrible range, even more terrible recovery, and doesn't have as many good hit-confirms and cancels as his other two supers. Probably his least used super.
SAIII (Shippu-Jinrai-Kyaku):
The universal choice of super for Ken, for good reason. Perhaps its biggest selling points are the 3 stocks (lots of EX meter for fireballs and air hurricane kicks) and its absurd number of hit confirms...it links off of just about anything you can possibly imagine. But less obvious (but equally important) properties include its lightning-quick startup - it can punish a whole bunch of moves that are otherwise usually safe, i.e. any shoto's cr. mk (yes, it can be reversal super punished, if blocked), Alex's EX shoulder, etc. It also has great invincibility properties - at point-blank, virtually nothing but a projectile can knock Ken out of the super. (I've heard Dudley's jab is also capable of this, but this needs to be confirmed.) The only downside to this super is the fairly low damage, but it's still perfectly respectable, especially for the length of meter, and the numerous upsides completely outweigh that one small negative.
Kara-Techniques
Kara Shoryuken
Zoning
- c. MK
Probably the best move to use, decent range, very fast and can also go into SAIII, SRK and EX Hadou (normal as well but EX is safe), use about longish/mid-range
- MP
Decent range, fast move, can link into SAIII
- c. MP
Very fast, use when fairly close to opponent, can link (recommended) or cancel into SAIII/SRK/EX Hadou
- HK
A bit slow of a move but its definitely a good move when the opponent is far away, has great range
- MK
Basically a replacement HK for when you need that extra speed with the same power, though a bit shorter of a kick, so use when opponent is about mid-range
Mixups
Additional Notes
- Personal Action: Increased damage for all moves except throws, this increase goes away after the next attack (blocked or not) and extends for an entire combo. Ken's personal action can actually hit twice.
Match-ups
Serious Advantage Match-ups
- Twelve
Advantage Match-ups
- Yang
- Akuma
- Urien
- Oro
- Ibuki
- Elena
- Necro
- Alex
- Remy
- Q
- Hugo
Fair Match-ups
- Yun
- Makoto
- Dudley
- Ryu
- Sean
Disadvantage Match-ups
- Chun-Li
