Introduction
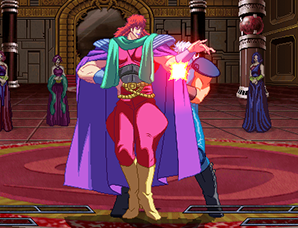
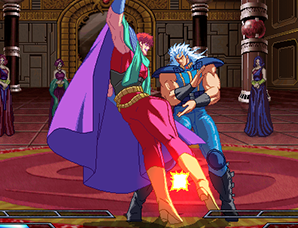
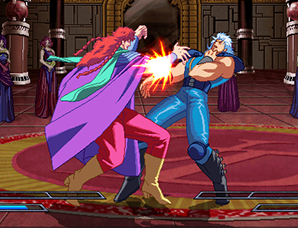
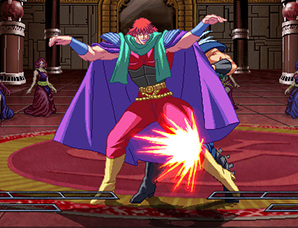
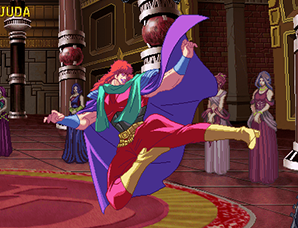
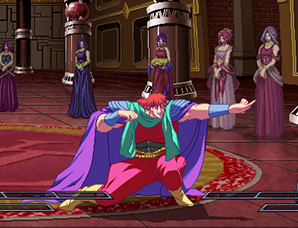
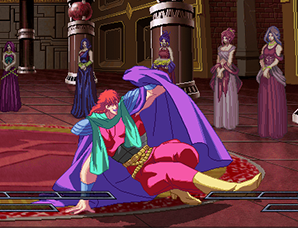
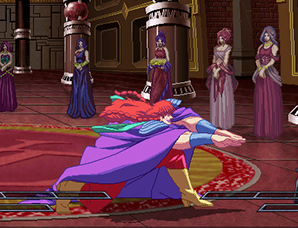
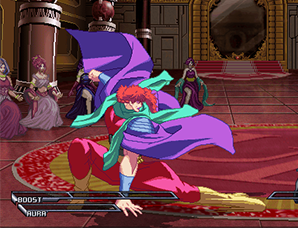
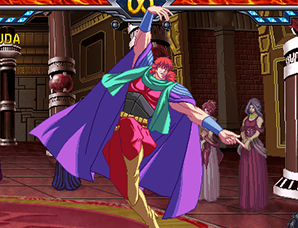
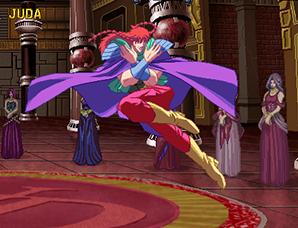
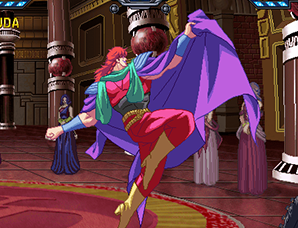
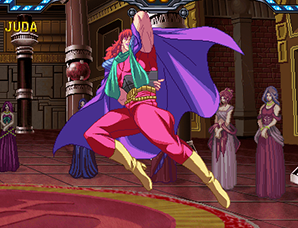
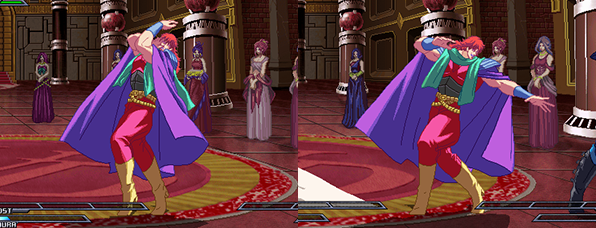
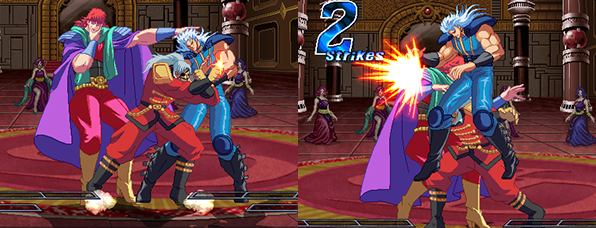
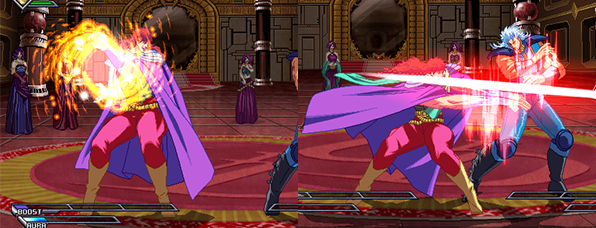
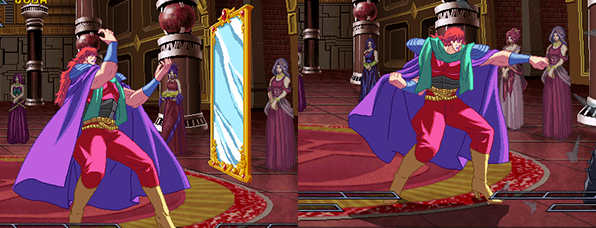
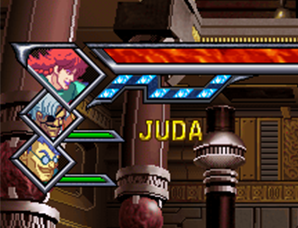
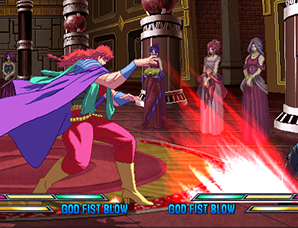
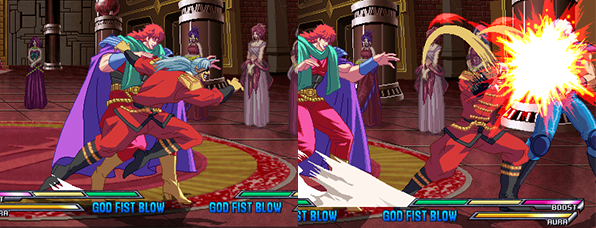
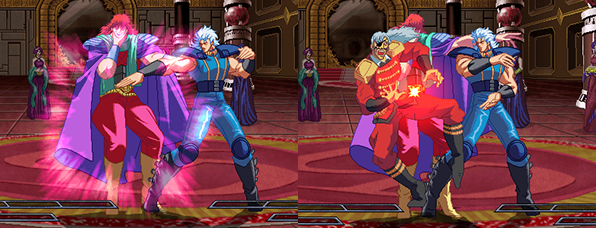
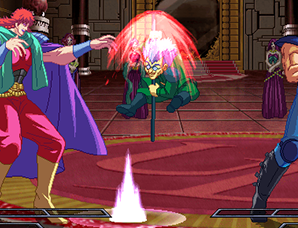
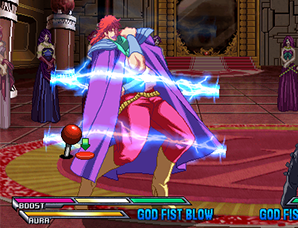
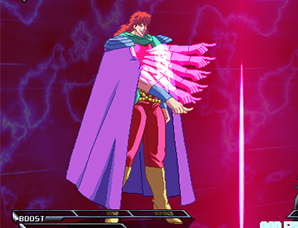
| Juda is a tricky, trap-based character, perhaps most comparable to Testament from the Guilty Gear series. The use of his followers allow him to create advantageous situations without much risk to himself, and he has a full arsenal of mixups and unblockable set-plays at his fingertips, many of which are capable of chaining into 100% combos. Juda also has several good reversals, namely his Stamp uppercut and dam super, as well as a special Dagar Guard Cancel, making his defensive game quite solid. His reliance on his followers is one of his few weaknesses - without them he isn't capable of doing much. For this reason learning to properly manage your followers is an essential skill for any would-be Juda user. While very hard to pick up, Juda's unique style of play makes him an interesting character with incredibly high potential.
That being said, let us start this section off by listing Juda's main strengths and weaknesses. |
Strengths:
- Followers allow for mixups and unblockables with little risk
- Good matchups against Toki and Juda
- Best Banishing Strike in the game
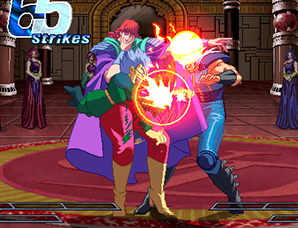
- Awesome FKO, almost on par with Toki's
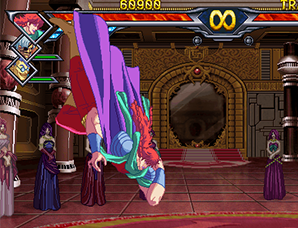
- Immune to Chikuseki for the most part
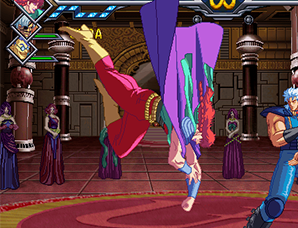
- Forward dash has partial lower-body invulnerability
Weaknesses:
- Very reliant on followers
- In the PS2 port, the position his followers appear in when summoned is different from the arcade version (See Combos section)
Before diving right into the combos be sure to familiarize yourself with Juda's special/super moves and important normals.
Normal Moves
Standing
Close A
5F Startup, 4F Active, +1 on block
Far A
6F Startup, 4F Active, +1 on block
Close B
6F Startup, 4F Active, +3 on block
Far B
7F Startup, 3F Active, +6 on block
Close C
9F Startup, 4F Active, +0 on block
Far C
8F Startup, 8F Active, -10 on block
Close D
8F Startup, 4F Active, -4 on block
Far D
16F Startup, 2F Active, -5 on block
Crouching
A
5F Startup, 3F Active, -1 on block
B
7F Startup, 3F Active, +3 on block
C
8F Startup, 5F Active, -2 on block
D
11F Startup, 6F Active, -2 on block
Air
A
5F Startup, 4F Active
B
5F Startup, 9F Active
C
9F Startup, 6F Active
D
10F Startup, 6F Active
Other
6A
25F Startup, 4F Active, +0 on block
(Air) 2A
18F Startup, 12F Landing recovery
(Air) 2C
18F Startup, 12F Landing recovery
Throw
4F Startup, 4F Active
Can only be performed while the Komak gauge is full.
BD Throw
23F Startup, 4F Active
Can only be performed while the Dagar gauge is full.
Grave Shoot
15F Startup 4F Active, +3 on block
Heavy Strike
41F Startup, 6F Active
Banishing Strike
18-33F Startup, 14F Active, -5 on block
Special Moves
Juda's Follower Meters
Denshou Reppa
9F Startup
A low to the ground fireball move, similar to Iori's from KoF. Doesn't do much damage, and has huge recovery(your opponent gets a guaranteed hit on you even when you connect with it at close range!), so must be used sparingly and with caution. Takes off one star on counter hit.
"Ichido Omoishirasete Ageyou"
6F Startup to call Dagar, 8F For Dagar to appear, minimum of 9F of movement, 10F to attack
6F Active
AKA Dagar Rush. Dagar runs forward and strikes the opponent. Costs 20% Dagar meter, and takes off one star and causes wall bounce on counter hit. Dagar will continue moving even during super freeze, which when combined with the dam super allows for an unblockable setup.
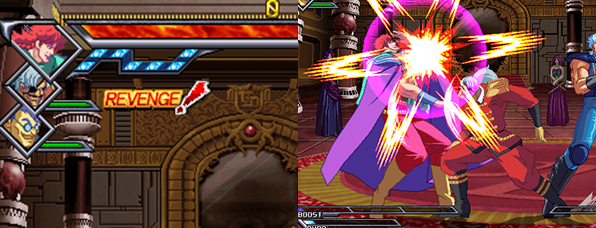
When in revenge mode Dagar will attack Juda instead - in this case you are able to kill him off before he hits you with a move like far A, but this will cause his gauge to go to zero and make him unsummonable for a period of time. In some situations simply guarding the attack may be your best bet.
Dagar no Chiryaku
6F Startup to call Dagar, 20F For Dagar to appear, 38F to dig underground, Dagar lasts for 300F, 8F Startup to launch out
16F Active
X
"Ore wo Riyou Shitanoka~!!"
9F Startup, 20F Active, 8F Recovery
X
Stamp the UD
4F Startup to call Komak, 5F For Komak to appear, 6F Startup to uppercut
20F Active
X
Komaku no Chiryaku"
7F Startup to call Komak, 21F To plant the mine
61F Active
X
Ichikoro"
4F To call Komak, 5F for Komak to appear, 57F Act
Poison lasts for
X
Chiryaku no Jidai"
Any attack that cancels the animation will have 16f of invincibility.
X
Dam Kekkai"
4F Startup
X
Nanto Yousou Hazan"
9F Startup, 32F Active, -50 on block
If this attack is used to kill Dagar while he's in Revenge state, both Juda's Aura and Boost gauge will be maxed out, and Dagar will be unavailable for the rest of the round.
Kesshou Shi"
9F Startup
X
Combos
Basic Combos
Basic Corner Stamp Combo #1
| ~2D > 623A > delay highjump j.A > j.B > j.A > j.B > j.A > j.C |
Very basic combo that makes use of the Chikuseki bug. Can be followed up with an OTG combo/setup.
Basic Corner Combo #2
| ~2D > 421B > highjump j.B > j.A > j.B > j.A > j.C |
Alternate version of above combo.
OTG Followups
Used as a followup when the opponent rebounds off the ground after you land an air combo in the corner.
OTG Followup #1
| A > A > D > 421A or 236236C |
OTG Followup #2
| 421B > B > B > 421A |
OTG Followup #3
| A > 421B > 421A |
Throw Combos
Basic Throw Combo
| Throw > CD or AB or 214214C or FKO |
Heavy strike can be hard to land on Toki if done too quickly
Midscreen 3-star FKO Throw Combo
| Throw > 236B > Max charge CD > C > CD > E > C > 214214C > FKO |
Midscreen Chikuseki Throw Combo
| Throw > 236B > Highjump aircombo |
Carrys opponent across screen and allows for corner setups
Basic Corner Throw Combo
| Throw > 421B > air dash j.B > j.C > (Dagar hits) > land, dash AC > 236236C > Max Charge CD > (Dam hits) > CD |
Corner 3-star FKO Throw Combo #1
| Throw > AB > CD+E > 214214C+E > FKO |
Corner 3-star FKO Throw Combo #2
| Throw > 421B > AB > 236236C > CD > FKO |
421B must be performed as fast as possible or combo will fail
Banishing Combos
Banishing Combo Starter #1
| ~2C > CD+E > 6~ |
Most basic way to start a banishing combo after hit comfirm with 2A or 2B.
Banishing Combo Starter #2
| air dash j.D > CD |
Fairly difficult timing. Against Raoh and Heart you can add a j.B in before the j.D for a quicker overhead.
Banishing Combo Starter #3
| D > CD |
Done by Kara canceling 2D into a banishing strike. The actual input it D > 2CD > CD(done very quickly) or D > delay 2CD. Far D has lower body invincibility and is very effective against characters like Shin. As knockback affects Juda's combos greatly, the number of hits in the combo at the time of the Banishing Strike connecting is very important.
Basic Banishing Combo (3 hits or less)
| ~c.C > c.D > 623A > j.B > j.A > land AC > j.2A > A > followup |
Most basic banishing combo. Depending on the situation you may want to leave out the c.D. On the console version stamp comes out farther in front of Juda so the combo will often miss and cause the combo to fail.
Followup #1
| 236A > 2C > 236C |
Focus on damage. Against Ken, Toki, and Jagi, you need to change 2C > 236C into A > dash 2C > 236C, which is significantly more difficult
Followup #2
| 623A > AB > 2C > 236B > 2D > 421B |
Focus on star removal. Can be easier to connect with than above option.
Followup #3
| OTG 236236C |
Focus on wakeup pressure. Also good when knockback is too severe to use on of the other followups.
No Komaku Banishing Combo (3 hits or less)
| ~c.C > E > j.B > j.B > j.A > land AC > j.2A > land j.B, j.B > land j.B > j.D > j.2A > land 421A or 236236C |
Banishing combo for times when Komaku is not available.
Basic Banishing Combo (4 hits or more)
| ~c.C > 623A > 421B > A > AC > j.D > j.2A > 236236C |
Less used since discovery of Boost Ichikoro combos, but still good for finishing off opponent with low health while saving meter.
Basic Banishing Combo (Raw hit)
| ~c.C > 623A > j.A > j.C > land AC > j.D > delay j.2A > followup |
Once again very difficult to perform this combo on the console version due to spacing.
Taji Hame
| ~c.C > 623A > j.B > j.A > land AC > j.2A > land A > 421A > OTG 2D > 236B > Max Charge CD |
A no gauge setup made famous my 2006 Tougeki runner-up Taji-kun. Extremely effective because the Banishing Strike hits before the block stun from the Dagar Rush ends, making Agility Guard impossible. After being hit with the Banishing Strike the opponent bounces off the wall and then into the land mine, allowing for a follow up combo. The following combo can be used to reset into the same situation:
| ~j.B > j.B > j.A > land AC > j.2A > land A > 421A > OTG 2D > 236B > Max Charge CD |
Boost Ichikoro
| ~c.C > c.D > HSC 236A+E > c.A > AC > j.2A > (opponent is caught) |
By using Hitstop Cancel with Ichikoro, its startup speeds up just enough so you are able to grab the opponent with it during a Banishing Combo. The combo will fail if you do not Hit Stop Cancel Ichikoro. Once successfully landed, you can follow up into an air combo.
| ~421B > c.C > AC > (Dagar hits) > Highjump j.B > j.B > j.C > j.2A > land c.D > OTG 236236C |
Flying Juda
| ~c.C > c.D > HSC 236A+E > c.A > c.C > D or 236B > Max Charge CD > 6 > AC > Boost forward jump > (fly across screen) j.2A |
High damage without using any Aura. If using D instead of Dagar Rush it is necessary to delay it slightly after the close C to get it to connect. Followup is possible after the jump 2A.
Revenge Dagar Banishing Combo
| ~Anything > A > 236B > 214214C > followup |
Gimmicky combo for finishing the opponent off and max out your meter at the same time. Only possible when Dagar is in revenge mode.
Basuke Combos
Kimozumi
| 4-hit CD > 2.C > c.D > 236A~E > A > c.D > D > 421B (Komaku hits) > dash(pass through opponent) > j.B > j.B > j.C > land c.C > C > AC > 2A > A > (A > ) (Dagar hits) > high jump j.A > j.B > j.A > j.B > j.A > j.B > j.C > land B > B > 236236C > high jump j.A > j.B > j.A > j.B > j.A > j.B > j.A > land (dash) A > 236B > A or 2A > 236A > 2A > 2B > 2A > 2B > 2B > (Komaku hits) A > 2A > 2A... |
For use on Ken, Rei, Shin, Thouther, and Juda. On Juda it only works when you are 2P. Requires about 0.5 Aura and enough Boost to start the Banishing Strike combo.
Versus Toki Kimozumi
| 4-hit CD > 2.C > c.D > 236A~E > A > c.D > D > 421B (Komaku hits) > dash, air dash j.B > j.C > land c.C > C > AC > 2A > A > (Dagar hits) > delay highjump j.B > j.A > j.B > j.A > j.B > j.A > j.C > land A > C > 236236C > high jump j.A > j.B > j.A > j.B > j.A > j.B > j.A > land (dash) A >b236B > A or 2A > 236A > 2A > 2B > 2A > 2B > 2B > (Komaku hits) A > 2A > 2A... |
Kimozumi combo for use on Toki.
Double Grave Hyakuretsu
| 4-hit CD > 2.C > c.D > 236A~E > A > c.D > D > 421B (Komaku hits) > dash(pass through opponent) > AC > c.C > AC > dash 2A > A > (Dagar hits) > highjump j.B > j.A > j.B > j.A > j.B > j.A > j.C > land 2A > 2C > 236236C > j.A > j.B > j.A > j.B > j.A > j.B > j.A > j.C > land A > 236B > A > 236A > dash 2A > 2B > 2A > 2B > 2C > (Komaku hits) 236B > Hyakuretsu |
For use on characters that Kimozumi doesn't work on.
Matchups
Kenshiro
X
Raoh
X
Toki
X
Shin
X
Rei
X
Juda
X
Thouther
X
Jagi
X
Mr. Heart
X
Mamiya
X
