Introduction
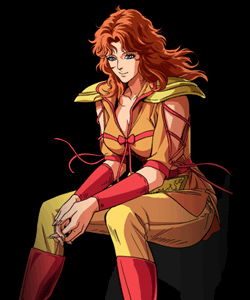
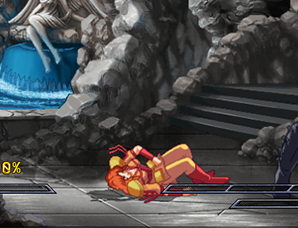
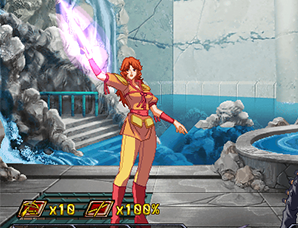
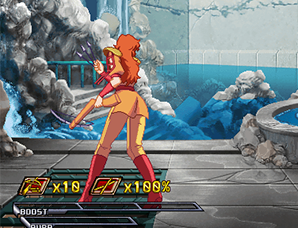
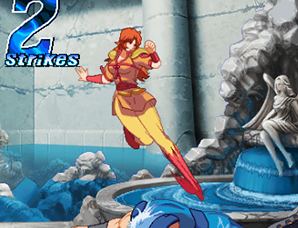
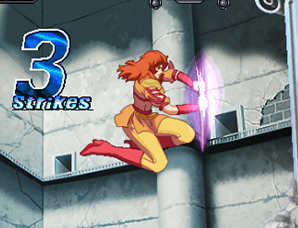
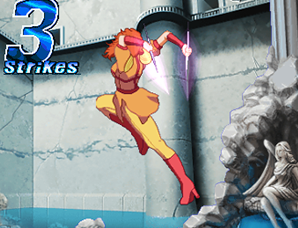
Mamiya, the only female character in Hokuto no Ken, is a long-range specialty character with very good maneuverability. Her normal moves and zoning abilities are top-class, however like Thouther she suffers greatly due to her terrible defense. Mamiya is unique in that she has no throws, and possesses two addition gauges that some of her moves use - an arrow gauge and a spike gauge, which require reloading via a special move when empty.
While considered the worst character early in the games history, Mamiya has risen quite a bit in the rankings thanks to the development of new combos. Despite this, Mamiya remains the least-used character in the game, and thus many players lack experience playing against her. Due to her reliance on fairly difficult 100% combos to win, Mamiya is definitely not a beginner's character, but she can be quite powerful in the right hands and is hands-down the most unique character in the game.
| Pros | Cons |
|
|
Normal Moves
Standing
Close A
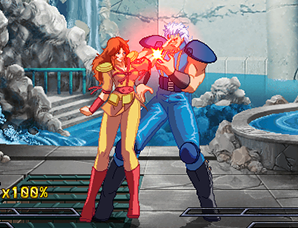
A short diagonal elbow attack. Has relatively weak priority and short active frames, and won't hit most crouchers, making the move weak for anything but close anti airs.
Far A
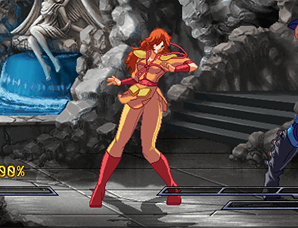
A long horizontal elbow, with good startup and priority. Can be used as a frametrap and anti-jump tool during pressure. Overall decent normal.
Close B
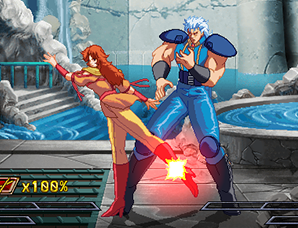
5F Active
A relatively slow kick. Has decent active frames, but its startup prevents it from being useful in most situations. However, it can be chained into 2A making it decent for pressure.
Far B
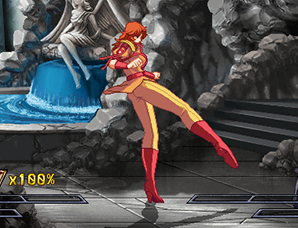
A quick kick. Has great startup and active frames, making it quite good at close range as well as a key part of Hyakuretsu combos. During Hyakuretsu combos, it can be difficult to only get far B; if you get close B, chain into 2A and back into far B.
Close C
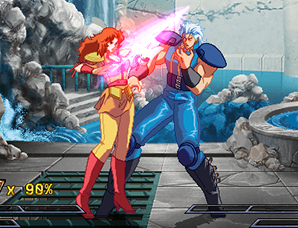
An upwards needle strike. Can be useful for anti airs, but its short activation range makes it difficult to do without accidentally getting far C. Good in combos, like the beginning of Banishing Strike combos. Takes a star on counter hit.
Far C
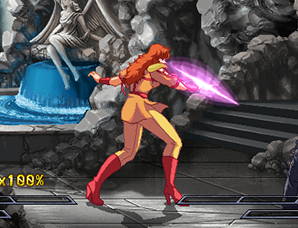
A long range needle attack. Mamiya steps forward during the attack, making it a bit longer range than expected. Decent active frames, but its startup is slow. Takes a star on counter hit.
Close D
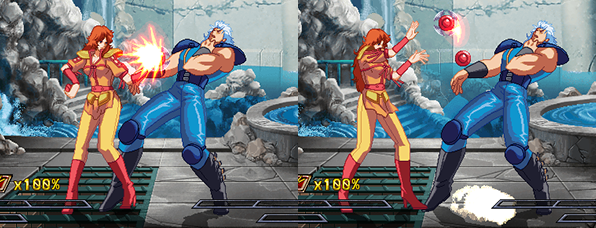
A two hitting Yo-Yo attack to the side. Can be special cancelled, but not boost cancelled and its second hit will often miss crouchers.
Far D
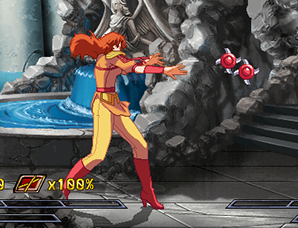
Massive horizontal Yo-Yo swing. One of Mamiya's best normals, it's an effective neutral control tool and builds good gauge on hit, but has massive recovery. On hit you can combo afterwards with Boost 2B.
Crouching
A
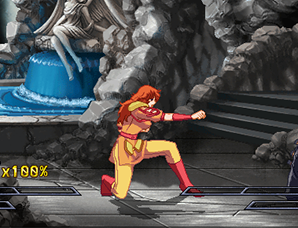
Standard crouching punch. Can be useful in Hyakuretsu combos vs every character, making it a great combo part.
B
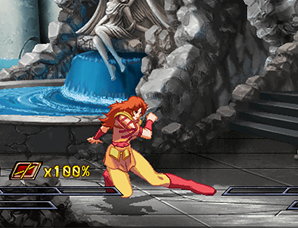
A standard 2B. Useful in conversions from 5D or mixups with 6A.
C
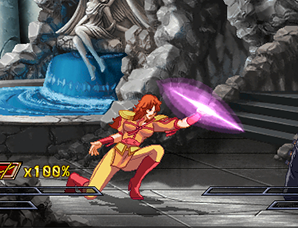
Crouching needle stab. Surprisingly good forward and upward hitbox, making it an effective anti airdash tool, albeit with short active frames. Can combo into Banishing Strike with the use of boost. Takes a star on counter hit.
D
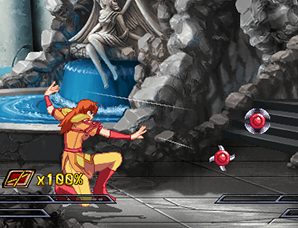
A low Yo-Yo swing across the ground. Has a large gap between both hits. The first hit has no pushback on hit, making it easy to convert with Boost. Integral combo part.
Air
A
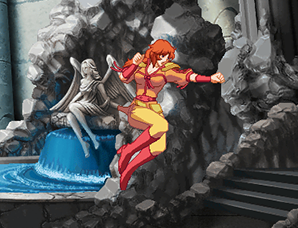
A short ranged punch. Very strong rising air to air.
B
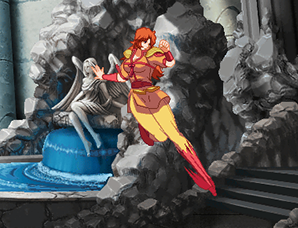
A downward kick. Due to its low attack level, it can be hard to combo afterwards. Superjump jB can be useful to escape the corner.
C
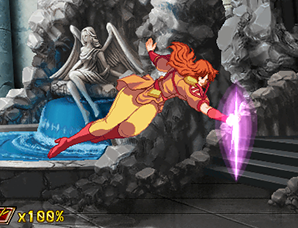
Downward needle stab. Takes a star on counter hit. Backwards airdash jC can be good for running away.
D
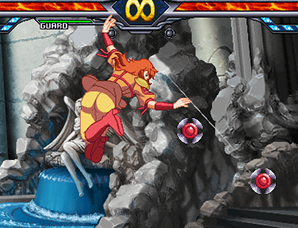
A diagonal Yo-Yo toss. Fairly long blockstun. Weak to crossunders due to its mainly forward hitbox. Incredibly important combo part.
Other
6A
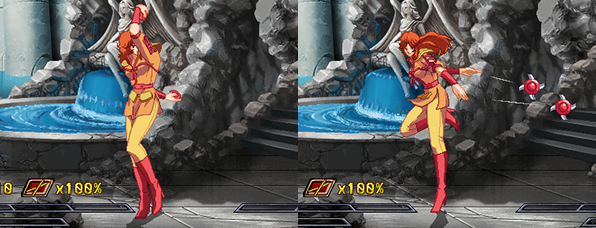
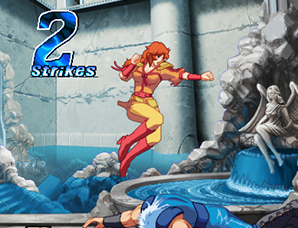
A 2 hit Yo-Yo overhead. Will float the opponent on its second hit. With boost, it can be used as a mixup between its second hit or 2B/2D. Both 5D and 2D can chain into this move.
6C
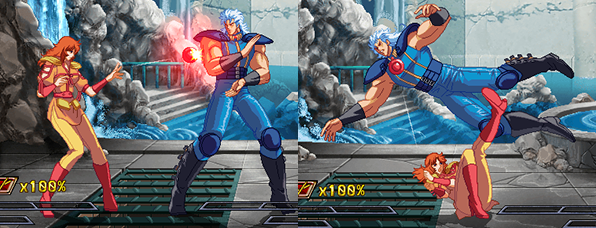
A Yo-Yo hitgrab. After it grabs the opponent, you can choose which side they're thrown to by holding 4 for a forward throw or 6/no direction for a backwards throw.
(Air)BD
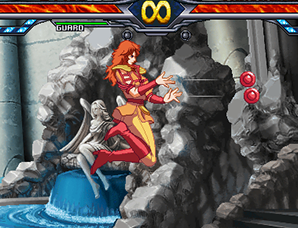
An aerial side switching Yo-Yo hitgrab. If the attack doesn't hit, youre in full recovery until you land, making it dangerous outside of combos. Takes one star on hit.
Grave Shoot
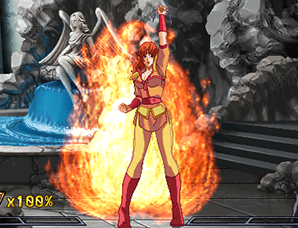
Mamiya Fire. Good vertical hitbox, but mostly useful in corner combos.
Heavy Strike
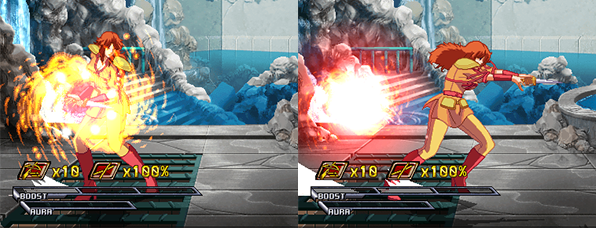
Very long range needle stab, with faster startup than other character's Heavy Strikes. Thanks to its very short recovery, it can actually be combod after with 2A regardless of the opponent spending meter to shake out. Effective when paired with 236D oki.
Banishing Strike
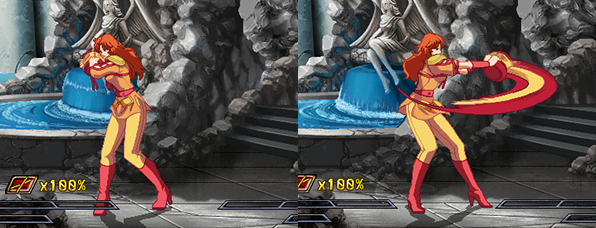
A helmet smash. An overall standard banishing strike that can give good damage.
Special Moves
Bowgun (Upper)
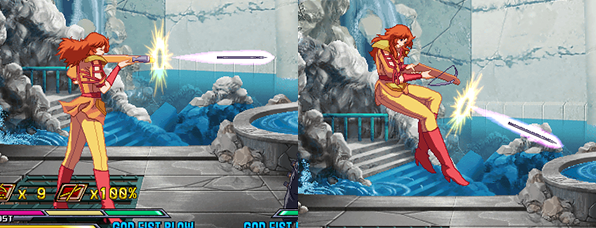
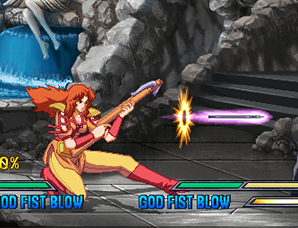
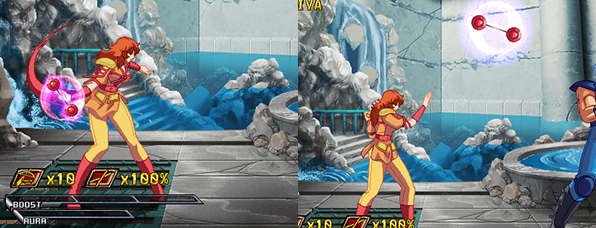
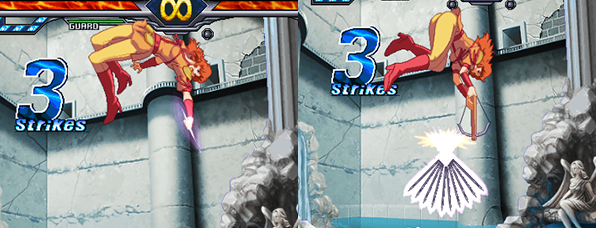
A horizontal bowgun shot on the ground, and a diagonal shot in the air. The ground version generally does not hit crouchers. The air version makes for a good midrange poke and confirm tool with boost. Fairly long startup so be careful when you use the grounded version. Will deplete 1 arrow when used.
Bowgun (Lower)
Low bowgun shot. Thanks to it's high attack level and quick recovery, it can be used in blockstrings from 2D effectively.
Helmet Bomb
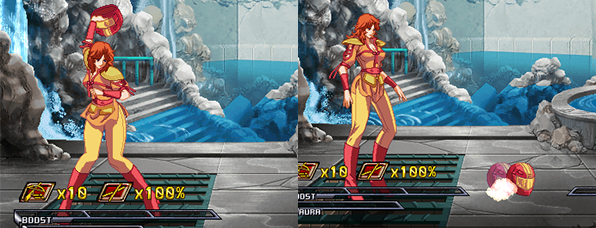
Helmet bomb toss. It's recovery can be cancelled by any normal, special or super. If you cancel into 236B, it will pop up the bomb and turn it into an overhead. One of your best oki tools.
Forward Roll
Forward roll. Lowers Mamiya's hitbox to avoid attacks and will cross up, but has very little actual invincibility and a small amount of recovery.
Steel Spike Switch
Restores the Spike Gauge to 100%. Slightly shorter than Bowgun Reload but still long. All C normals and Spike Attack will reduce the gauge by 10% on hit and 20% on block each time. While the Spike Gauge is full, C normals can be chained into themselves infinitely. You'll need a certain percentage for most Hyakuretsu routes, so it's best to be cautious when using these moves.
Spike Attack
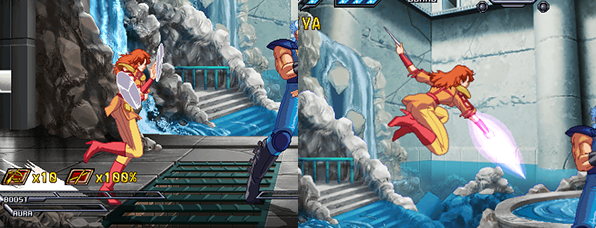
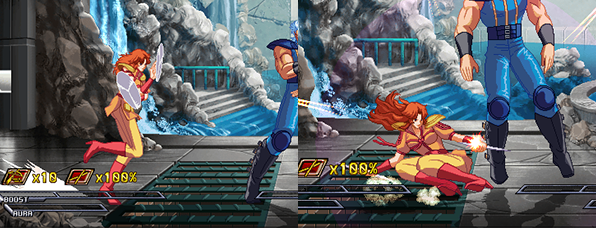
Mamiya begins running with her spikes. A will do a jumping overhead, and B will do a sliding low. If no button is pressed after a short time, Mamiya will do a weaker sliding low that takes no Spike Gauge. The knockdown on 236C~B is long enough to safely perform a Bowgun Reload or Steel Spike Switch. On counter hit, both will apply a Banishing Strike effect. 236C~A will take 1 star on hit.
Bowgun Reload
Mamiya reloads her bowgun. Very slow, and if you're hit during the animation the reload will not be performed.
Bind Yo-Yo
Upwards Yo-Yo toss. When the opponent touches it in the air, their movement is heavily slowed. If the opponent is hit by Backslash Kick during the slowdown, it will take 1 star. The opponent can attack break the Yo-Yo.
Backslash Kick
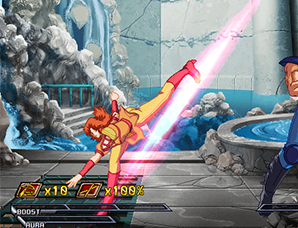
Mamiya's pseudo DP. Has upper body invincibility and a massive amount of active frames, but incredibly long recovery. Will apply a Banishing Strike effect and take 1 star on counter hit.
Bind Trick
Mamiya ties the opponent up with her Yo-Yos and launches them, similar to a Grave Shoot. During this air state she gains several new normals. Fully invincible from startup. Pressing E will have Mamiya shoot her bowgun downward, using up all her arrows. The lynchpin of Mamiya's gameplay, learning how to effectively confirm into this move and combo afterwards is incredibly important.
Bike
Wario Bike. While on the bike, 4 will do a wheelie, 44 will turn, 8 will jump, and pressing any attack button will have Mamiya jump off and have the bike explode. After being hit enough, the bike will explode on its own, taking 2 stars from the opponent, 1 star from Mamiya, and damaging both players. The bike will glow red when it's near its destruction point. If Mamiya is on the bike and is hit, Mamiya will fall off and the bike will disappear without exploding. Jagi's fire pillars created from his Drum Cans or Gasoline will instantly destroy the bike, and being hit by Mr. Hearts Earthquake will instantly knock Mamiya off the bike. Jumping bike hits are an overhead. Thanks to its invul and possible safety, this is Mamiya's preferred metered reversal over Bind Trick.
Sayonara
Mamiya's complicated and gimmicky FKO. After throwing the bottle in the air, Mamiya must shoot it with her bowgun by pressing any button. This will cause poison medicine to fly out of the bottle, killing the opponent. You can change the angle Mamiya shoots at with the stick, which will cause the medicine to fly in different directions. If the shot is fully charged by holding the button, the arrow itself will become unblockable. The bottle itself is treated as a normal move and is air unblockable without Aura Guard. If you activate the FKO without any arrows, you will gain one extra arrow. Has a special post FKO animation vs. Rei.
