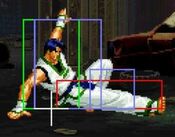
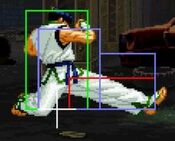
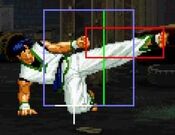
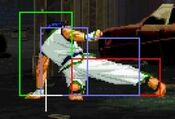
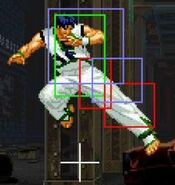
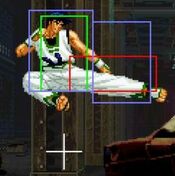
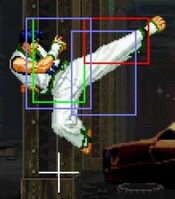
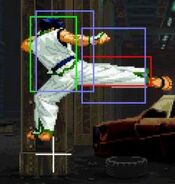
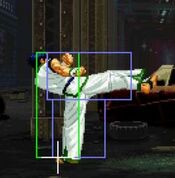
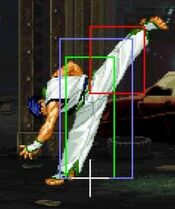
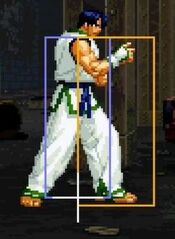
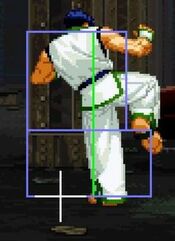
Introduction
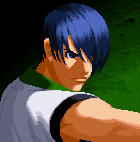
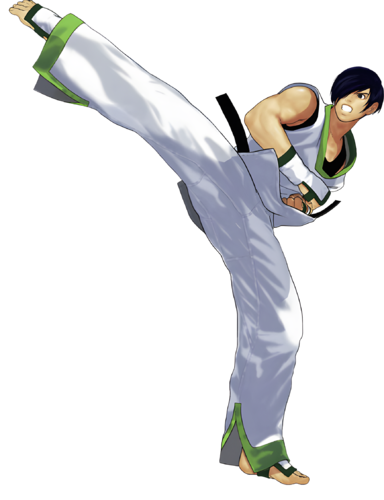
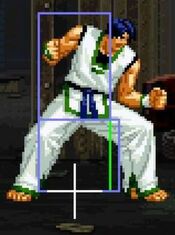
Kim Jae Hoon is the younger brother of Kim Dong Hwan, both of them together are the sons of Taekwondo Master, Kim Kaphwan. Unlike his older brother, Kim Jae Hoon is much more serious with Taekwondo and believes firmly in his fathers ideals of justice. Jae Hoon uses many of the same techniques his father before him used, such has the Hangetsu Zan and Hou'ou Kyaku, with a bit of an original spin of his own, adding his element of fire to his attacks to amplify the power behind his blows.
Jae Hoon enters the Maximum Mayhem tournament with his older brother Dong Hwan after their father, whom was visiting the newly re-built Second South, was attacked by an very strong oppenent and was injured. Jae Hoon swears to avenge his fathers defeat, and so, dragging Dong Hwan with him, the two compete in the Maximum Mayhem tournament with hope that one of them will be able to face the monster that defeated their father.
Gameplay
Jae is an "honest" type of character. His main gameplan is to pressure the opponent with his great normals and hit confirm into damaging combos. His secondary gameplan is to use his great normals pressure to threaten with basic mix: high/low mix with jump/hop attacks; cross-up; throw; hienzan break; or even his other unsafe and risky moves.
| Strengths | Weaknesses |
|---|---|
|
|
Character Colors
Move List
Frame Data Source : https://w.atwiki.jp/garoumow/pages/82.html and https://w.atwiki.jp/garoumow/pages/22.html and Howard's Arena
| Data Help | |
|---|---|
| Disclaimer: This is meant to teach basic terminology used when describing moves. | |
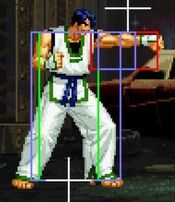
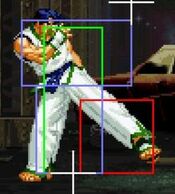
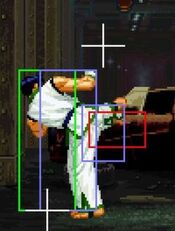
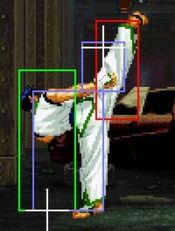
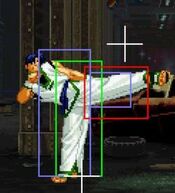
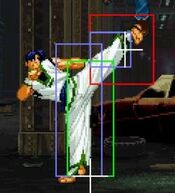
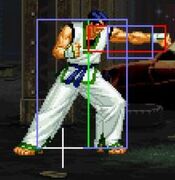
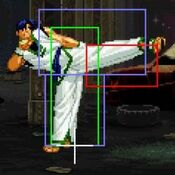
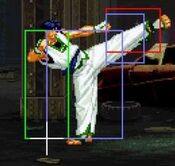
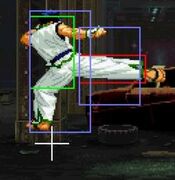
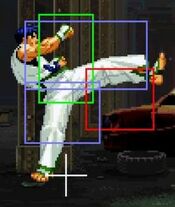
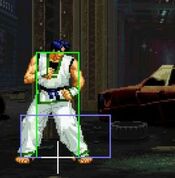
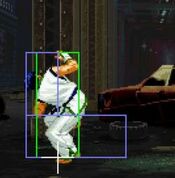
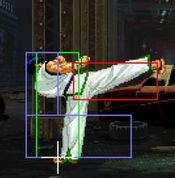
| HitBox: | A predefined area (usually a group of rectangles or circles) that tell the game how any given attack can come in contact with a character. Hitboxes are invisible to the player when normally playing. |
| HurtBox: | A predefined area (usually a group of rectangles or circles) that tell the game how your character is allowed to get hit by any incoming attack. Specifically, you'll get hit by (or block) an attack if that attack's hitbox ever overlaps your hurtbox. |
| Throw Box/Range: | Active throw frames and range. Your opponent will be thrown in this field if not in block or hit stun. |
| Projectile Box: | Hit box on a projectile attack. |
| Guard/Counter Box: | The Guard Box or Counter Box. This appears when blocking or using a counter move. |
| Push Box: | Has no bearing on hurt/hit boxes. Just allows characters to not pass through each other. (Also known as "Collision Box".) |
| Command | the input for the attack. |
| Start Up | The number of frames that initiate at the beginning of an attack after the input.
And when the first hitbox is present.
The first active frame is after the last startup frame. |
| Guard | The way this move must be blocked.
High or H or Overhead (especially when from the ground) -- must be blocked standing. |
| Damage | "basic" damage -- unmodified damage values
"correct" damage -- damage values modified for damage scaling, TOP multiplier, and defense rate |
| Guard Crush Value | Decrease your guard durability gauge/meter by that value/s |
| + | signifies how many advantage frames the attacker has. |
| - | signifies how many disadvantage frames the attacker has. |
| KD | means the attack will knock the opponent down. |
| ◯ | circle means cancelable on both hit/block. |
| ∞ | infinity means chain cancelable with the same button (renda cancel). |
| ※ | means cancelable on the first hit/part only. |
| 《 》OR « » OR << >> OR ( ) | The numbers in the brackets are the startup frames until the next stage (the gap until the next hit's first active frame). |
| △ | up triangle means only cancelable on block. |
| ▽ | down triangle means only cancelable on hit. |
| × OR X | means not cancelable. |
Close Standing Normals
| Damage | Guard | Startup | Active | Recovery | Total |
|---|---|---|---|---|---|
| 4 | HL | 3 | 4 | 5 | 12 |
| Hit Adv | Block Adv | Feint Cancel | Cancel on Hit | Cancel on Block | Guard Crush Value |
| +6 | +6 | Yes | Yes/chainable | Yes/chainable | 4 |
|
Pretty much the same as far A, but in proximity form - which means its great, and a primary tool for pressure, combos and poking | |||||
| Damage | Guard | Startup | Active | Recovery | Total |
|---|---|---|---|---|---|
| 6 | HL | 4 | 4 | 7 | 15 |
| Hit Adv | Block Adv | Feint Cancel | Cancel on Hit | Cancel on Block | Guard Crush Value |
| +4 | +4 | Yes | Yes | Yes | 4 |
|
outdone by cl.A in most situation, but in the corner you could link into standing A and get a combo after | |||||
| Damage | Guard | Startup | Active | Recovery | Total |
|---|---|---|---|---|---|
| 5, 5 | HL/HL | 5 | 1, 4 | 22 | 32 |
| Hit Adv | Block Adv | Feint Cancel | Cancel on Hit | Cancel on Block | Guard Crush Value |
| -5 | -5 | Yes (1st hit) | Yes (1st hit) | Yes (1st hit) | 3, 3 |
|
Solid move for pressure after FCing it, mostly in the corner | |||||
| Damage | Guard | Startup | Active | Recovery | Total |
|---|---|---|---|---|---|
| 6, 6 | HL/HL | 4 | 1 (5) 3 | 24 | 37 |
| Hit Adv | Block Adv | Feint Cancel | Cancel on Hit | Cancel on Block | Guard Crush Value |
| -6 | -6 | Yes (1st hit) | Yes (1st hit) | Yes (1st hit) | 3, 3 |
|
You can insert the first hit in some punish combos, its best used is in his corner infinite using its big advantage on FC. Cant be JDed crouching. | |||||
Far Standing Normals
| Damage | Guard | Startup | Active | Recovery | Total |
|---|---|---|---|---|---|
| 5 | HL | 3 | 4 | 5 | 12 |
| Hit Adv | Block Adv | Feint Cancel | Cancel on Hit | Cancel on Block | Guard Crush Value |
| +6 | +6 | Yes | Yes/chainable | Yes/chainable | 4 |
|
Very big hitbox for a jab, amazing speed and advantage on block, its good for pressure and basic antiairing/jabbing. Used a lot for safe poking and pressure - its so plus on block you can microwalk in the corner after hitting this move and still link a second one as a true combo. | |||||
| Damage | Guard | Startup | Active | Recovery | Total |
|---|---|---|---|---|---|
| 7 | HL | 4 | 3 | 12 | 19 |
| Hit Adv | Block Adv | Feint Cancel | Cancel on Hit | Cancel on Block | Guard Crush Value |
| 0 | 0 | Yes | Yes | Yes | 4 |
|
An okay poke at far range | |||||
| Damage | Guard | Startup | Active | Recovery | Total |
|---|---|---|---|---|---|
| 14 | HL | 12 | 3 | 28 | 43 |
| Hit Adv | Block Adv | Feint Cancel | Cancel on Hit | Cancel on Block | Guard Crush Value |
| -10 | -10 | Yes (on block) | No | Yes | 5 |
|
Too slow to be a reliable anti air, despite the hitbox. don't use this move | |||||
| Damage | Guard | Startup | Active | Recovery | Total |
|---|---|---|---|---|---|
| 14 | HL | 13 | 2 | 22 | 37 |
| Hit Adv | Block Adv | Feint Cancel | Cancel on Hit | Cancel on Block | Guard Crush Value |
| -3 | -3 | No | No | No | 5 |
|
Will go over low pokes but its not rewarding and very slow | |||||
Crouching Normals
| Damage | Guard | Startup | Active | Recovery | Total |
|---|---|---|---|---|---|
| 4 | L | 5 | 4 | 8 | 17 |
| Hit Adv | Block Adv | Feint Cancel | Cancel on Hit | Cancel on Block | Guard Crush Value |
| +3 | +3 | No | No/chainable | No/chainable | 4 |
|
Would be so good if you could cancel. you can chain 3 of these midscreen and it's plus on block. thanks to its plus frames and how fast your kick super is, though, you can still potentially link it afterwards for a combo. Even without the cancel its just generally a crazy poke that stacks up damage over time. | |||||
| Damage | Guard | Startup | Active | Recovery | Total |
|---|---|---|---|---|---|
| 6 | L | 4 | 4 | 5 | 13 |
| Hit Adv | Block Adv | Feint Cancel | Cancel on Hit | Cancel on Block | Guard Crush Value |
| +6 | +6 | Yes | Yes/chainable | Yes/chainable | 4 |
|
The core of your pressure, poking and many combos. Low, fast, self chains and links into many normals including 2c, 5a and 5b | |||||
| Damage | Guard | Startup | Active | Recovery | Total |
|---|---|---|---|---|---|
| 10 | HL | 5 | 3 | 17 | 25 |
| Hit Adv | Block Adv | Feint Cancel | Cancel on Hit | Cancel on Block | Guard Crush Value |
| +1 | +1 | Yes | Yes | Yes | 5 |
|
Great normal, as its fast, damaging, plus on block, and has decent range. used in many combos, poking, pressure (very plus if FCed), etc. | |||||
| Damage | Guard | Startup | Active | Recovery | Total |
|---|---|---|---|---|---|
| 10 | L | 7 | 4 | 25 | 36 |
| Hit Adv | Block Adv | Feint Cancel | Cancel on Hit | Cancel on Block | Guard Crush Value |
| KD | -8 | No | No | No | 5 |
|
Typical sweep, which means it aint that good. heavy knockdown is nice and the range is nice but its quite unsafe on block with no cancel options | |||||
Jumping Normals
| Damage | Guard | Startup | Active | Recovery | Total |
|---|---|---|---|---|---|
| 5 | H | 6 | 5 | - | - |
| Hit Adv | Block Adv | Feint Cancel | Cancel on Hit | Cancel on Block | Guard Crush Value |
| - | - | - | Yes | Yes | 4 |
|
Probably your best jump in due to its good active frames, great speed and hitbox. the hitstun aint that long so its hard to get significany advantage after, the key is to hit it right before landing. Also your only crossup. | |||||
| Damage | Guard | Startup | Active | Recovery | Total |
|---|---|---|---|---|---|
| 6 | H | 6 | 8 | - | - |
| Hit Adv | Block Adv | Feint Cancel | Cancel on Hit | Cancel on Block | Guard Crush Value |
| - | - | - | Yes | Yes | 4 |
|
An alternative option, has a worse hitbox for jumping ins but instead is very active and reaches further. also a great air to air potentially, and is also a crossup option, albeit a harder one
| |||||
| Damage | Guard | Startup | Active | Recovery | Total |
|---|---|---|---|---|---|
| 9 | H | 6 | 6 | - | - |
| Hit Adv | Block Adv | Feint Cancel | Cancel on Hit | Cancel on Block | Guard Crush Value |
| - | - | - | Yes | Yes | 5 |
|
Hits above Jae Hoon.
| |||||
| Damage | Guard | Startup | Active | Recovery | Total |
|---|---|---|---|---|---|
| 10 | H | 8 | 6 | - | - |
| Hit Adv | Block Adv | Feint Cancel | Cancel on Hit | Cancel on Block | Guard Crush Value |
| - | - | - | Yes | Yes | 5 |
|
Your best heavy jump in and with massive range and an exceptional air poke. Hopped j.D compliments his ground low pokes really well | |||||
Command Normals
| Damage | Guard | Startup | Active | Recovery | Total |
|---|---|---|---|---|---|
| 10 | H | 25 | 1 | 19 | 45 |
| Hit Adv | Block Adv | Feint Cancel | Cancel on Hit | Cancel on Block | Guard Crush Value |
| -1 | +5 | - | No | No | 6 |
| |||||
| Damage | Guard | Startup | Active | Recovery | Total |
|---|---|---|---|---|---|
| 10 | HL | 11 | 2 | 20 | 33 |
| Hit Adv | Block Adv | Feint Cancel | Cancel on Hit | Cancel on Block | Guard Crush Value |
| -3 | +3 | Yes | Yes | No | 6 |
|
Decent range and its cancelable, along with its excellent hitbox. Decent for occasional poking and you get a combo with ease.
| |||||
| Damage | Guard | Startup | Active | Recovery | Total |
|---|---|---|---|---|---|
| 17 | H | 30 | - | - | - |
| Hit Adv | Block Adv | Feint Cancel | Cancel on Hit | Cancel on Block | Guard Crush Value |
| KD | -1 | - | - | - | 25 |
|
Very slow startup overhead, but nearly instant recovery. However it doesn't hit overhead if canceled into and might not knockdown at further ranges. Bad.
After 30F startup, active 1, 1. 26 recovery. Total recovery 58F. No hitstop/blockstop, goes immediately to hitstun/blockstun.
| |||||
| Damage | Guard | Startup | Active | Recovery | Total |
|---|---|---|---|---|---|
| 12 | HL | 23 | 5 | 25 | 53 |
| Hit Adv | Block Adv | Feint Cancel | Cancel on Hit | Cancel on Block | Guard Crush Value |
| KD | -9 | Yes | Yes | Yes | 9 |
|
Weird move - you backdash, then lunge forward with a launching kick. rewarding on hit and the backdash might let you dodge some shit but its too slow, stubby and unsafe to be useful.
| |||||
Throws
| Damage | Guard | Startup | Active | Recovery | Total |
|---|---|---|---|---|---|
| 14 | - | 1 | - | - | - |
| Hit Adv | Block Adv | Feint Cancel | Cancel on Hit | Cancel on Block | Guard Crush Value |
| 34 | - | - | - | - | - |
|
Basic throw damage, but the sdvantage and distance let Jae Moon set solid left right mixups midscreen with jump a (microwalk slightly more to get a crossup), and very ambiguous ones in the corner (microwalk j.a will crossup, microwalk j.b wont). | |||||
Feints
| Damage | Guard | Startup | Active | Recovery | Total |
|---|---|---|---|---|---|
| - | - | - | - | - | 10 |
| Hit Adv | Block Adv | Feint Cancel | Cancel on Hit | Cancel on Block | Guard Crush Value |
| - | - | - | - | - | - |
|
Mimics the start of 236[P] being held slightly.
1-12F beginning, 13-14F leg held up (2 frames), 15-33F the rest of the animation (19 frames) ~1-20F is the leg going up and down. Similar to the animation of 236[P] being held and released at the start. Uses:
| |||||
| Damage | Guard | Startup | Active | Recovery | Total |
|---|---|---|---|---|---|
| - | - | - | - | - | 10 |
| Hit Adv | Block Adv | Feint Cancel | Cancel on Hit | Cancel on Block | Guard Crush Value |
| - | - | - | - | - | - |
|
Does the start of 236(x2)K
1-32F is the super animation when going dark. 33-43F is the rest of animation. 16-32F of that is when the arms are down. Uses:
| |||||
Special Moves
Super Moves
