Lichmassacre (talk | contribs) m (Old Navbox removed for new Navbox.) |
TheLoudCat (talk | contribs) No edit summary |
||
| Line 37: | Line 37: | ||
|align="center"| HL | |align="center"| HL | ||
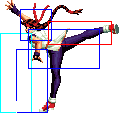
|colspan="2" | [[image:Yuri98_stA.png|center]] | |colspan="2" | [[image:Yuri98_stA.png|center]] | ||
| | |Very fast and cancelable. Good vs short hop. good priority. | ||
|- | |- | ||
! [[image:snkb.gif]] | ! [[image:snkb.gif]] | ||
| Line 45: | Line 45: | ||
|align="center"| L | |align="center"| L | ||
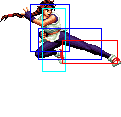
|colspan="2" | [[image:Yuri98_clB.png|center]] | |colspan="2" | [[image:Yuri98_clB.png|center]] | ||
| | |Low move and cancelable. | ||
|- | |- | ||
! [[image:snkc.gif]] | ! [[image:snkc.gif]] | ||
| Line 62: | Line 62: | ||
|align="center"| HL | |align="center"| HL | ||
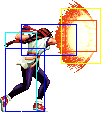
|colspan="2" | [[image:Yuri98_clD.png|center]] | |colspan="2" | [[image:Yuri98_clD.png|center]] | ||
| | |Best move to a meaty. Cancelable. | ||
|- | |- | ||
|colspan="8" align="center"| '''Standing Far''' | |colspan="8" align="center"| '''Standing Far''' | ||
| Line 72: | Line 72: | ||
|align="center"| HL | |align="center"| HL | ||
|colspan="2" | [[image:Yuri98_stA.png|center]] | |colspan="2" | [[image:Yuri98_stA.png|center]] | ||
| | |Very fast and cancelable. Good vs short hop. good priority. | ||
|- | |- | ||
! [[image:snkb.gif]] | ! [[image:snkb.gif]] | ||
| Line 80: | Line 80: | ||
|align="center"| HL | |align="center"| HL | ||
|colspan="2" | [[image:Yuri98_stB.png|center]] | |colspan="2" | [[image:Yuri98_stB.png|center]] | ||
| | |Close range poke. Not cancelable. | ||
|- | |- | ||
! [[image:snkc.gif]] | ! [[image:snkc.gif]] | ||
| Line 88: | Line 88: | ||
|align="center"| HL | |align="center"| HL | ||
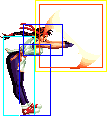
|colspan="2" | [[image:Yuri98_stC.png|center]] | |colspan="2" | [[image:Yuri98_stC.png|center]] | ||
| | |Long range poke. Not cancelable. | ||
|- | |- | ||
! [[image:snkd.gif]] | ! [[image:snkd.gif]] | ||
| Line 96: | Line 96: | ||
|align="center"| HL | |align="center"| HL | ||
|colspan="2" | [[image:Yuri98_stD.png|center]] | |colspan="2" | [[image:Yuri98_stD.png|center]] | ||
| | |Long range poke. Not cancelable. | ||
|- | |- | ||
! [[image:snkc.gif]]+[[image:snkd.gif]] | ! [[image:snkc.gif]]+[[image:snkd.gif]] | ||
Revision as of 04:28, 22 March 2022
Introduction
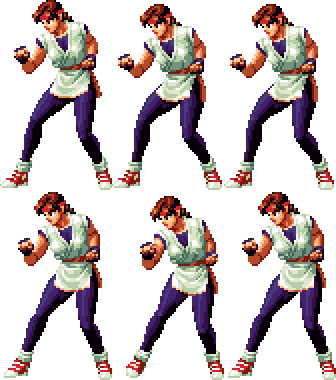
The KOF 94/AoF 2 version of Yuri Sakazaki is a zoning focused version of the KoF98 Yuri with th Choupa and Slap attack
Colors

|

|

|

|
Gameplay Overview
In-depth Analysis
Movelist
Normal Throws
- b or f + C -
- b or f + D -
- In air, b / d / f + C / D -
Combos
- cr.B, cr.A >
- (S)DM qcf qcf + A
- (S)DM qcf hcb + K
- (cr.B (optional), cr.C) / cl.D / cl.C >
- (S)DM qcf qcf + A (Very close.)
- (S)DM qcf hcb + K
- qcb + P
- qcf + P
Strategy Corner
- MAX: cl.D >
 + P
+ P
deals ??? than
- cl.D >

 + K
+ K
Keep this in mind, when you need to decide whether to trigger MAX or keep meter for a DM.
