This page covers Toki's normal moves. His special and super moves are explained here.
Standing
Close A
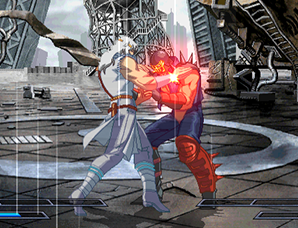
A weak-looking jab. Mostly useless.
Far A
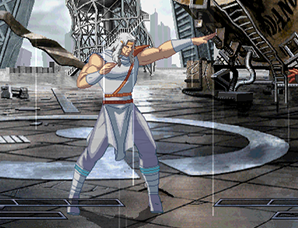
A straight jab to the face. Mostly useless
Close B
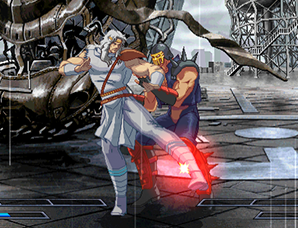
A shin kick. Useful for hitting downed opponents.
Far B
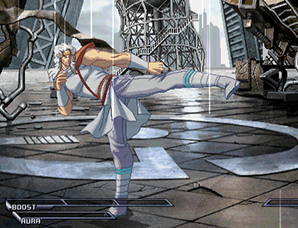
A straight kick. Cancelable into itself. Its long range and fast startup make it very good for footsies. Can also be used against low air-dashing opponents.
Close C
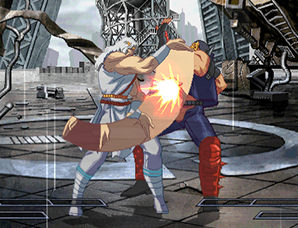
An underhand palm attack. Mostly used in combos.
Far C
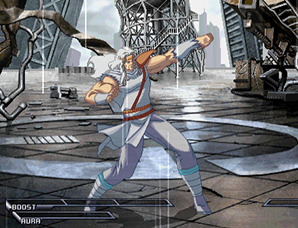
An upward punch. Slow startup, not very useful.
Close D
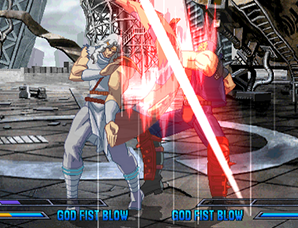
A downward chop. Used in some combos.
Far D
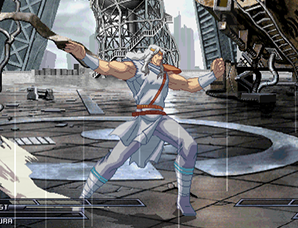
A backhand punch. Stuns opponent when it hits on the ground, can follow up with a Banishing Strike. Not very useful outside of combos.
Crouching
A
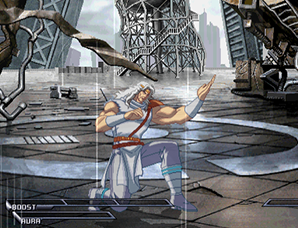
A low jab. Best move ever. Fast startup, advantage on guard. If at any point you aren't sure what to do, just hold down and mash A! Hits quite high so it will lose to some low moves like Shin's 2B.
B
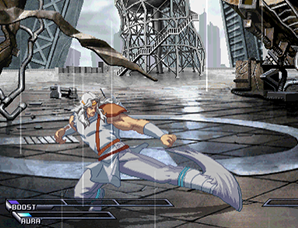
A sweep kick that sends the opponent flying into the air. Toki's only low move. Its slow startup makes it somewhat less attractive than most of Toki's other mixup options, but it is important to throw it in every once in a while to keep your opponent crouching.
C
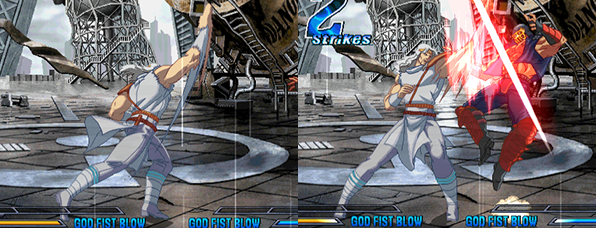
A stylish upward jab. Can follow up with another crouching C on hit or guard, which can be Jump Canceled. Used in combos or as an anti-air.
D
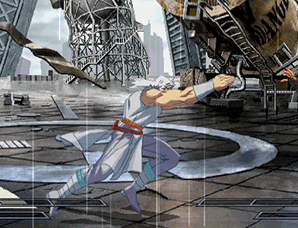
A two-handed forward thrust. Its long reach, quick startup, and small hitbox make this Toki's main rushdown move. Hits quite high so it will lose to some low moves like Shin's 2B.
Air
A
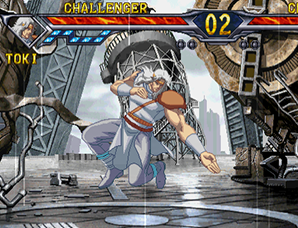
A downward jab. Mostly used in combos.
B
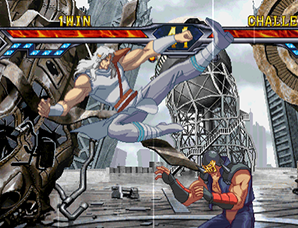
An upward kick. Used as an air vs air and in combos.
C
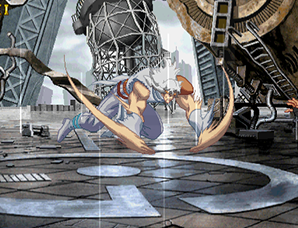
A two-handed downward chop. Wide horizontal range makes it useful as a cross-up in some situations.
D
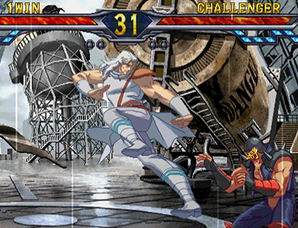
A downward kick. Insanely long active time. Can be used as a cross-up
Other
6A
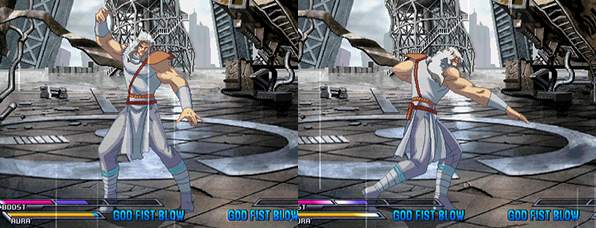
An overhead thrust that knocks the opponent into the air. Overhead attack. Not very useful when you consider Toki's other overhead options, but you can throw it in every once in a while to mix things up.
6B
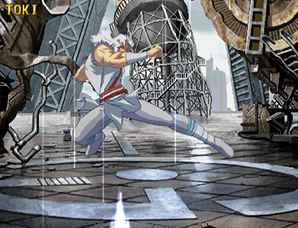
A jump kick that knocks the opponent into the air. Can dodge low-hitting attacks. Not very useful except as a gimmick.
6D

A fancy-looking straight chop. Upper body invulnerability makes it useful for countering high-hitting attacks and as an anti-air. Hits overhead on Raoh and Heart, but won't hit other crouching characters.
Throw
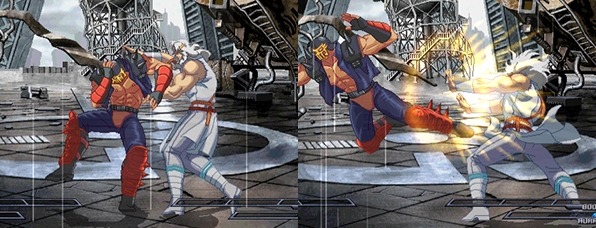
Toki grabs his opponent and blasts them away from him. Opponent is thrown in the opposite direction of the lever, so for example if you input forward C, they will be thrown behind you. Causes wall bounce and can cancel into a teleport, allowing for no-gauge follow ups. Hands-down the best throw in the game.
Grave Shoot
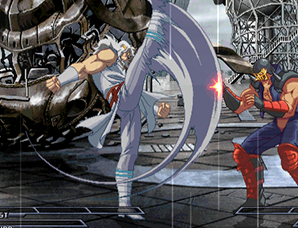
A big upward kick that launches the opponent into the air. Can cancel into a teleport. Mostly used in combos.
Heavy Strike
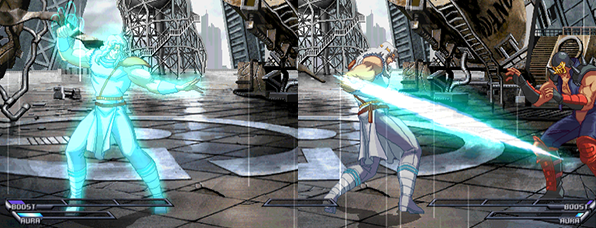
A strong low thrust. Fairly short range but still useful in some situations. About middle-of-the-road as far as Heavy Strikes go.
Banishing Strike
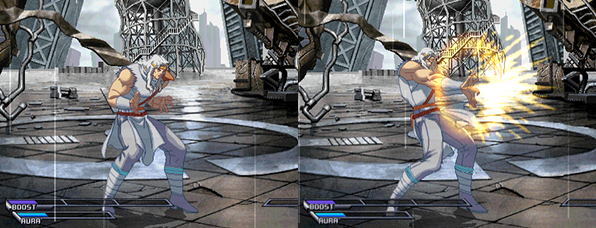
Toki puts his hands together and unleashes a blast of energy. Mostly used in combos.