Introduction
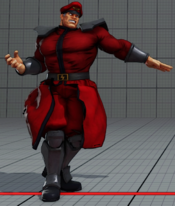
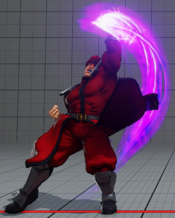
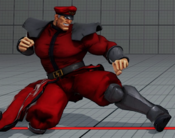
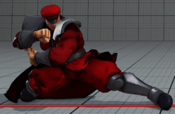
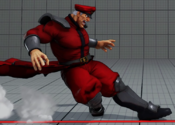
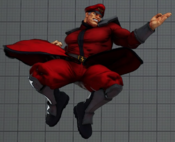
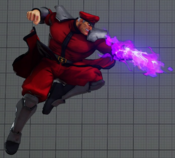
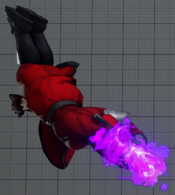
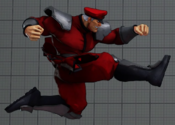
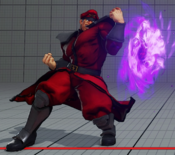
About M. Bison
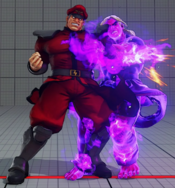
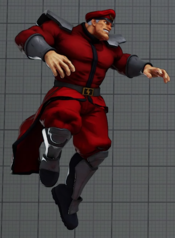
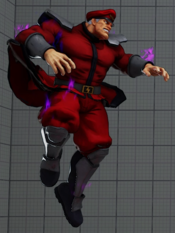
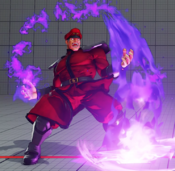
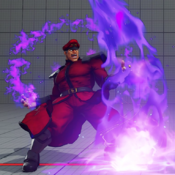
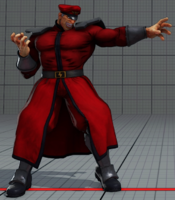
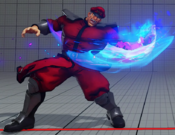
The leader of Shadaloo, Bison is the main villain of the Street Fighter series and seeks world domination.
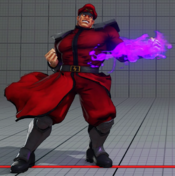
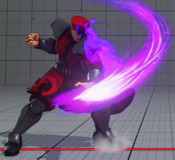
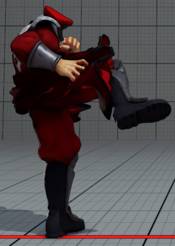
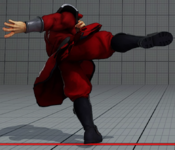
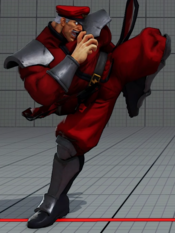
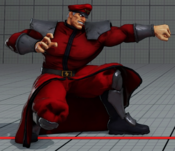
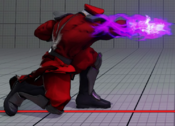
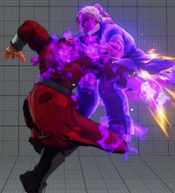
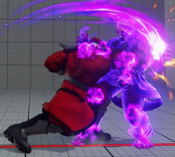
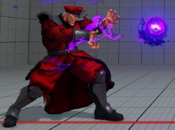
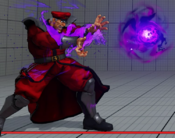
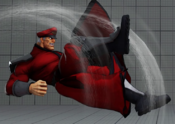
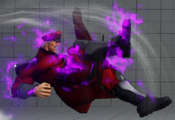
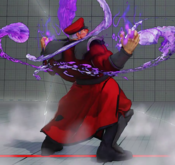
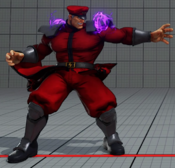
Bison is an explosive character defined by his dominant range, sticky pressure, and high damage output. His movement is slow and linear, with the 2nd slowest walkspeed in the game and a long but slow dash. In exchange, he has excellent reach on his normals and strong movement and frame data on some attacks, with safe moves like Scissor Kick, Devil's Reverse, and Psycho Axe moving him forward into his offensive range. When he gets close, his gameplan starts to shine, as he has many options to maintain advantage on block and excellent throw range to make up for his poor walkspeed; getting bison away from you often requires good abare, and his explosive damage makes that abare very risky. His offensive crush counters are some of the best in the game, with 5HK and Psycho Axe both being plus on block and converting into full combos on CC. On top of all this, he has some of the best EXs in the game, with EX scissors and EX blast in particular being extremely powerful both for neutral and pressure. His strong neutral tools and seemingly endless pressure strings allow him to slow the game down to a grind, chipping away at opponents with long blockstrings in order to bait them into taking a risk and eating big damage. His mixup is fairly basic without trigger, with throw as his only real way to open up a blocking opponent, but his oppressive chip damage and frame data more than make up for it.
V-system
V-Trigger 1: Psycho Power
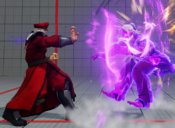
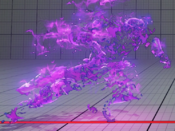
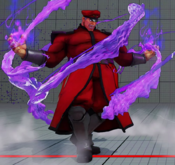
Enhances Bison's forward dash, giving it more invul frames and the ability to cross up. Enhances the properties of his special moves and allows him to freely cancel them into EXs. Explosive damage and comeback potential, but requires you save EX for the end of the round. Used in matchups you expect to need to make big comebacks in.
V-Trigger 2: Psycho Nightmare
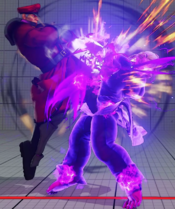
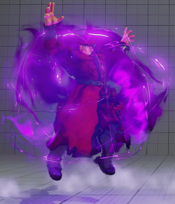
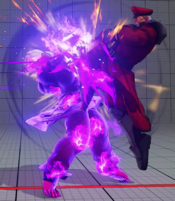
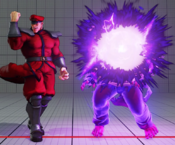
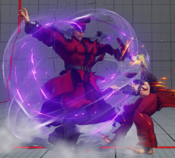
Gives Bison access to a command grab and Psycho Crusher. The grab deals low damage but has great oki and plants a bomb on the opponent that detonates automatically or manually, allowing for powerful combos, extended pressure, or mixups. Psycho Crusher can be used for crossups, fullscreen approach, anti-air, or as a combo ender. The more stable choice in most matchups.
V-Skill 1: Psycho Reflect
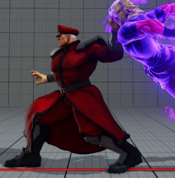
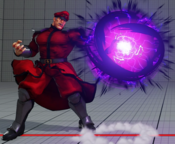
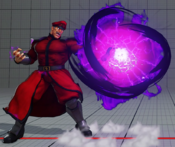
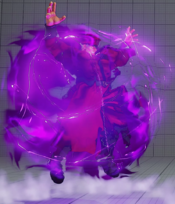
Absorbs a single projectile hit, stocking Bison's own projectile in the process. If a strike comes in contact with the reflect, an invincible counter attack is triggered. Used in fireball matchups and situationally as an anti-air.
V-Skill 2: Hell's Warp
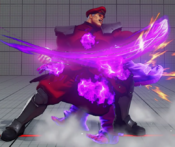
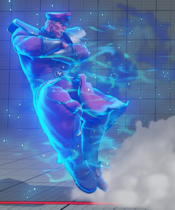
Teleports behind the opponent and launches on hit; plus on block. Used to side switch, as a mixup with VT2 bomb or EX psycho blast, or in certain extended combos. Fairly easy to interrupt on reaction without a projectile covering it. Leads to meaties after MP inferno that cover both wakeups, making it a great corner escape in non-projectile matchups.
Final Patch
Players to Watch
- LPN
- Pnoy
- Problem X
- HotDog29
- Pikoro
- Dogura
| M.Bison | |
|---|---|
| Vitals | |
| Life Points | 1000 |
| Stun Points | 1000 |
| V-Gauge Points | |
| V-Trigger 1 | 3 Bars |
| V-Trigger 2 | 2 Bars |
| Ground Movement | |
| Forward Walk Speed | 0.0262 |
| Backward Walk Speed | 0.023 |
| Forward Dash Speed | 22 |
| Backward Dash Speed | 22 |
| Forward Dash Distance | 1.98 |
| Backward Dash Distance | 1.25 |
| Backdash CH Frames | 3-10 |
| Jumping | |
| Back Jump Speed | 47 (4+39+4) |
| Neutral Jump Speed | 47 (4+39+4) |
| Forward Jump Speed | 46 (3+39+4) |
| Forward Jump Distance | 2.34 |
| Backward Jump Distance | 2.34 |
| Throws | |
| Throw Hurtbox | 0.25 |
| Throw Range | 0.9 |
Frame Data & Descriptions are provided by FATOnline.
|
| SFV Frame Data Glossary | |
|---|---|
| Active |
How many frames a move remains active (can hurt opponents) for. |
| Attack |
Attack level is L for low attacks (must be blocked crouching), H is for High attacks (which can be blocked high or low) and M for overhead (must be blocked standing). T is for throw attacks (which cannot be blocked). |
| Cancel options |
Available cancel options.
|
| Confirm windows |
Hit confirm windows written as Specials & CAs/Target Combos/V-Trigger. Notation may denote V-Skill only cancel windows in Specials.
|
| Crush Counter |
Crush Counter hit advantage written as opponent state, frame advantage, and v-gauge gain on hit. |
| Damage |
Attack damage on hit. Notation may denote multi-hit or "sweet spot" damage values on certain frames. |
| Hit/Block |
These are frame advantage values when the attack hits or is blocked. If the number is positive, then the move will end before the defender can act again. If the number is negative, the defender will be able to act before the attacker and maybe even punish. KD refers to knockdown on hit.
|
| Knockdown |
Knockdown advantage against Normal, Quick Rise and Back Rise wake up options. |
| Recovery |
How many frames it takes for a move to finish after it's been active. |
| Startup |
How many frames it takes before the move becomes 'active' or have a hit box. The last startup frame and the first active frame are the same frame, meaning all values are written as Startup + 1. |
| Stun |
Amount of stun added to the opponent's stun bar on hit. |
Normals
5LP
5MP
5HP
5LK
5MK
5HK
2LP
2MP
2HP
2LK
2MK
2HK
8LP
8MP
8HP
8LK
8MK
8HK
Command Normals
3HP
Target Combos
8MP > 8MP
5MP > 3HP
5MP > 3HP > MPMK (VS2)
Throws
LPLK
4LPLK
Special Moves
46LP
46MP
46HP
46PP
46LK
46MK
46HK
46KK
28LK
28MK
28HK
28KK
P after Head Press
P before Head Press
PP before Head Press
214LP
214MP
214HP
214PP
66
Critical Art
236236P
Taunts
5PPPKKK
V-System
V-Skill 1
MPMK (VS1)
MPMK (VS1) (release)
MPMK (VS1) (parry)
V-Skill 2
MPMK (VS2)
V-Trigger 1
HPHK (VT1)
V-Trigger 2
HPHK (VT2)
HPHK
63214K
63214K (bomb)
V-Shift
5MKHP
V-Shift Break
5MKHP
V-Reversal
6PPP
