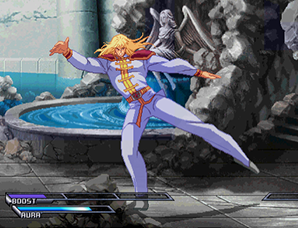
This page covers Shin's normal moves. His special and super moves are explained here.
Standing
Close A
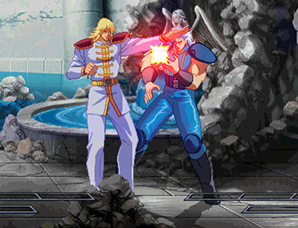
A quick jab to the face. Used in some combos as well as as an anti-air.
Far A
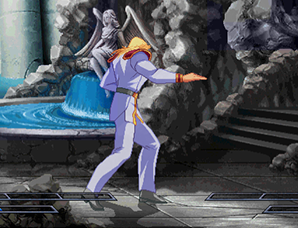
A straight jab. Used in some combos.
Close B
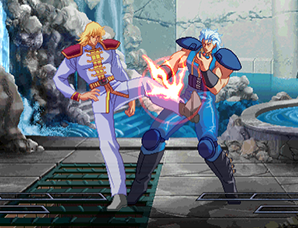
A lazy-looking kick. Used in some combos.
Far B
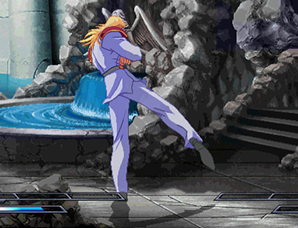
A low kick. Good for zoning, and also used in some combos.
Close C
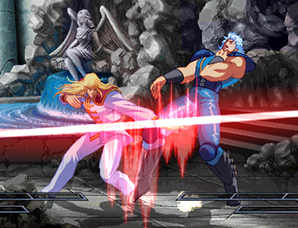
A strong low jab. Can chain into a Banishing Strike. Used in many combos.
Far C
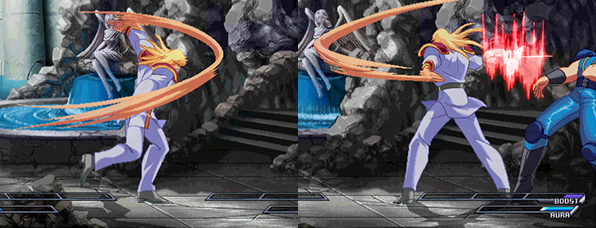
A two-hit horizontal slash. Doesn't hit most crouching characters. Has great range which makes it useful for preventing opponents from jumping or for baiting an Air Recovery. Recovery is quite long so it is necessary to pick your spots carefully when using it.
Close D
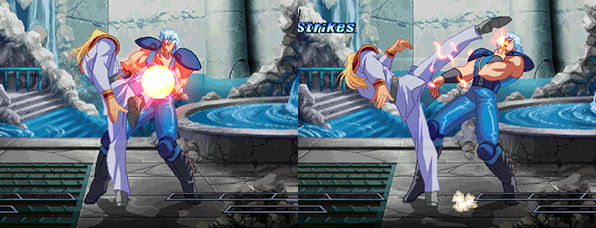
A knee followed by a kick to the head. Used in many combos.
Far D
Crouching
A
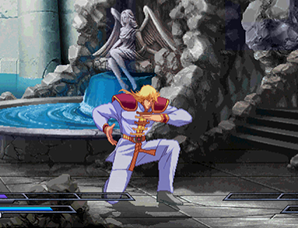
A short crouching elbow jab. Has less range than 2B, but the startup is quicker, making it useful for getting out of pressure. Also possible to use as an anti-air in some situations.
B
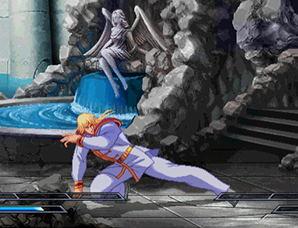
A very low crouching kick. Long range, quick startup, and advantage on guard. Loses to most other characters' 2Bs, but beats high-hitting moves like Toki's 2D. One of Shin's most important normals.
C
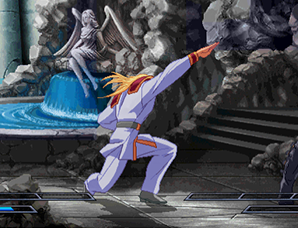
A strong upwards jab while crouching. Fairly slow startup limits its use as an anti-air. Mostly used in combos.
D
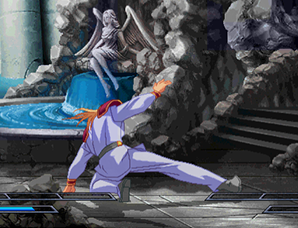
A long sweep kick. Fairly short range in comparison to other characters' 2Ds, but slightly longer than that of 2B. Hit causes the opponent to be knocked into the air.
Air
A
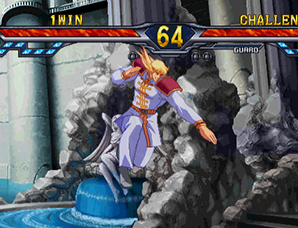
A downwards jab. Can be canceled into itself. Good air-to-air move.
B
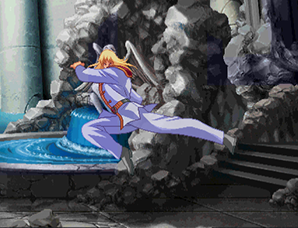
A straight kick. Good reach and long active frames. Shin's main air-to-ground move.
C
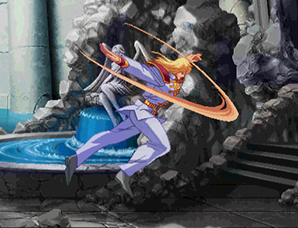
A two-handed downward chop. Used in some combos.
D
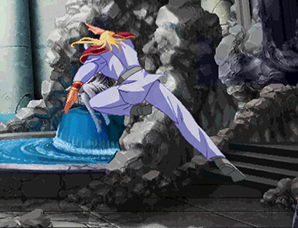
A strong downward kick. Useful in combos, and sometimes as an air-to-ground move.
Other
6A
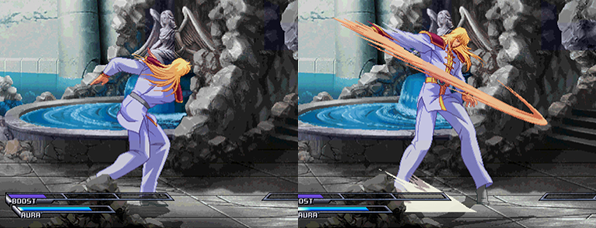
A horizontal slicing punch. Hits overhead. Follow up possible with the use of Boost. Good to throw into your mixup every now and again.
6B
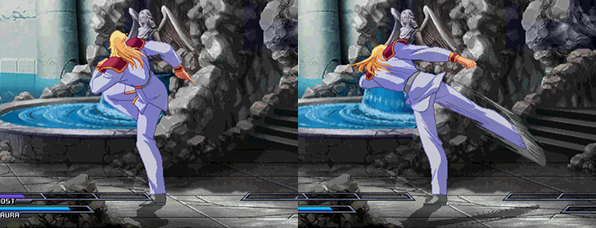
A strong stomping kick. Hits low and takes off a star on Counter Hit. Mostly useless.
Throw
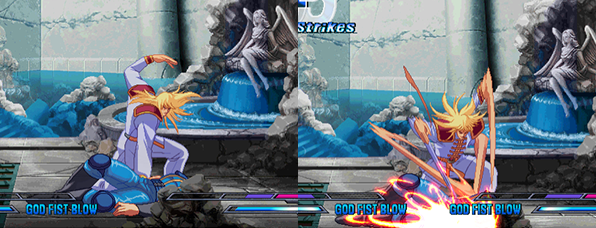
Shin throws his opponent to the ground then jabs them quickly several times. Follow up not possible. Mostly useless, especially since Shin has a great command grab.
BD Throw
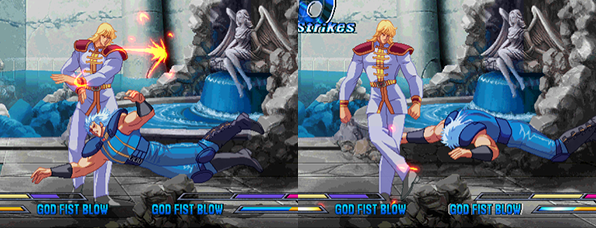
Shin slaps his opponent to the ground, stomps on their body, and then kicks them away. Follow up not possible. Will catch Rei at the start of the round if he opens with a Grave Shoot.
Grave Shoot
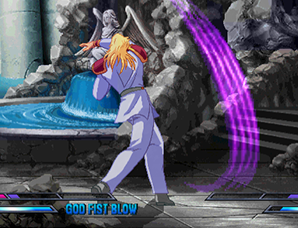
A slashing underhand chop. Not very reliable as an anti-air. Used in many combos.
Heavy Strike
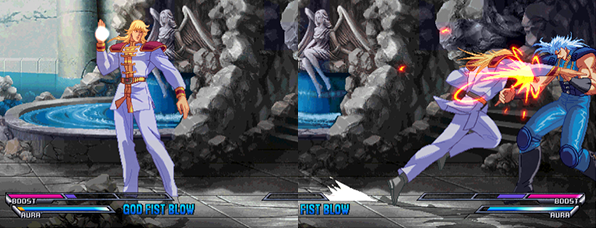
Shin winds up then charges forward with a strong thrust. Very long reach, making this likely the best Heavy Strike in the game. That said its use is still limited to combos for the most part.
Banishing Strike
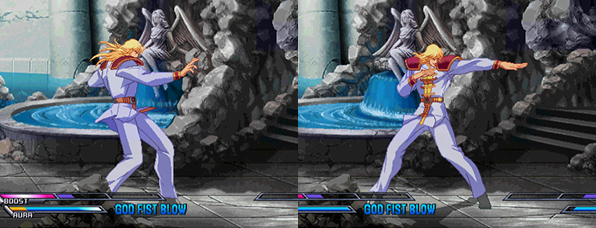
Shin winds up then does a powerful straight jab. Fairly short range. Important combo part.
