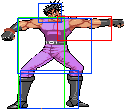
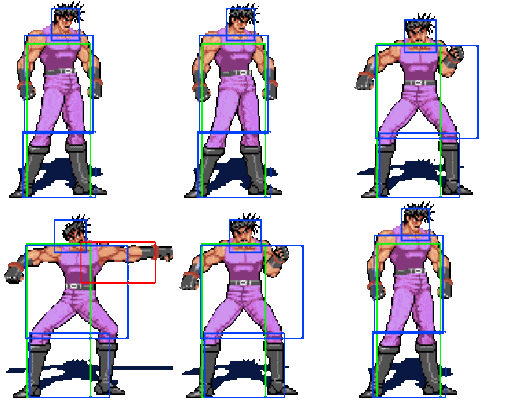
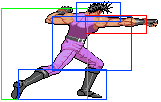
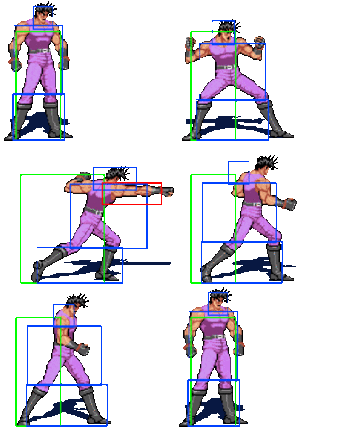
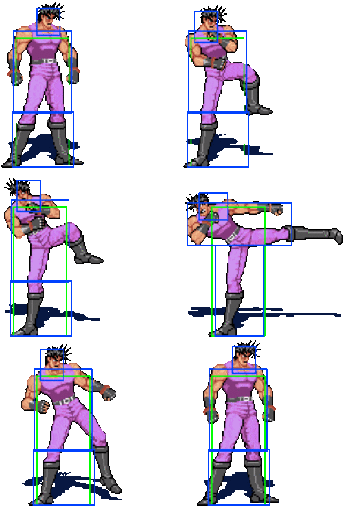
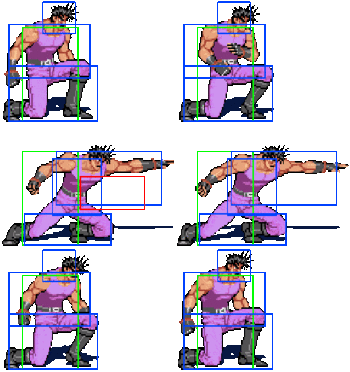
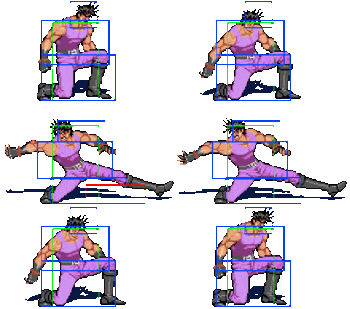
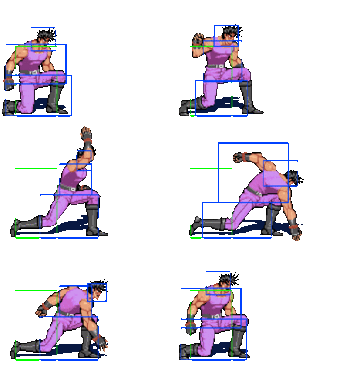
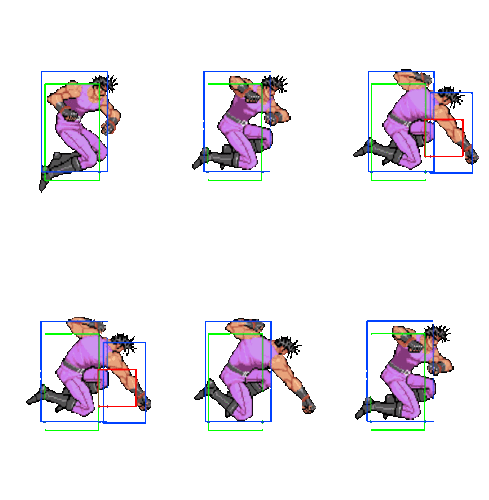
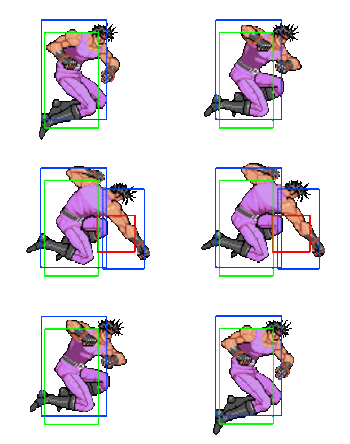
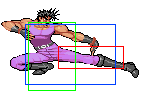
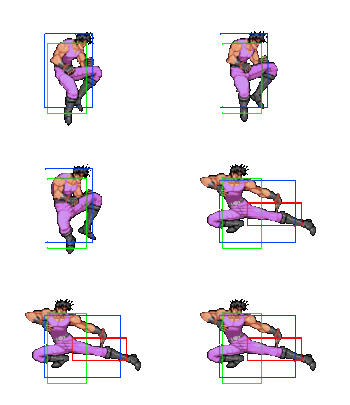
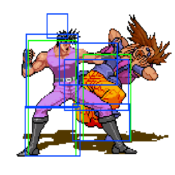
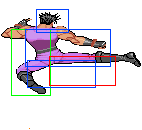
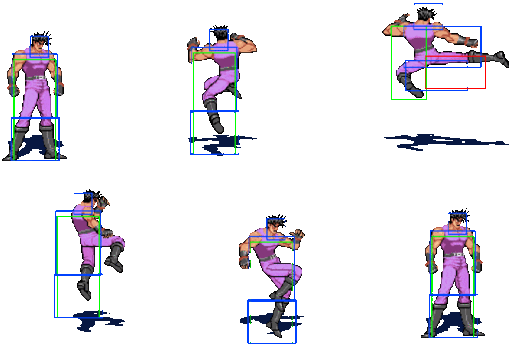
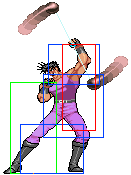
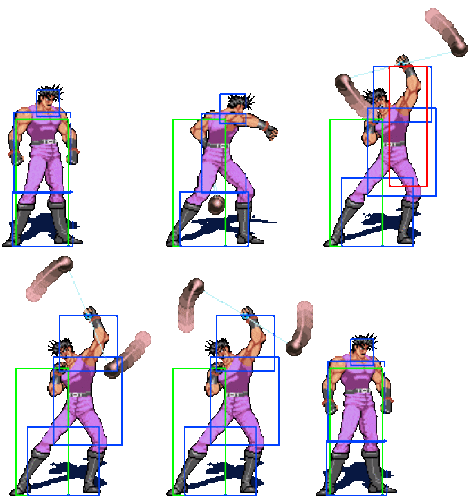
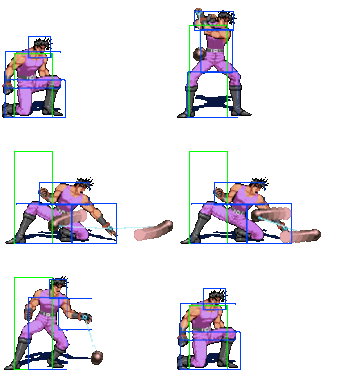
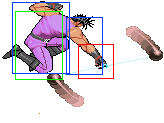
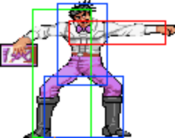
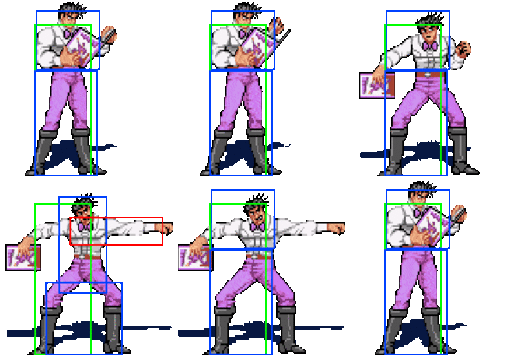
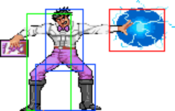
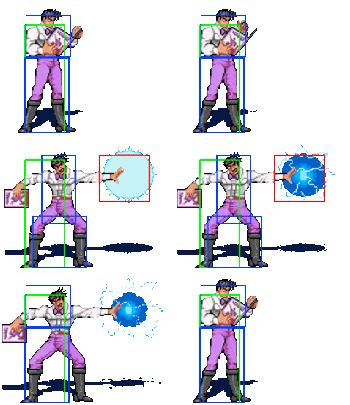
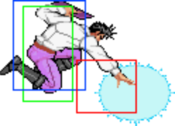
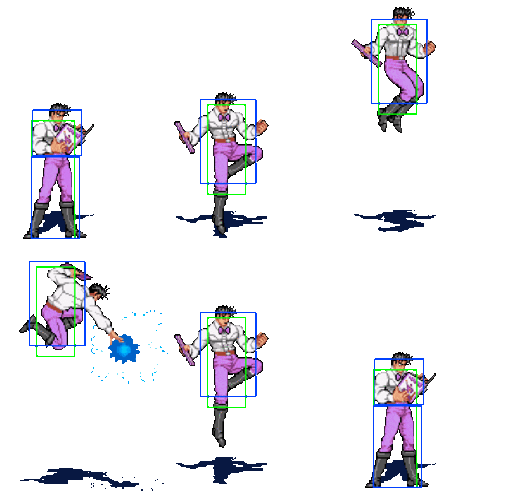
Movelist
Damage values are all on full health shadow dio due to his defense value being about average
stand gauge damage done does not vary based on defense values
Normals
| Startup | Active | Recovery | Damage | Guard | ||||
|---|---|---|---|---|---|---|---|---|
| 5 | 2 | 14 | 4 Stand: 2 |
- | ||||
| Hit Adv. | Block Adv. | Pushblock Adv. | Cancel | Properties | ||||
| +7 | +5 | +2 | SP,SU | IPS=Yes
Scales=No Mid Air-UB | ||||
|
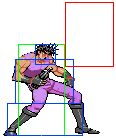
Simple jab. Can combo into 5A, 5B, and 5C for a full combo. Rather short hitbox but useful as an anti-air. Misses some crouching characters. | ||||||||
| Startup | Active | Recovery | Damage | Guard | ||||
|---|---|---|---|---|---|---|---|---|
| 5 | 2 | 25 | 8 Stand: 4 |
- | ||||
| Hit Adv. | Block Adv. | Pushblock Adv. | Cancel | Properties | ||||
| +1 | -1 | -9 | SP,SU | IPS=No
Scales=No Mid Air-UB | ||||
|
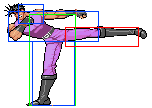
It's long horizontal range and it's speed makes it a great poke in neutral. It's also used as combo extender because of it's reach. Misses some crouching characters. | ||||||||
| Startup | Active | Recovery | Damage | Guard | ||||
|---|---|---|---|---|---|---|---|---|
| 7 | 4 | 29 | 13 Stand: 6 |
- | ||||
| Hit Adv. | Block Adv. | Pushblock Adv. | Cancel | Properties | ||||
| 0 | -2 | -15 | SP,SU | IPS=No
Scales=No Mid Air-UB | ||||
|
A far-reaching kick. Slightly less range and speed than 5B but deals more damage. One of your better anti-airs and overall pokes and if you do hit someone in the air with this, they'll be sent flying to the other side of the screen. Can miss some crouching characters but hits more crouchers than 5B does. | ||||||||
| Startup | Active | Recovery | Damage | Guard | ||||
|---|---|---|---|---|---|---|---|---|
| 5 | 2 | 9 | 4 Stand: 2 |
- | ||||
| Hit Adv. | Block Adv. | Pushblock Adv. | Cancel | Properties | ||||
| +12 | +10 | +7 | SP,SU | IPS=Yes
Scales=No Mid Air-UB | ||||
|
One of the main combo starters because of its speed and advantage. However it should be noted that IT DOES NOT HIT LOW. | ||||||||
| Startup | Active | Recovery | Damage | Guard | ||||
|---|---|---|---|---|---|---|---|---|
| 4 | 2 | 19 | 8 Stand: 4 |
- | ||||
| Hit Adv. | Block Adv. | Pushblock Adv. | Cancel | Properties | ||||
| +6 | +4 | -4 | SP,SU | IPS=No
Scales=No Mid Air-UB | ||||
|
Low kick. Use this if you want a fast low without much risk, although you won't get much from it unlike it's sliding versions that allow easier links because of their proximity to the opponent. Youngseph's fastest normal. You can link this to 2A or 5B if you really want another normal but it's somewhat tight. | ||||||||
| Startup | Active | Recovery | Damage | Guard | ||||
|---|---|---|---|---|---|---|---|---|
| 8 | 3 | 23 | 13 Stand: 6 |
- | ||||
| Hit Adv. | Block Adv. | Pushblock Adv. | Cancel | Properties | ||||
| +6 | +4 | -9 | SP,SU | IPS=No
Scales=No Mid Air-UB | ||||
|
Low chop with great range. It has more range than 5B but it's as slow as 5C. You'll want to use this instead of 5B and 5C in your combos against characters with a lower hitbox (crouching Kak, Iggy, etc.). ALSO DOESN'T HIT LOW. There are two glitches with this move, both grant you a huge amount of meter (That is explained later) and another one being very detrimental. The glitch in question makes it so 2C won't come out if you're holding back while doing it against an attacking opponent, so it is advised to just hold 2 instead of 1/3 while doing it. | ||||||||
| Startup | Active | Recovery | Damage | Guard | ||||
|---|---|---|---|---|---|---|---|---|
| 5 | 12 | - | 5 Stand: 2 |
- | ||||
| Hit Adv. | Block Adv. | Pushblock Adv. | Cancel | Properties | ||||
| +12 | +10 | +7 | - | Overhead | ||||
|
Standard aerial punch. Good for jump-ins and instant overheads against larger crouchers in oki. Be aware that the B version of this move is active for less frames and has a slightly slower startup. | ||||||||
| Startup | Active | Recovery | Damage | Guard | ||||
|---|---|---|---|---|---|---|---|---|
| 7 | 8 | - | 10 Stand: 5 |
- | ||||
| Hit Adv. | Block Adv. | Pushblock Adv. | Cancel | Properties | ||||
| +12 | +10 | +7 | - | Overhead | ||||
|
Read the description for j.A. | ||||||||
| Startup | Active | Recovery | Damage | Guard | ||||
|---|---|---|---|---|---|---|---|---|
| 9 | Until Landing | - | 14 Stand: 7 |
- | ||||
| Hit Adv. | Block Adv. | Pushblock Adv. | Cancel | Properties | ||||
| +12 | +10 | +7 | - | Overhead | ||||
|
Aerial kick. This move is a good air-to-air option with a lot of range and priority. Unlike it's "Old" version, the kick will stay active until you touch the ground. Slow and hard to hit on a chunk of the crouching cast. | ||||||||
Command Normals
| Startup | Active | Recovery | Damage | Guard | ||||
|---|---|---|---|---|---|---|---|---|
| - | - | - | 12 | - | ||||
| Hit Adv. | Block Adv. | Pushblock Adv. | Cancel | Properties | ||||
| - | - | - | - | - | ||||
|
Joseph grabs the opponent and slams 'em in the face with a solid Hamon infused punch. Very basic grab that doesn't really give you that much neutral advantage, it only causes a normal launch without a hard knockdown and it's damage is average. Be aware that some characters can punish it in corner if they're fast enough. Try to use 4C instead of 6C so that you avoid accidentally doing the following move. | ||||||||
| Startup | Active | Recovery | Damage | Guard | ||||
|---|---|---|---|---|---|---|---|---|
| 14 | 3 | 29 | 9 Stand: 4 |
- | ||||
| Hit Adv. | Block Adv. | Pushblock Adv. | Cancel | Properties | ||||
| -9 | -11 | -24 | - | Overhead | ||||
|
Roundhouse kick. It's a very slow overhead that | ||||||||
| Startup | Active | Recovery | Damage | Guard | ||||
|---|---|---|---|---|---|---|---|---|
| 4 | 17 | 19 | 6 Stand: 3 |
- | ||||
| Hit Adv. | Block Adv. | Pushblock Adv. | Cancel | Properties | ||||
| -8 | -10 | -18 | SP,SU | Low
Air-UB | ||||
|
This version of 2B moves Joseph slightly forward. You can connect 236+AA after this, although I still advise you to use the dashing version instead because of Youngseph's general neutral game. | ||||||||
| Startup | Active | Recovery | Damage | Guard | ||||
|---|---|---|---|---|---|---|---|---|
| 8 | 21 | 24 | 10 Stand: 5 |
- | ||||
| Hit Adv. | Block Adv. | Pushblock Adv. | Cancel | Properties | ||||
| KND | -14 | -27 | SP,SU | Low
Air-UB | ||||
|
This version of 2B will move Joseph forward even more and it will cause a hard knockdown. It has a longer startup but because of the knockdown it's very useful for oki setups and connecting Aja on some characters (this has it's own section below the combos). | ||||||||
Dashing Normals
| Startup | Active | Recovery | Damage | Guard | ||||
|---|---|---|---|---|---|---|---|---|
| 14 | 3 | 35 | 10 Stand: 5 |
- | ||||
| Hit Adv. | Block Adv. | Pushblock Adv. | Cancel | Properties | ||||
| Launch | -17 | -22 | - | Overhead | ||||
|
Dashing version of 6C. This version will launch the opponent a bit, however they can easily tech on the ground and cancel into a punish, so if you really want to use this move, use 44C so that less moves can reach you. | ||||||||
| Startup | Active | Recovery | Damage | Guard | ||||
|---|---|---|---|---|---|---|---|---|
| 4 | 25 | 17 | 10 Stand: 5 |
- | ||||
| Hit Adv. | Block Adv. | Pushblock Adv. | Cancel | Properties | ||||
| -19 | -21 | -24 | SP,SU | Low | ||||
|
Dashing version of 3B. The B version has more hitstun so use it instead of A. As stated previously, this is the version of the move you'll be using the most since it makes for a great combo starter when paired with Youngseph's playstyle. You'll mostly use it to combo into overdrive (given the opponent is tall enough to get hit by overdrive, if not use d.2C to launch them into effective range), but you can also use it to link your jump ins into your specials or 236+AA. | ||||||||
| Startup | Active | Recovery | Damage | Guard | ||||
|---|---|---|---|---|---|---|---|---|
| 4 | 25 | 21 | 10 Stand: 5 |
- | ||||
| Hit Adv. | Block Adv. | Pushblock Adv. | Cancel | Properties | ||||
| Launch | -15 | -28 | SP,SU | Low
Launches | ||||
|
This dashing 3C will cause a launch instead of a hard knockdown. As stated previously, you'll want to use this instead of d.2B against small opponents (for generalization, try using B on Stand ON opponents and C on Stand OFF opponents). | ||||||||
Unique Attacks
Joseph takes out his signature self-made steel clackers and smacks the opponent with them. Depending on the direction held while using this move, Young Joseph will perform different attacks. They all count as Special attacks and thus can be used to cancel some normals. All clacker hits are air-unblockable except for the jumping variation.
| Startup | Active | Recovery | Damage | Guard | ||||
|---|---|---|---|---|---|---|---|---|
| 18 | 9 | 38 | 13 Stand: 20 (5,5,5,5) |
- | ||||
| Hit Adv. | Block Adv. | Pushblock Adv. | Cancel | Properties | ||||
| -3 | -14 | -14 | - | IPS=No
Scales=Yes* Mid Air-UB | ||||
|
After a long startup, Joseph smacks the opponent by spinning his clackers several times. You can link this off from 5C and 2C. Due to it's hitbox, it can hit lower hitbox opponents where Overdrive can't, so use it as it's replacement.
| ||||||||
| Startup | Active | Recovery | Damage | Guard | ||||
|---|---|---|---|---|---|---|---|---|
| 10 | 6 | 25 | 12 Stand: sc |
- | ||||
| Hit Adv. | Block Adv. | Pushblock Adv. | Cancel | Properties | ||||
| Launch | -6 | -6 | - | IPS=No
Scales=Yes* Mid Air-UB | ||||
|
Joseph performs a multi hit uppercut with his clackers. The hitbox is very deceiving and is much smaller in reality, making this move a really bad anti-air. It's startup is also pretty slow. The only good thing about this move is that it will always cause a stand crash, although because of it's multiple hits, you'll only be able to get something from it if only the first hit connects.
| ||||||||
| Startup | Active | Recovery | Damage | Guard | ||||
|---|---|---|---|---|---|---|---|---|
| 18 | 3 | 17 | 11 (9,2) Stand: 11 (8,3) |
- | ||||
| Hit Adv. | Block Adv. | Pushblock Adv. | Cancel | Properties | ||||
| KND | +8 | +5 | - | IPS=No
Scales=Yes* Mid Air-UB | ||||
|
Multi hit knockdown crouching attack. Can be linked from 5C/2C at close range. Take note of its similarly deceiving hitbox like 6S. You'll be using this move in your projectile setups and oki to confirm into Aja setups (more info in the Hamon Beat section).
| ||||||||
| Startup | Active | Recovery | Damage | Guard | ||||
|---|---|---|---|---|---|---|---|---|
| 8 | 10 | - | 12 (9,2,1) Stand: 14 (8,3,3) |
- | ||||
| Hit Adv. | Block Adv. | Pushblock Adv. | Cancel | Properties | ||||
| +11 | +6 | +13 | - | IPS=No
Scales=Yes* Overhead | ||||
|
Similar in appearance to j.A/j.B, Joseph takes out his clackers mid-air and smacks the opponent up to 3 times. You can cancel any of your air normals into it. Along with j.C this is one of Youngseph's strongest moves because of their speed and multi-hit properties that allow easy jump in confirms into general combos. Again, be aware of the faulty hitbox.
| ||||||||
| Startup | Active | Recovery | Damage | Guard | ||||
|---|---|---|---|---|---|---|---|---|
| 10 | 12 | 45 | 14 Stand: 23 (8,3,3,3,3,3) |
- | ||||
| Hit Adv. | Block Adv. | Pushblock Adv. | Cancel | Properties | ||||
| -3 | -11 | -14 | - | IPS=No
Scales=Yes* Mid Air-UB | ||||
|
Dashing version of 5S. Has a nearly instant startup and it's safe. Amazing pressure tool that is also a solid anti-air. Great against opponents that rely heavily on jumping. Note that this move cannot be used while running back until you double tap the dash in the opposite way right after the backward run animation ends. Joseph slides backward instead of sliding forward while doing the move making for an effective distance making move.
| ||||||||
| Startup | Active | Recovery | Damage | Guard | ||||
|---|---|---|---|---|---|---|---|---|
| - | - | - | 8 Stand: 4 |
- | ||||
| Hit Adv. | Block Adv. | Pushblock Adv. | Cancel | Properties | ||||
| Launch | - | - | - | Mid
Air-UB | ||||
|
Joseph uses a slow-ish version of his Hamon Cola. Potentially the worst Guard Cancel in the game as it has very few invincibility frames and has a long start up. It's only usable against some jump-ins and certain predicted approaches and pressure strings, but other than that you should only block/push block. Doesn't work consistently at all even against tandem sandwiches. | ||||||||
Special Moves
| Startup | Active | Recovery | Damage | Guard | ||||
|---|---|---|---|---|---|---|---|---|
| 12 | 2 | 23 | 15 Stand: 30 |
+3/-23 | ||||
| Hit Adv. | Block Adv. | Pushblock Adv. | Cancel | Properties | ||||
| +5 | +3 | -23 | - | Mid | ||||
|
Joseph takes a deep breath and then cuts through the air with Hamon infused chop. A very simple special for hit-confirms with good horizontal range that makes for a really good poke. Useful to end combos with or deal chip damage to the Stand Gauge. Some opponents can duck under it completely. This is your best move to start the round with (unless the opponent has a faster option, like Dio's teleport or Rubber's 6S). Note that the B version has a bit more range than the A version but the A version is more plus on hit, making the A version better used in combos while the B version is better at poking. Despite being one of Youngseph's most important tools, it can be punished with a quick pushblock by Stand off characters, so if your combo's being blocked, don't do this move. | ||||||||
| Startup | Active | Recovery | Damage | Guard | ||||
|---|---|---|---|---|---|---|---|---|
| 12 | 4 | 25 | 15 Stand: 30 |
+1/-25 | ||||
| Hit Adv. | Block Adv. | Pushblock Adv. | Cancel | Properties | ||||
| +3 | +1 | -25 | - | Mid | ||||
|
Extra active frames, longer hitbox but less plus on hit. Read the description for 236 + A. | ||||||||
| Startup | Active | Recovery | Damage | Guard | ||||
|---|---|---|---|---|---|---|---|---|
| 37 | 8 | 12 | 20 (5, 5, 10) Stand: 40 (10,10,20) |
- | ||||
| Hit Adv. | Block Adv. | Pushblock Adv. | Cancel | Properties | ||||
| Launch | +22 | +3 | - | Mid | ||||
|
The C version of Ovedrive will have longer startup, but will have much longer range and will deal 3 hits that ultimately wall bounce the opponent (although they can air tech after some frames of the bounce). You can only use this off of projectile extensions with a stand crash, but at that point you are better off extending to a normal combo since after previous hits the wall bounce will just become a hard knockdown. If it's done raw and you are close enough to the wall, you can combo into 236+AA (or a normal overdrive if you can't reach). | ||||||||
| Startup | Active | Recovery | Damage | Guard | ||||
|---|---|---|---|---|---|---|---|---|
| 8 / 14 / 21 | 4 | 26 | 8/10/12 Stand: 4/5/6 |
- | ||||
| Hit Adv. | Block Adv. | Pushblock Adv. | Cancel | Properties | ||||
| Launch | -5 | -13 | - | IPS=No
Scales=Yes Mid Air-UB | ||||
|
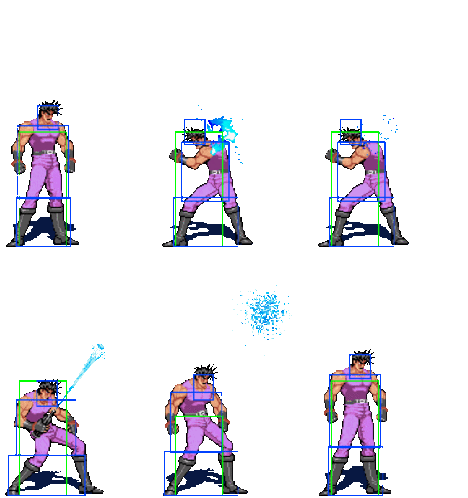
Joseph grabs a cola bottle and makes it shoot the bottle cap high up. A poor man's dragon punch style attack that has no invincibility to it. It's really useful as an anti-air due to disjointed hitbox. It can combo off some moves too. All versions have the same hitbox, only becoming slower and (slightly) more damaging depending on the strength of the button used. Because of this, it's advised to only use the A version since it's the fastest and the damage upgrade from the other versions isn't worth the startup. | ||||||||
| Startup | Active | Recovery | Damage | Guard | ||||
|---|---|---|---|---|---|---|---|---|
| 19 | N/A | - | 10 Stand: 20 |
- | ||||
| Hit Adv. | Block Adv. | Pushblock Adv. | Cancel | Properties | ||||
| -16 | -23 | -21 | - | Mid | ||||
|
Joseph grabs a massive crossbow and fires a Hamon infused iron ball from it. Considering its slow startup, the projectile is very basic and doesn't do anything flashy. Don't use this version since it's B and C counterparts are overall better because of their properties. | ||||||||
| Startup | Active | Recovery | Damage | Guard | ||||
|---|---|---|---|---|---|---|---|---|
| 19 | N/A | - | 11 Stand: 22 |
- | ||||
| Hit Adv. | Block Adv. | Pushblock Adv. | Cancel | Properties | ||||
| -16 | -23 | -21 | - | Mid | ||||
|
The B version of the crossbow shot will fire a faster projectile with a larger hitbox. If you want to use a projectile that's not Boomerang, use this instead of the A version. Still, the C version is the best one as we'll see now. | ||||||||
| Startup | Active | Recovery | Damage | Guard | ||||
|---|---|---|---|---|---|---|---|---|
| 156 | N/A | - | 11 (10,1) Stand: 24 (20,4) |
- | ||||
| Hit Adv. | Block Adv. | Pushblock Adv. | Cancel | Properties | ||||
| +26 | +13 | +16 | - | IPS=No
Scales=Yes* Mid Air-UB | ||||
|
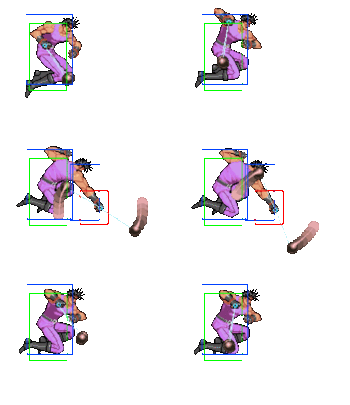
When firing the C version of the crossbow shot, Youngseph will do something very different: he'll shoot it backwards instead of forward. The iron ball can be seen traversing the background of the stage in a circle until it finally reaches the opponent from behind. This is the best version of the move because it can be used to setup combo extensions without having to rely on the opponent missing Clacker Boomerang. In terms of hitbox, it's basically the same as the B version. A hidden property of this move is that when fighting Iggy, the Iron Ball will adapt to his small hitbox when returning and will be much closer to the ground as a result (this ONLY happens with Iggy, so don't rely on it against other small opponents such as crouched Devo).
| ||||||||
| Startup | Active | Recovery | Damage | Guard | ||||
|---|---|---|---|---|---|---|---|---|
| 12 | 8 | 29 | 9 Stand: 14 (8,3,3) |
- | ||||
| Hit Adv. | Block Adv. | Pushblock Adv. | Cancel | Properties | ||||
| +5 | +3 | -23 | - | Mid | ||||
|
Joseph takes out his clackers and starts spinning them, moving forward and hitting the opponent multiple times. This attack is a three-part movirekka style special. The first part of this move comes out fairly quick and, adding the fact that its air unblockable, it can make for a good quick anti air. Don't use it against s.off grounded opponents since if not done in a full combo, the entire move will be punishable on hit for reasons we'll see as we check out the other parts of the rekka. This move won't hit low hitbox opponents (so avoid the rekka entirely against these characters). Try not to start the rekka in a combo that's being blocked (although if you do, you have a backup plan in the third part). | ||||||||
| Startup | Active | Recovery | Damage | Guard | ||||
|---|---|---|---|---|---|---|---|---|
| 7 | 9 | 46 | 10 Stand: 17 (8,3,3,3) |
- | ||||
| Hit Adv. | Block Adv. | Pushblock Adv. | Cancel | Properties | ||||
| -19 | -22 | -19 | - | Mid | ||||
|
The second part of the rekka is identical to 5S/66S. Unlike other rekkas, this first part MUST connect (either by hit or block) with the opponent in order to follow up with the other parts. As stated before, if you've accidentaly started the rekka with the enemy blocking, your only option is to carry on to one of the third part options, since the first 2 parts can easily be punished after blocking. | ||||||||
| Startup | Active | Recovery | Damage | Guard | ||||
|---|---|---|---|---|---|---|---|---|
| 25 | N/A | - | 13 Stand: sc |
- | ||||
| Hit Adv. | Block Adv. | Pushblock Adv. | Cancel | Properties | ||||
| +3 | -5 | -1 | - | IPS=No
Scales=Yes* Overhead | ||||
|
The final part of the rekka has 3 options to choose from. The first one will be covering is the overhead option, 6S. Youngseph will do a very small hop and attack with aerial characters not unlike j.S (although these don't push the opponent away). Now, if the rekka has been blocked up until this point, the most likely option of escape will be this ender. This is because it will leave Youngseph in the air, making full combo punishes impossible (although it doesn't make you invulnerable to super punishes of course). If you hit a crouched opponent with this and the hitboxes are positioned just right, you can follow up with a quick d.2B (preferably into overdrive or another rekka). This ender will also stand crash the opponent if they get hit by it, although you won't get much off of it since the other hits of the move will connect and reset the hitstun to normal.
| ||||||||
| Startup | Active | Recovery | Damage | Guard | ||||
|---|---|---|---|---|---|---|---|---|
| 22 | 4 | 17 | 11 (9,2) Stand: 4 (2,2) |
- | ||||
| Hit Adv. | Block Adv. | Pushblock Adv. | Cancel | Properties | ||||
| KND | +7 | +6 | - | IPS=No
Scales=Yes* Low | ||||
|
The second non-connecting option is the low hit, 2S. Youngseph will do 2S while moving slightly forward. The most use you'll get out of this move outside of risky resets is in projectile setups, timing when the projectile will hit the opponent with the gap between the second part of the rekka and this one. This can make Hamon Beat setups against certain characters much easier to perform.
| ||||||||
| Startup | Active | Recovery | Damage | Guard | ||||
|---|---|---|---|---|---|---|---|---|
| 8 | 6 | 34 | 12 Stand: sc |
- | ||||
| Hit Adv. | Block Adv. | Pushblock Adv. | Cancel | Properties | ||||
| Launch | -18 | -11 | - | IPS=No
Scales=Yes* | ||||
|
The only third part option that will connect is the neutral option, 5S. Youngseph will perform 6S while moving forward. As stated before, you DO NOT want to start the rekka with a combo shorter than 2 hits against s.off characters. This ender is the reason why. Since this is the only one that connects with the second part, this is the option you'll be using the most. However, the move is designed to end in a launcher that doesn't send the opponent very high up, making ground tech punished very easy to perform. In order to avoid this, you must do a 2 or higher hit combo before starting the rekka (commonly j.C j.S d.2B rekka). This will transform the launcher into a hard knockdown, making the move safe (and also setting up oki against characters without a fast recovery time). Something to note is that if you manage to only hit the opponent with the last of these 3 hits, they'll be sent flying to the air without being able to tech, setting up for a super follow up (although this is very unlikely since the move hits neutral). Similar to the 6S ender, this move will also perform a stand crash if the opponent gets hit by it, although it's useless since that means it will always perform a punishable launcher no matter how big the combo is. By the way, if you're performing this ender against s.on opponents, the stand crash will make them be launched higher, becoming an unpunishable move even if performed without the 2 hits mentioned before.
| ||||||||
| Startup | Active | Recovery | Damage | Guard | ||||
|---|---|---|---|---|---|---|---|---|
| 32 | N/A | - | 12 Stand: 24 (12,12) |
- | ||||
| Hit Adv. | Block Adv. | Pushblock Adv. | Cancel | Properties | ||||
| +13/+27 | +11/+25 | +3/+16 | - | Mid | ||||
|
The legendary Clacker Boomerang. This dreaded boomerang style projectile is one of Young Joseph's strongest offensive tools. Even though the startup of this attack is somewhat slow, the projectile itself is made of two flying clackers which both deal high damage on hit. If the projectile hits or is blocked by a crouching opponent, only one part of the clacker will affect them while the other one will fly right behind them until it meets with a corner and then go back, making it a very tricky thing. If the projectile hits a standing target, both parts will stop. If it misses completely... both parts will fly back. Truly a nightmare to deal with once they're out in the field. You'll be using this as your main zoning tool and improv projectile combo extention setups if the opponent gets past them. | ||||||||
Super Moves
| Startup | Active | Recovery | Damage | Guard | ||||
|---|---|---|---|---|---|---|---|---|
| 8 | 4 | - | 43 | - | ||||
| Hit Adv. | Block Adv. | Pushblock Adv. | Cancel | Properties | ||||
| KND | -17 | -15 | - | Mid | ||||
|
Joseph will uppercut the enemy and hit him with a Hamon overdrive while yelling Caesar's name and saying "you are still in my heart". Small horizontal hitbox, good vertical one. Hard to combo into, it's mainly used to punish jump-ins. Decent damage. (Do note that it is AIR BLOCKABLE and only has I-Frames after the super flash!!) | ||||||||
| Startup | Active | Recovery | Damage | Guard | ||||
|---|---|---|---|---|---|---|---|---|
| 67 | 8 | - | 56 | N/A | ||||
| Hit Adv. | Block Adv. | Pushblock Adv. | Cancel | Properties | ||||
| KND | - | - | - | UB | ||||
|
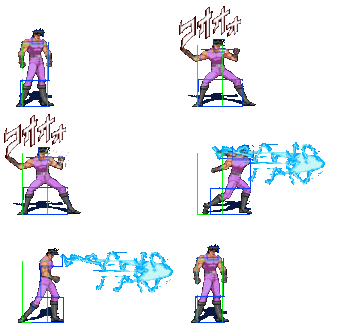
Joseph will take out the Red Stone of Aja and charge it with Hamon energy, creating a beam of energy with great power. A very long startup, but highest damage in the game and unblockable. Can be avoided by some crouching opponents, jumping or rolling. Can be used to punish some moves (https://www.youtube.com/watch?v=q4BHMZqdsEQ) and can even be set up against several characters in a combo! | ||||||||
Child mode
Young Joseph:Alessi exclusive (for obvious reasons)
| Startup | Active | Recovery | Damage | Guard | ||||
|---|---|---|---|---|---|---|---|---|
| - | - | - | - | - | ||||
| Hit Adv. | Block Adv. | Pushblock Adv. | Cancel | Properties | ||||
| - | - | - | - | - | ||||
|
A rapid jab with a good priority. Use this to quickly tell Alessi to back off or anti air him. Can also be used in combos. Links into k.5B/k.5C and k.2X. | ||||||||
| Startup | Active | Recovery | Damage | Guard | ||||
|---|---|---|---|---|---|---|---|---|
| - | - | - | - | - | ||||
| Hit Adv. | Block Adv. | Pushblock Adv. | Cancel | Properties | ||||
| - | - | - | - | - | ||||
|
A great move with a quick startup, amazing disjoint and overall excellent range. Best move against Alessi to make him back off. Can also be used as a combo ender. | ||||||||
| Startup | Active | Recovery | Damage | Guard | ||||
|---|---|---|---|---|---|---|---|---|
| - | - | - | - | - | ||||
| Hit Adv. | Block Adv. | Pushblock Adv. | Cancel | Properties | ||||
| - | - | - | - | - | ||||
|
Like k.5B/k.5C, but crouching. Has better range but has more hurtbox. Same functions as k.5B/k.5C. A fun fact, the A version uses a different voice line from both the B and C version. | ||||||||
| Startup | Active | Recovery | Damage | Guard | ||||
|---|---|---|---|---|---|---|---|---|
| - | - | - | - | - | ||||
| Hit Adv. | Block Adv. | Pushblock Adv. | Cancel | Properties | ||||
| - | - | - | - | - | ||||
|
When turned into a child, you'll most likely jump back and use this move to run away. If you're more of the aggressive type, this move has a good enough priority for you to use it as a jump-in, being able to crossup depending on your spacing. Links into the other moves. | ||||||||
