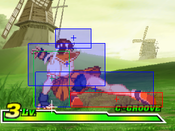
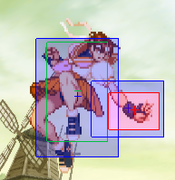
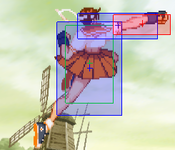
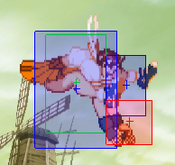
Introduction
Story
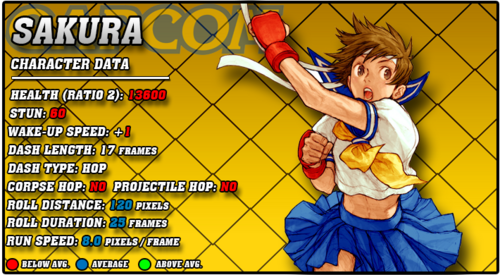
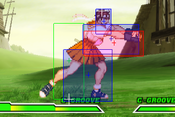
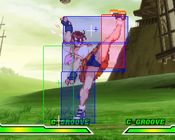
Sakura Kasugano is a Japanese high-school student with a fixation on her favorite fighter, Ryu. She lived a fairly normal high-school life, hanging out with her friends Hinata Wakaba and Natsu Ayuhara, until she saw Ryu fighting one day on the way home from school. She immediately became fascinated, and began training to fight like he does, emulating many of his techniques. She used her newfound skill to beat up the older kids who bully her and her friends, but eventually sets her sights on becoming Ryu's student. She frequently skips class to try and hunt him down, and on the way, has her own journey where she makes friends and enemies from around the world. Namely, she makes a rival in Karin Kanzuki. As she grows up from her childhood fixation on fighting and her idolization turned crush on Ryu, she often finds herself asking if fighting forever is truly a worthwhile use of ones life.
Gameplay
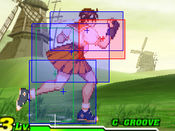
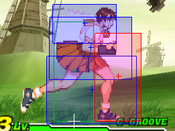
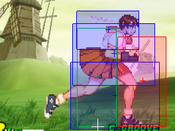
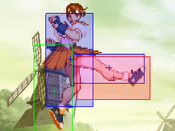
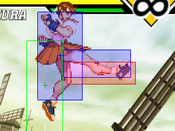
Sakura is part of the big top tiers of CvS2, usually placed somewhere in the top 5 or right outside it at 6th. Like many of the CvS2 top tiers, her ability to control neutral is amazing, with her strong buttons both on the ground and in the air. 5LK, 5MP, 5HK, 2MK, and all of her jump kicks are stellar and versatile buttons that allow her to poke safely at the enemy and get them where she wants them. After she wins neutral, Sakura has very high natural damage, ending combos in her 623P Shouoken uppercuts. She also notably has some of the most annoying roll cancels in the game to fight, with her RC 214K Shunpukyaku tatsus acting as incredibly hard to contest fireball callouts with great reward and her RC 236P Hadosho energy waves being invincible and safe pokes.
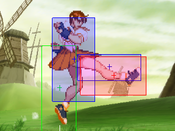
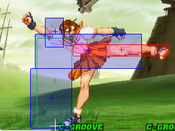
Her air mobility is no joke either, sporting the classic shoto air tatsu in j.214K, but also having a powerful divekick in j.236K Oukakyaku. Mixed with her amazing buttons in the air, this makes anti-airing her properly almost as hard as whiff punishing her properly, and when mixed with her amazing RC specials, makes Sakura a neutral nightmare. She also has one of the most powerful Custom Combos in the game, her infamous Shoshosho combo. This is very hard to properly execute, but when done right, makes A-Sakura a terrifying beast of a punish character who can eat your fireball or whiffed poke and spit out 9k or more damage from it. As if contesting her properly wasn't hard enough, the threat of a CC Shoshosho makes it nearly impossible, and Sakura gets to run her game for as long as she wants to.
Groove Selection
Best - A: While Sakura is fairly strong overall, A-Sakura gives her everything she wants to win and more. Having a roll gives her access to RC Tatsu and RC Fireball, making her neutral much more annoying. The real attractive factor is her Custom Combo, Shoshosho. By simply doing repeated 623HP's, Sakura can dish out massive damage and melt through guard bars. The stellar range on this allows her to activate from ridiculously far away and punish whatever the opponent did, whether that was whiff a button or throw a projectile. While her anti-air CC isn't quite as strong, it's still plenty good. A-Sakura is often seen as a point character on plenty of A-Groove teams, thanks to her amazing matchup spread vs other point characters, her strong meter build, and her ability to play without relying on meter while still excelling at using it.
Useful - C/N/K: C-Sakura is likely the second best way to play her. Her level 2 combos, especially using her 214HK Tatsu links, do massive damage and are very flashy to pull off. They are quite difficult however, and in general, C-Sakura is going to be forced to learn Sakura's more difficult links and master the 1 frame link from her 214HK into her 2LP to make her level 2's hurt. C-Sakura plays overall similar enough to A-Sakura, with a different way to use meter. N-Sakura changes the formula a bit, getting much more aggressive potential with run and hop. While she can still roll cancel specials for maximum neutral annoyance, she can also run in or hop over lows, making it even more difficult to directly contest her. She still plays her normal game, similar to A-Sakura, but gets more access to scary mixups with hop crossups and empty hop low/throw, allowing her to vortex opponents very effectively. K-Sakura plays much like N-Sakura, but without rolls. Off of her high damage combos, she often gets enough time to mix the opponent between a hop HK on the same side and a crossup hop MK, or she can always empty hop and go low or throw. Rage gives her a great damage buff, and her level 3 236236K Midare Zakura lets her end Rage combos with huge damage. K-Sakura has to sacrifice rolls however, but she can still play a solid offensive neutral, and her mixups are no joke.
Worst - S/P: While listed here as worst, neither of these Grooves are necessarily bad for her, and Sakura can still shine in them. They just fit her the least. S-Sakura is one of the better S-Groove characters, mostly thanks to her ability to play without meter available. She can still do her normal and solid neutral gameplan, and even gets a run and hop to solidify her offense more. Charging is a pain, but since Sakura is hard to contest, she can charge a bit more safely after instilling the fear of her buttons into the opponent. However, this is much less effective without rolls, and while Sakura doesn't require meter at all times, it does make her quite a lot scarier when she has it. Infinite level 1's do allow her to use her level 1 236236P Shinku Hadouken to zone a bit more effectively however. P-Sakura is a fairly solid P-Groove character, especially because Sakura can punish pretty reliably off of a good parry. Lack of rolls hurts a lot, and having only hop to make up for it instead of both hop and run is a hard trade-off. P-Sakura relies on you having solid parry ability, converting those parries into a knockdown and a blender of hop mixups, and cashing out on the one or maybe even two level 3 supers you get a round.
|
Sakura is a top-tier powerhouse of a shoto, with some of the best neutral control in the game. She can control space with big buttons, great air mobility with her divekick and air Tatsus, and her incredible roll cancels. Once she gets meter, she can cash it out into big damage. Sakura is best in A-Groove. Difficulty: Hard (A-Groove), Medium (Any other Groove)Tier: S |
|
| Pros | Cons |
|
|
Players to Watch
| Name | Country | Groove | Accounts | Notes |
|---|---|---|---|---|
| YSK | Japan | A-Groove | Twitter: @yosuke0815 | The point character of YSK's dominant SBB (Sakura Bison Blanka) team. Plays with a decent amount of movement and tries to meter build. Sample Match |
| Uma | Japan | A-Groove | Twitter: @umaare | An OG player and a SBB team user. Sample Match |
| Yane | Japan | S-Groove | Twitter: @yanechudan | Being a skilled S-Groover, Yane is very well versed with making S-Sakura dominate neutral and is especially threatening with desperation mode. Sample Match |
Normal Moves
Far Standing Normals
5LP
| Damage | Stun | Cancel | Guard | Parry | Startup | Active | Recovery | Total | Adv Hit | Adv Block | Invul |
|---|---|---|---|---|---|---|---|---|---|---|---|
| 200 | - | RF,SP,SU | mid | mid | 2 | 4 | 5 | 11 | +8 | +8 | none |
| |||||||||||
5MP
| Damage | Stun | Cancel | Guard | Parry | Startup | Active | Recovery | Total | Adv Hit | Adv Block | Invul |
|---|---|---|---|---|---|---|---|---|---|---|---|
| 800 | - | SP,SU | mid | mid | 5 | 5 | 12 | 22 | +3 | +3 | none |
5HP
| Damage | Stun | Cancel | Guard | Parry | Startup | Active | Recovery | Total | Adv Hit | Adv Block | Invul |
|---|---|---|---|---|---|---|---|---|---|---|---|
| 1200 | - | SU | mid | mid | 5 | 3(2)5 | 23 | - | +1 | +1 | none |
5LK
| Damage | Stun | Cancel | Guard | Parry | Startup | Active | Recovery | Total | Adv Hit | Adv Block | Invul |
|---|---|---|---|---|---|---|---|---|---|---|---|
| 300 | - | SP, SU | mid | mid | 3 | 5 | 13 | 21 | -3 | -3 | - |
5MK
| Damage | Stun | Cancel | Guard | Parry | Startup | Active | Recovery | Total | Adv Hit | Adv Block | Invul |
|---|---|---|---|---|---|---|---|---|---|---|---|
| 800 | - | SU | mid | mid | 7 | 7 | 21 | 35 | -8 | -8 | none |
5HK
| Damage | Stun | Cancel | Guard | Parry | Startup | Active | Recovery | Total | Adv Hit | Adv Block | Invul |
|---|---|---|---|---|---|---|---|---|---|---|---|
| 1000 | - | none | mid | mid | 8 | 5 | 17 | 30 | +2 | +2 | none |
Close Standing Normals
cl5MP
| Damage | Stun | Cancel | Guard | Parry | Startup | Active | Recovery | Total | Adv Hit | Adv Block | Invul |
|---|---|---|---|---|---|---|---|---|---|---|---|
| 700 | - | SP,SU | mid | mid | 4 | 5 | 11 | 20 | +4 | +4 | none |
cl5HP
| Damage | Stun | Cancel | Guard | Parry | Startup | Active | Recovery | Total | Adv Hit | Adv Block | Invul |
|---|---|---|---|---|---|---|---|---|---|---|---|
| 1100; 900 | - | SP,SU; SU | mid | mid | 3 | 8 | 27 | 38 | -11 | -11 | none |
cl5HK
| Damage | Stun | Cancel | Guard | Parry | Startup | Active | Recovery | Total | Adv Hit | Adv Block | Invul |
|---|---|---|---|---|---|---|---|---|---|---|---|
| 1200; 1000 | - | SP, SU; SU | mid | mid | 4 | 7 | 23 | 34 | -6 | -6 | N/A |
Crouching Normals
2LP
| Damage | Stun | Cancel | Guard | Parry | Startup | Active | Recovery | Total | Adv Hit | Adv Block | Invul |
|---|---|---|---|---|---|---|---|---|---|---|---|
| 200 | - | RF, SP, SU | mid | mid | 3 | 4 | 6 | 13 | +7 | +7 | none |
2MP
| Damage | Stun | Cancel | Guard | Parry | Startup | Active | Recovery | Total | Adv Hit | Adv Block | Invul |
|---|---|---|---|---|---|---|---|---|---|---|---|
| 800 | - | SP,SU | mid | mid | 4 | 4 | 21 | 29 | -5 | -5 | N/A |
2HP
| Damage | Stun | Cancel | Guard | Parry | Startup | Active | Recovery | Total | Adv Hit | Adv Block | Invul |
|---|---|---|---|---|---|---|---|---|---|---|---|
| 1100, 800 | - | SP,SU; SU | mid | mid | 3 | 11 | 26 | 40 | -13 | -13 | N/A |
2LK
| Damage | Stun | Cancel | Guard | Parry | Startup | Active | Recovery | Total | Adv Hit | Adv Block | Invul |
|---|---|---|---|---|---|---|---|---|---|---|---|
| 200 | - | RF, SP, SU | low | low | 3 | 4 | 8 | +3 | +3 | - | N/A |
2MK
| Damage | Stun | Cancel | Guard | Parry | Startup | Active | Recovery | Total | Adv Hit | Adv Block | Invul |
|---|---|---|---|---|---|---|---|---|---|---|---|
| 700 | - | SU | low | low | 4 | 4 | 24 | 32 | -8 | -8 | N/A |
2HK
| Damage | Stun | Cancel | Guard | Parry | Startup | Active | Recovery | Total | Adv Hit | Adv Block | Invul |
|---|---|---|---|---|---|---|---|---|---|---|---|
| 1000 | - | SU | low | low | 6 | 3 | 35 | 44 | KND | -14 | - |
Air Normals
8LP
| Damage | Stun | Cancel | Guard | Parry | Startup | Active | Recovery | Total | Adv Hit | Adv Block | Invul |
|---|---|---|---|---|---|---|---|---|---|---|---|
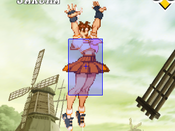
| 500 | - | - | - | - | 3 | 22 | - | - | - | - | - |
8MP
| Damage | Stun | Cancel | Guard | Parry | Startup | Active | Recovery | Total | Adv Hit | Adv Block | Invul |
|---|---|---|---|---|---|---|---|---|---|---|---|
| 800 | - | - | - | - | 4 | 8 | - | - | - | - | - |
8HP
| Damage | Stun | Cancel | Guard | Parry | Startup | Active | Recovery | Total | Adv Hit | Adv Block | Invul |
|---|---|---|---|---|---|---|---|---|---|---|---|
| 11100 | - | - | - | - | 7 | 5 | - | - | - | - | - |
8LK
| Damage | Stun | Cancel | Guard | Parry | Startup | Active | Recovery | Total | Adv Hit | Adv Block | Invul |
|---|---|---|---|---|---|---|---|---|---|---|---|
| 400 | - | - | - | - | 4 | 26 | - | - | - | - | - |
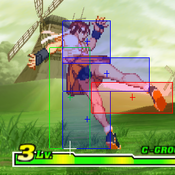
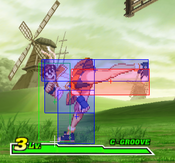
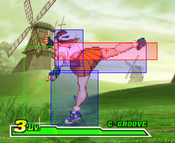
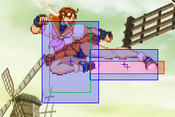
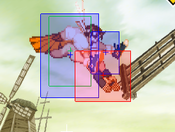
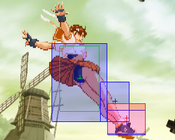
the hitbox visualisation doesn't do the incredible range of this move justice. this move gives sakura phenominal air to air and as a jump in, let her jump in from 2/3 distance for no good reason | |||||||||||
8MK
| Version | Damage | Stun | Cancel | Guard | Parry | Startup | Active | Recovery | Total | Adv Hit | Adv Block | Invul |
|---|---|---|---|---|---|---|---|---|---|---|---|---|
| 700 | - | - | - | - | - | 5 | 8 | - | - | - | - | - |
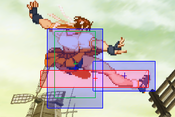
amazing cross up, this should be your go to normal for that application.
| ||||||||||||
8HK
| Damage | Stun | Cancel | Guard | Parry | Startup | Active | Recovery | Total | Adv Hit | Adv Block | Invul |
|---|---|---|---|---|---|---|---|---|---|---|---|
| 1000 | - | - | - | - | 8 | 12 | - | - | - | - | - |
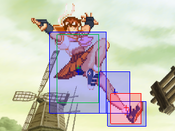
better jump in than JLK if your close enough, but lacks that moves incredible horizantal range | |||||||||||
command normals
8HK
| Damage | Stun | Cancel | Guard | Parry | Startup | Active | Recovery | Total | Adv Hit | Adv Block | Invul |
|---|---|---|---|---|---|---|---|---|---|---|---|
| 700 | - | none | H | H | 23 | 3 | 16 | 42 | +1 | +1 | - |
Special Moves
Fireball
DP
tatsu
tatsu follow up
otoishi
Dive kick
Super Moves
Fireball
dps
tatsu s
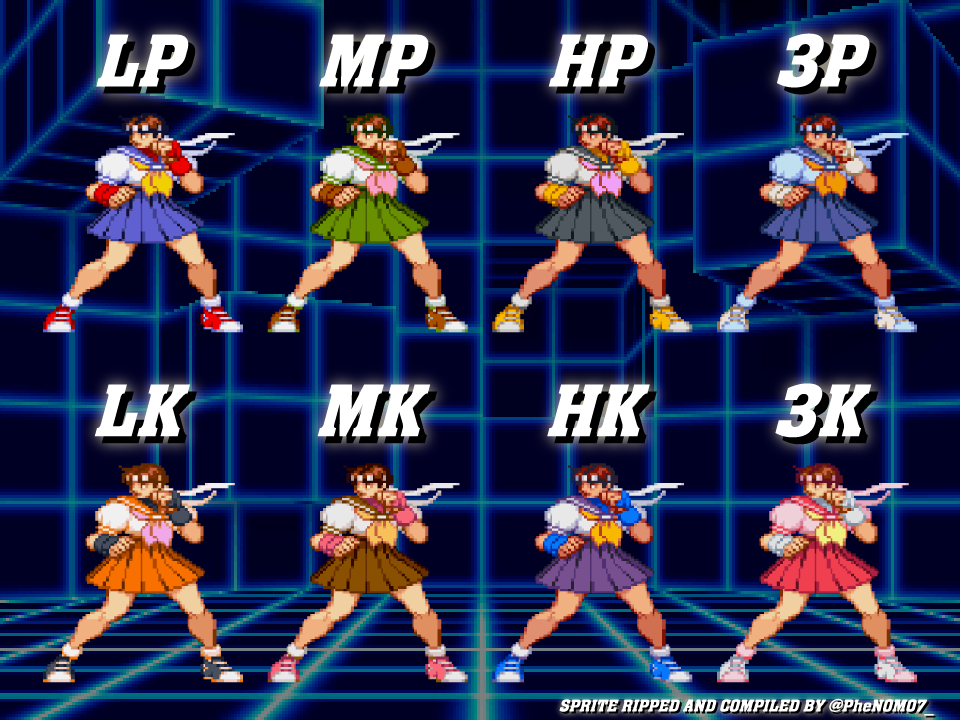
Colors
