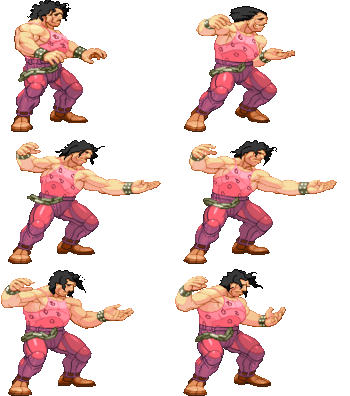
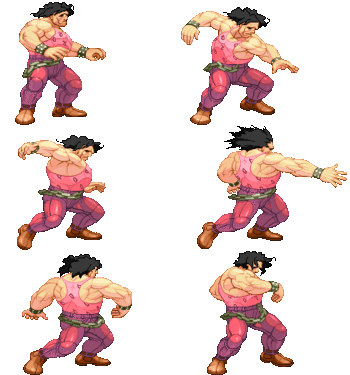
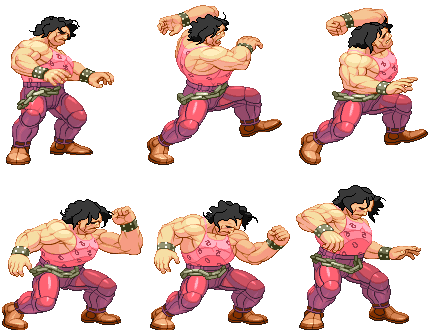
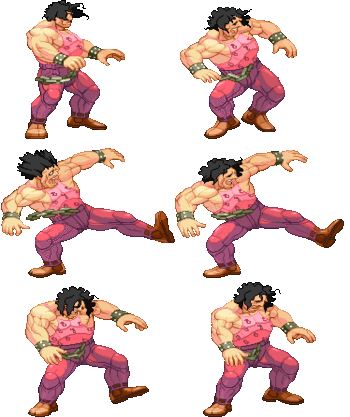
Street Fighter 3: 3rd Strike/Hugo/2021

From SuperCombo Wiki

Introduction

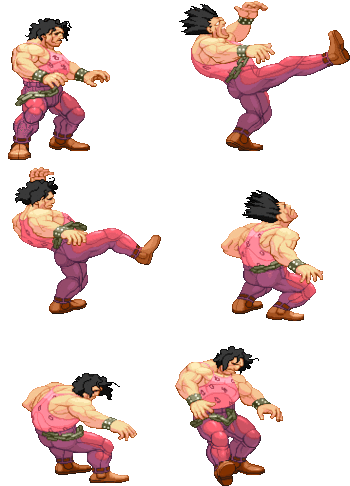
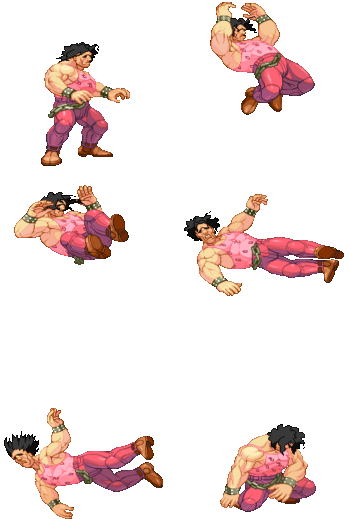
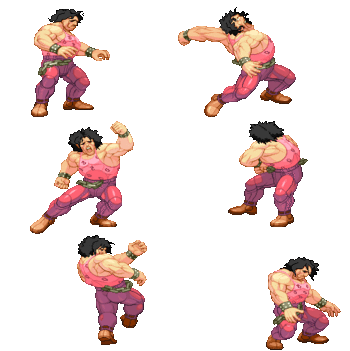
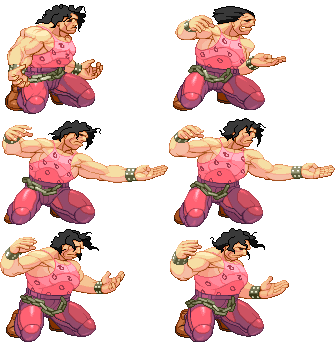
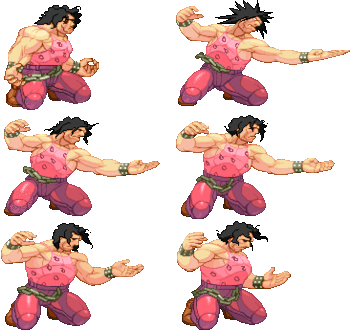
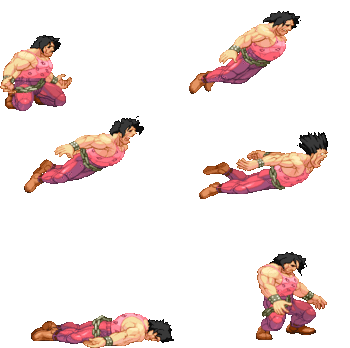
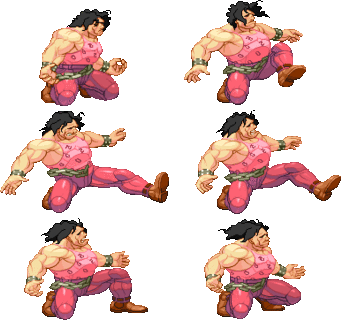
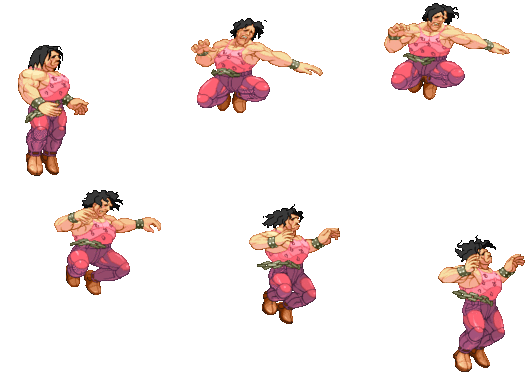
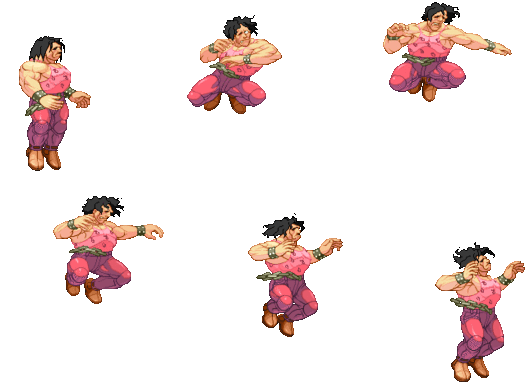
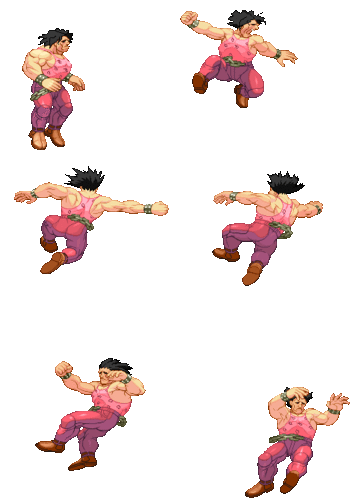
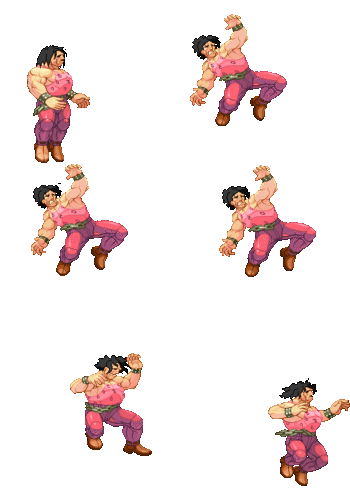
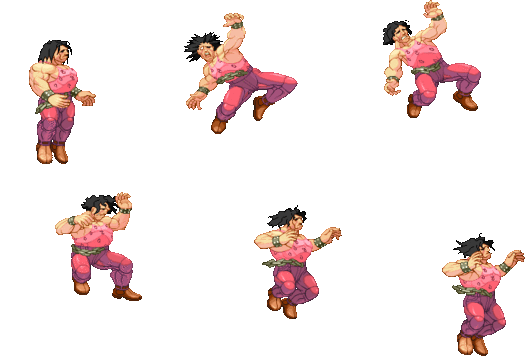
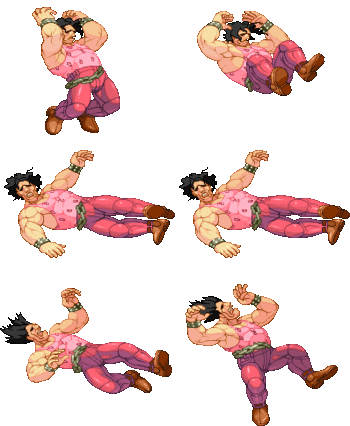
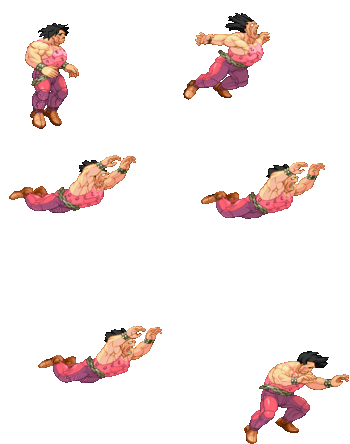
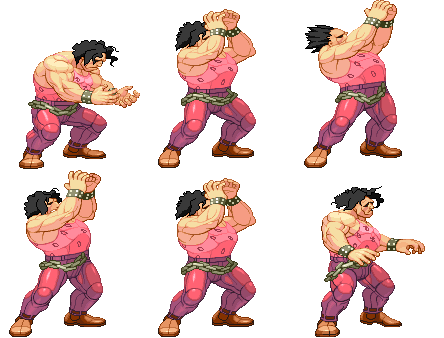
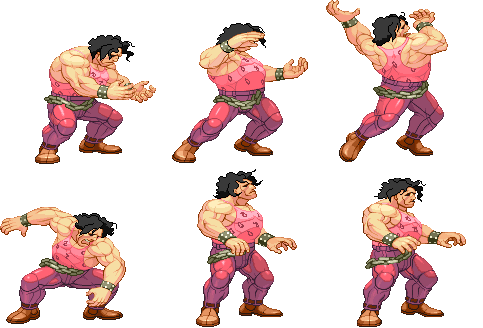
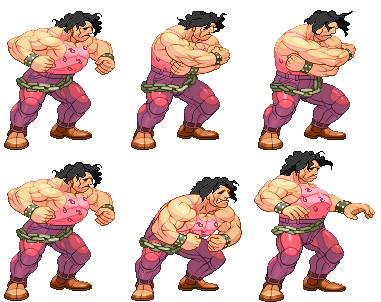
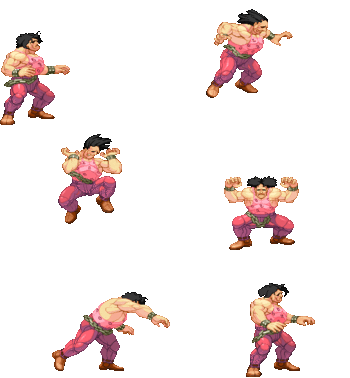
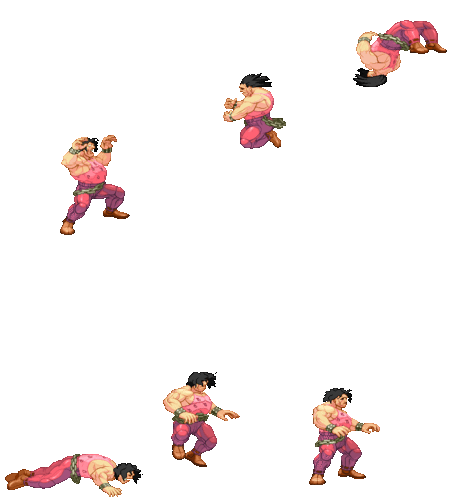
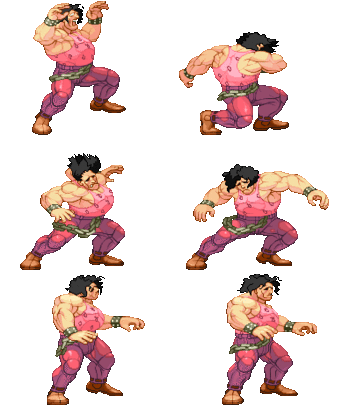
Hugo (or Andore as he was called in his initial debut as an enemy in the beat-em-up series Final Fight) is an ex-member of the Mad Gear Gang. His old gang now fallen, Hugo is determined to become the number one wrestler in the world, with his former gang member and long-time friend Poison as his manager. Hugo was first introduced to the Street Fighter series in Street Fighter III: 2nd Impact

Hugo is 3rd Strike's most straightforward grappler, moreso than Alex, and as such, requires exceptional patience to play. He can do an impressive amount of damage with only a few moves (theoretically capable of KOing Chun-Li with only 4 uses of his main command grab, the Moonsault Press), but his slow move speed and lack of ranged punish options makes getting his turn especially difficult. Hugo is also the largest character in 3rd Strike, meaning he has a big set of hurtboxes, and combined with his unsafe pokes makes him a sitting duck to a lot of hit-confirms.


Super Arts

SA1: Gigas Breaker

Gigas Breaker is great because it forces the opponent to play Hugo's game, lest they instantly lose half their health. Can be setup in a variety of ways including an SJ cancel A.K.A Tachi/standing gigas. It can also be buffered in a dash, but is mostly used in a situation where a parry or block can lead to fat ass damage. Drawbacks include a lack of combo-ability and loss of some EX potential. Hayao is arguably the best known SAI player, also notable is Eriho.

  • Does incredible damage.
  • Instant startup, beats many moves.
  • Usually takes close to or an entire round to fill the meter
  • If missed, Hugo is screwed.
  • Create unique dynamics in matches.
  • Free setups after, on opponent's wakeup.
  • Always be buffering 360 motions into your normals, jumps and other moves. This allows you to execute a second 360 on reaction, and thus Gigas on demand, without jumping.

SA2: Megaton Press

Megaton Press isn't used much, but can be used a lot like Gief's Aerial Russian Slam. It has very low priority and is hard to land versus an aware opponent. It can be used to counter characters who want to be in the air a lot, like Oro and Ibuki and force them to play a ground game. It can also be used after an ultra throw, and in the corner after ultra throw and a clap. Does decent damage and allows for EX uses, most people pass it up to have either the power of Gigas or the flexibility of Hammer Mountain.

  • Excellent damage if hit raw
  • If missed, Hugo is screwed.
  • Zero priority; loses to all jump-ins
  • Particularly affected by damage scaling

SA3: Hammer Mountain

Hammer Mountain is Hugo's most flexible SA. It deals decent damage, can be used on wakeup or to charge through poke strings and as a whiff punisher. Deals excellent stun damage. Can be comboed from claps, c.lks, j.hk, bodysplash, c.lk and allows for EX usage. It is one of two ways Hugo can deal big damage with a combo (the other is claps into EX clothesline). The best known SAIII player is YSB. Hammer mountain is the best choice if you want to player more hit-confirm based play-style, as opposed to the reactive style of Gigas.

  • Good damage output.
  • Has running/cancel gimmick, which is useful for longer range confirms.
  • Invincibility on startup, making it a true reversal.
  • Lots of moves that confirm into it
  • Tends to drop out if Hugo isn't right in the opponent's face.
  • Easily baitable and death on block or whiff.
  • Cheeky overhead
Strengths Weaknesses
  • Highest unbuffed health in the game, and with taunts that can increase it further, which leads to a long match in which the opponent makes more mistakes
  • Longest range light attacks in the game, and many pokes with very far reach. His pressure moves also reach fairly far
  • Excellent damage output and can take the round off of 2 to 3 right guesses.
  • Claps allow for tight and extremely versatile pressure and mix-ups, especially if it manages to knockdown.
  • very threatening with super, sa1 allows for tight and scary punishes, while sa3 is easily confirmable, corner carries well and has great range.
  • A third of his normals are nearly useless, leaving him with a bit of a limited toolset.
  • Slow pokes, making it difficult to whiff punish a lot of characters on reaction.
  • No consistent anti-airs
  • No true reversal outside of super, making it very hard for him to escape pressure if he starts a round on the back foot
  • Huge, tall hurtbox allows for unique combos and setups against him, and make certain moves that are trivial against other characters incredibly threatening for him.
  • Awful mobility, struggles to get in to start his pressure and his slow, floaty jump arc leaves him very vulnerable to anti airs.
  • Some characters have all the tools to easily and safely stay away from him.

Character Colors

(hcolor).gif
Hugo
#3S_HU
3S Hugo Art.png
Vitals
Life Points 1385
Stun Points 72
Super Art Stock/Size
SA1 1/128
SA2 2/112
SA3 2/88
Ground Movement
Forward Dash duration/distance 22 (80px)
Back Dash duration/distance 22 (69px)
Jumping
Back Jump duration 42(6+33+3)
Neutral Jump duration 44(6+35+3)
Forward Jump duration 43(6+34+3)
Back Super Jump duration 50(8+39+3)
Neutral Super Jump duration 49(8+38+3)
Forward Super Jump duration 50(8+39+3)
Wake up
Wake up duration 69
Quick rise duration 54
3S Frame Data Glossary
Active

How many frames a move remains active (can hurt opponents) for. Consecutive sets of active frames on a multi-hit move are separated by an asterisk (ex: 3*5). If there is a gap between sets of active frames, the gap is denoted by a number in parentheses (ex: 2(4)2)

Attack

Attack level is L for low attacks (must be blocked crouching), H is for High attacks (which can be blocked high or low) and M for overhead (must be blocked standing). T is for throw attacks (which cannot be blocked).

Cancel options

Available cancel options.

  • "ch": Chain cancel (into itself or another light attack), refer to description for options.
  • "self": Self-only chain cancel. Much more restrictive than a standard chain cancel.
  • "tc": Target combo, refer to description for options. Successive attacks in a target combo may warrant their own move entry.
  • "dash": Grounded dashes.
  • "sj": Super jump.
  • "sp": Special move.
  • "su": Super Art.
Damage

Attack damage on hit in life points. Notation may denote multi-hit or "sweet spot" damage values on certain frames.

Hit/Block

These are frame advantage values when the attack hits or is blocked. If the number is positive, then the move will end before the defender can act again. If the number is negative, the defender will be able to act before the attacker and maybe even punish. D refers to knockdown on hit.

"Cr. Hit" is an additional frame advantage value denoting if the advantage on hit changes when the defender is being hit while crouching.

Kara Range

Almost all normal attacks can be canceled into a special or a multi-button command within three frames of startup. During that time, some attacks will shift position forward or backward and affect the reach of the special or command accordingly. This is denoted in pixels of range. There are a handful of moves in the game that can be kara-canceled after this initial window and will be denoted as a late kara-cancel.

Link

A combo that is performed by inputting the second move after the first move has completely recovered (as opposed to cancelling the first move's animation). In 3S, the final frame of a move's hitstun allows a character to block a normal or special move, as well as some projectile supers. Therefore, an attack's frame advantage must be 2 frames greater than the followup move's startup in order to link. Ex: a +6 normal can link into a 4f normal/special, or a 5f super.

Parry

This field will show a value of A if the attack can be parried standing or crouching, H if it must be parried standing or L if it must be parried crouching.

Recovery

How many frames it takes for a move to finish after it's been active.

Startup

How many frames it takes before the move becomes 'active' or has a hitbox. 3S uses classic startup notation, which does not include the first active frame. A move with 3 startup becomes active on frame 4.

Stun

Amount of stun added to the opponent's stun bar on hit.

Throw range

Range in pixels from the center of the character to the center of the opponent which allows a grab to connect.

Frame Data

Standing Normals

5LP
Stand LP
Lp.png
(hugolp).gif
Startup Active Recovery Hit Cr. Hit
4 4 8 -1 -1
Damage Stun Guard Parry Block
6 5 - A -1
  • Cancel options: self
FATonline.png
5MP
Stand MP
Mp.png
(hugomp).gif
Startup Active Recovery Hit Cr. Hit
10 7 12 - 1
Damage Stun Guard Parry Block
21 13 - H -5
  • Self meter gain: Whiff: 2, Hit: 12, Block: 8.
  • Opponent meter gain: Whiff: 0, Hit: 3, Block: 0.
FATonline.png
5HP
Stand HP
Hp.png
(hugohp).gif
Startup Active Recovery Hit Cr. Hit
16 7 15 -1 1
Damage Stun Guard Parry Block
30 21 - H -3
  • Self meter gain: Whiff: 3, Hit: 21, Block: 11.
  • Opponent meter gain: Whiff: 0, Hit: 6, Block: 0.
FATonline.png
5LK
Stand LK
Lk.png
(hugolk).gif
Startup Active Recovery Hit Cr. Hit
5 4 9 1 1
Damage Stun Guard Parry Block
8 3 - A 1
  • Cancel options: sp su
FATonline.png
5MK
Stand MK
Mk.png
(hugomk).gif
Startup Active Recovery Hit Cr. Hit
9 6 23 1 3
Damage Stun Guard Parry Block
19 13 - H -4
  • 8 kara range
  • Self meter gain: Whiff: 2, Hit: 13, Block: 7.
  • Opponent meter gain: Whiff: 0, Hit: 3, Block: 0.
FATonline.png
5HK
Stand HK
Hk.png
(hugoshk).gif
Startup Active Recovery Hit Cr. Hit
21 8 28 -2 3
Damage Stun Guard Parry Block
26 19 - H -18
  • Self meter gain: Whiff: 3, Hit: 21, Block: 11.
  • Opponent meter gain: Whiff: 0, Hit: 6, Block: 0.
FATonline.png


Command Normals

6HP
Hammer Hook
F.png+Hp.png
(hugofhp).gif
Startup Active Recovery Hit Cr. Hit
14 4 33 4 4
Damage Stun Guard Parry Block
28 21 - H -14
  • Self meter gain: Whiff: 3, Hit: 21, Block: 11.
  • Opponent meter gain: Whiff: 0, Hit: 6, Block: 0.
FATonline.png


Crouching Normals

2LP
Crouch LP
D.png+Lp.png
(hugoclp).gif
Startup Active Recovery Hit Cr. Hit
4 3 8 -1 -1
Damage Stun Guard Parry Block
5 3 - A -1
  • Cancel options: self sp su
FATonline.png
2MP
Crouch MP
D.png+Mp.png
(hugocmp).gif
Startup Active Recovery Hit Cr. Hit
7 5 12 -1 -
Damage Stun Guard Parry Block
16 3 - A -2
  • Self meter gain: Whiff: 2, Hit: 12, Block: 8.
  • Opponent meter gain: Whiff: 0, Hit: 3, Block: 0.
FATonline.png
2HP
Crouch HP
D.png+Hp.png
(hugochp).gif
Startup Active Recovery Hit Cr. Hit
13 10 37 D D
Damage Stun Guard Parry Block
19 13 - A -29
  • 6 kara range
  • Self meter gain: Whiff: 3, Hit: 21, Block: 11.
  • Opponent meter gain: Whiff: 0, Hit: 6, Block: 0.
FATonline.png
2LK
Crouch LK
D.png+Lk.png
(hugoclk).gif
Startup Active Recovery Hit Cr. Hit
3 3 7 2 2
Damage Stun Guard Parry Block
7 3 - L 2
  • Cancel options: sp su
FATonline.png
2MK
Crouch MK
D.png+Mk.png
(hugocmk).gif
Startup Active Recovery Hit Cr. Hit
8 5 17 D D
Damage Stun Guard Parry Block
17 3 - L -5
  • Self meter gain: Whiff: 2, Hit: 12, Block: 8.
  • Opponent meter gain: Whiff: 0, Hit: 3, Block: 0.
FATonline.png
2HK
Crouch HK
D.png+Hk.png
(hugochk).gif
Startup Active Recovery Hit Cr. Hit
11 23 35 D D
Damage Stun Guard Parry Block
30 13 - A -43 ~ -18
  • Self meter gain: Whiff: 3, Hit: 21, Block: 11.
  • Opponent meter gain: Whiff: 0, Hit: 6, Block: 0.
FATonline.png


Jumping Normals

j.LP
Jump LP
U.png/Uf.png+Lp.png
(hugojlp).gif
Startup Active Recovery Hit Cr. Hit
4 11 - - -
Damage Stun Guard Parry Block
7 9 - H -
FATonline.png
j.MP
Jump MP
U.png/Uf.png+Mp.png
(hugojmp).gif
Startup Active Recovery Hit Cr. Hit
7 8 - - -
Damage Stun Guard Parry Block
17 13 - H -
  • Self meter gain: Whiff: 2, Hit: 12, Block: 8.
  • Opponent meter gain: Whiff: 0, Hit: 3, Block: 0.
FATonline.png
j.HP
Jump HP
U.png/Uf.png+Hp.png
(hugojhp).gif
Startup Active Recovery Hit Cr. Hit
12 5 - - -
Damage Stun Guard Parry Block
26 17 - H -
  • Self meter gain: Whiff: 3, Hit: 21, Block: 11.
  • Opponent meter gain: Whiff: 0, Hit: 6, Block: 0.
FATonline.png
j.LK
Jump LK
U.png/Uf.png+Lk.png
(hugojlk).gif
Startup Active Recovery Hit Cr. Hit
4 16 - - -
Damage Stun Guard Parry Block
10 7 - H -
FATonline.png
j.MK
Jump MK
U.png/Uf.png+Mk.png
(hugojmk).gif
Startup Active Recovery Hit Cr. Hit
6 7 - - -
Damage Stun Guard Parry Block
17 11 - H -
  • Self meter gain: Whiff: 2, Hit: 12, Block: 8.
  • Opponent meter gain: Whiff: 0, Hit: 3, Block: 0.
FATonline.png
j.HK
Jump HK
U.png/Uf.png+Hk.png
(hugojhk).gif
Startup Active Recovery Hit Cr. Hit
12 7 - - -
Damage Stun Guard Parry Block
23 15 - H -
  • Self meter gain: Whiff: 3, Hit: 21, Block: 11.
  • Opponent meter gain: Whiff: 0, Hit: 6, Block: 0.
FATonline.png
2HP (air)
Body Press
D.png+Hp.png (air)
(hugojdhp).gif
Startup Active Recovery Hit Cr. Hit
9 - - - -
Damage Stun Guard Parry Block
17 17 - H -
  • Self meter gain: Whiff: 3, Hit: 21, Block: 11.
  • Opponent meter gain: Whiff: 0, Hit: 6, Block: 0.
FATonline.png


Throws

LPLK (mash)
Neck Hanging Three
Lp.png+Lk.png (mash)
(hugonht).gif
Startup Active Recovery Hit Cr. Hit
2 1 21 D D
Damage Stun Guard Parry Block
21 27 - - -
  • 32 throw range
  • If the opponent is in the corner, Hugo can combo s.LP or cr.MP, depending on the character.
FATonline.png
4/6LPK
Body Slam
B.png/F.png+Lp.png+Lk.png
(hugobs).gif
Startup Active Recovery Hit Cr. Hit
2 1 21 D D
Damage Stun Guard Parry Block
28 12 - - -
  • 32 throw range
FATonline.png


Universal Overhead

MPMK
Knee Attack
Mp.png+Mk.png
Startup Active Recovery Hit Cr. Hit
15 10 5 0 ~ +8 1 ~ +9
Damage Stun Guard Parry Block
7 3 - H -5 ~ +2
FATonline.png


Taunts

HPHK
Intimidation
Hp.png+Hk.png
(hugotaunt).gif
Startup Active Recovery Hit Cr. Hit
- - - - -
Damage Stun Guard Parry Block
- - - - -
  • Unheld taunt - Increases damage for the next hit/combo (not throw) by 18.8% (maximum 1 taunt). Also increases defense for the rest of the round by 6.3% per taunt (maximum 4 taunts, 25% bonus)
  • Held taunt - Increases damage for the next hit/combo/throw by 25%. One taunt is the maximum.
FATonline.png
STHPHK
Intimidation + Poison Taunt
Hp.png+Hk.png+(Start)
(hugotauntpoison).gif
Startup Active Recovery Hit Cr. Hit
- - - - -
Damage Stun Guard Parry Block
- - - - -
  • If this taunt is used, no bonus effect is applied
FATonline.png


Special Moves

623K
Shootdown Backbreaker
Dp.png+K.png
(hugosbb).gif
Lk.png/Mk.png/Hk.png
LK Startup Active Recovery Hit Cr. Hit
5 9 30 - -
Damage Stun Guard Parry Block
32 14 - - -
  • 34 throw range
  • Self meter gain: Whiff: 2, Hit: 31, Block: ---.
  • Opponent meter gain: Whiff: 0, Hit: 8, Block: ---.
FATonline.png
MK Startup Active Recovery Hit Cr. Hit
17 10 25 - -
Damage Stun Guard Parry Block
32 14 - - -
  • 39 throw range
  • Self meter gain: Whiff: 2, Hit: 31, Block: ---.
  • Opponent meter gain: Whiff: 0, Hit: 8, Block: ---.
FATonline.png
HK Startup Active Recovery Hit Cr. Hit
12 12 29 - -
Damage Stun Guard Parry Block
32 14 - - -
  • 30 throw range
  • Self meter gain: Whiff: 2, Hit: 31, Block: ---.
  • Opponent meter gain: Whiff: 0, Hit: 8, Block: ---.
FATonline.png
4268P
Moonsault Press
360.png+P.png
(hugomsp).gif
Lp.png/Mp.png/Hp.png
LP Startup Active Recovery Hit Cr. Hit
2 2 36 - -
Damage Stun Guard Parry Block
42 18 - - -
  • 44 throw range
  • Self meter gain: Whiff: 2, Hit: 31, Block: ---.
  • Opponent meter gain: Whiff: 0, Hit: 8, Block: ---.
FATonline.png
MP Startup Active Recovery Hit Cr. Hit
2 2 36 - -
Damage Stun Guard Parry Block
45 18 - - -
  • 38 throw range
  • Self meter gain: Whiff: 2, Hit: 31, Block: ---.
  • Opponent meter gain: Whiff: 0, Hit: 8, Block: ---.
FATonline.png
HP Startup Active Recovery Hit Cr. Hit
2 2 36 - -
Damage Stun Guard Parry Block
49 18 - - -
  • 32 throw range
  • Self meter gain: Whiff: 2, Hit: 31, Block: ---.
  • Opponent meter gain: Whiff: 0, Hit: 8, Block: ---.
FATonline.png
4268K
Meat Squasher
360.png+K.png
(hugomsquasher).gif
Lk.png/Mk.png/Hk.png
LK Startup Active Recovery Hit Cr. Hit
21 ~ 24 2 30 - -
Damage Stun Guard Parry Block
28 13 - - -
  • Very hard to connect, but if doing well, Hugo takes the opponent and puts them cornered in a side of the screen, and here's when Hugo can take advantage of the match. It doesn't do a lot of damage, but setups the opponent for you. Use the LK version inmediately after a Body Press or when enemy likes to crouch in the middle of the screen, after a succesful parry from an air attack, or during a parry on a ground attack. In those cases you can also do a Moonsault Press for the punish, but depend of your mixup game, the desicion is yours to decide which attack you want to do, corner the enemy or punish him with a Moonsault. During the frames Hugo is running towards in this move, he cannot be throwed by regular throws, but he can be throw during the startup before running.
  • 32 throw range
  • Self meter gain: Whiff: 2, Hit: 31, Block: ---.
  • Opponent meter gain: Whiff: 0, Hit: 8, Block: ---.
FATonline.png
MK Startup Active Recovery Hit Cr. Hit
31 ~ 52 2 33 - -
Damage Stun Guard Parry Block
28 13 - - -
  • 32 throw range
  • Self meter gain: Whiff: 2, Hit: 31, Block: ---.
  • Opponent meter gain: Whiff: 0, Hit: 8, Block: ---.
FATonline.png
HK Startup Active Recovery Hit Cr. Hit
44 ~ 67 2 36 - -
Damage Stun Guard Parry Block
28 13 - - -
  • 32 throw range
  • Self meter gain: Whiff: 2, Hit: 31, Block: ---.
  • Opponent meter gain: Whiff: 0, Hit: 8, Block: ---.
FATonline.png
63214+P
Giant Palm Bomber
Qcb.png+P.png
(hugogpb).gif
Lp.png/Mp.png/Hp.png
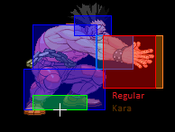
Handy infographic2.png
hitbox infographic
(hugogpbex).gif
Ex.png
LP Startup Active Recovery Hit Cr. Hit
17 2 9 13 15
Damage Stun Guard Parry Block
19 15 - H 11
  • Cancel options: su
  • Self meter gain: Whiff: 3, Hit: 22, Block: 12.
  • Opponent meter gain: Whiff: 0, Hit: 6, Block: 0.
FATonline.png
MP Startup Active Recovery Hit Cr. Hit
19 2 7 18 20
Damage Stun Guard Parry Block
22 17 - H 16
  • Cancel options: su
  • Self meter gain: Whiff: 3, Hit: 22, Block: 12.
  • Opponent meter gain: Whiff: 0, Hit: 6, Block: 0.
FATonline.png
HP Startup Active Recovery Hit Cr. Hit
22 2 6 21 23
Damage Stun Guard Parry Block
24 19 - H 19
  • Cancel options: su
  • Self meter gain: Whiff: 3, Hit: 22, Block: 12.
  • Opponent meter gain: Whiff: 0, Hit: 6, Block: 0.
FATonline.png
EX Startup Active Recovery Hit Cr. Hit
22 3 10 - -
Damage Stun Guard Parry Block
36 12 - H 10
  • Cancel options: su
  • Self meter gain: Whiff: -40, Hit: -40, Block: -40.
  • Opponent meter gain: Whiff: 0, Hit: 0, Block: 0.
FATonline.png
236K
Monster Lariat
Qcf.png+K.png
(hugoml).gif
Lk.png/Mk.png/Hk.png
(hugomlex).gif
Ex.png
LK Startup Active Recovery Hit Cr. Hit
11 5 21 ~ 25 - -
Damage Stun Guard Parry Block
26 11 - H -8
  • Self meter gain: Whiff: 3, Hit: 18, Block: 12.
  • Opponent meter gain: Whiff: 0, Hit: 4, Block: 0.
FATonline.png
MK Startup Active Recovery Hit Cr. Hit
15 5 23 ~ 27 - -
Damage Stun Guard Parry Block
28 13 - H -10
  • Self meter gain: Whiff: 3, Hit: 18, Block: 12.
  • Opponent meter gain: Whiff: 0, Hit: 4, Block: 0.
FATonline.png
HK Startup Active Recovery Hit Cr. Hit
24 5 24 ~ 28 - -
Damage Stun Guard Parry Block
30 15 - H -11
  • Self meter gain: Whiff: 3, Hit: 18, Block: 12.
  • Opponent meter gain: Whiff: 0, Hit: 4, Block: 0.
FATonline.png
EX Startup Active Recovery Hit Cr. Hit
6 6 31 ~ 35 - -
Damage Stun Guard Parry Block
24 13 - H -22
  • Self meter gain: Whiff: -40, Hit: -40, Block: -40.
  • Opponent meter gain: Whiff: 0, Hit: 0, Block: 0.
FATonline.png
63214K
Ultra Throw
Hcb.png+K.png
(hugout).gif
Lk.png/Mk.png/Hk.png
LK Startup Active Recovery Hit Cr. Hit
7 2 36 - -
Damage Stun Guard Parry Block
12 7 - - -
  • 23 throw range
  • Self meter gain: Whiff: 2, Hit: 20, Block: ---.
  • Opponent meter gain: Whiff: 0, Hit: 4, Block: ---.
FATonline.png
MK Startup Active Recovery Hit Cr. Hit
7 2 36 - -
Damage Stun Guard Parry Block
12 7 - - -
  • 23 throw range
  • Self meter gain: Whiff: 2, Hit: 20, Block: ---.
  • Opponent meter gain: Whiff: 0, Hit: 4, Block: ---.
FATonline.png
HK Startup Active Recovery Hit Cr. Hit
7 2 36 - -
Damage Stun Guard Parry Block
12 7 - - -
  • 23 throw range
  • Self meter gain: Whiff: 2, Hit: 20, Block: ---.
  • Opponent meter gain: Whiff: 0, Hit: 4, Block: ---.
FATonline.png


Super Arts

42684268P
Gigas Breaker
360.png360.png+P.png
(hugosa1).gif
Startup Active Recovery Hit Cr. Hit
1+0 2 36 - -
Damage Stun Guard Parry Block
102 18 - - -
  • 55 throw range
  • 1f of startup happens before the super flash, making it impossible to escape by jumping on reaction
  • If final hit will inflict fatal damage and timer hits 00 near the peak of the final leap, game time-out will be disabled
FATonline.png
236236K (SA2)
Megaton Press
Qcf.pngQcf.png+K.png (SA2)
(hugosa2).gif
Lk.png/Mk.png/Hk.png
LK Startup Active Recovery Hit Cr. Hit
3 12 30 - -
Damage Stun Guard Parry Block
75 27 - - -
  • 51 throw range
FATonline.png
MK Startup Active Recovery Hit Cr. Hit
5 16 34 - -
Damage Stun Guard Parry Block
75 27 - - -
  • 51 throw range
FATonline.png
HK Startup Active Recovery Hit Cr. Hit
6 20 36 - -
Damage Stun Guard Parry Block
75 27 - - -
  • 51 throw range
FATonline.png
236236P (SA3)
Hammer Frenzy
Qcf.pngQcf.png+P.png (SA3)
(hugosa3).gif
Startup Active Recovery Hit Cr. Hit
5 18 47 - -
Damage Stun Guard Parry Block
64 24 - A -29
FATonline.png

3S Navigation

General
Controls
Notation
HUD
Glossary
System
FAQ
Characters
Akuma
Alex
Chun-Li
Dudley
Elena
Hugo
Ibuki
Ken
Makoto
Q
Necro
Oro
Remy
Ryu
Sean
Twelve
Urien
Yang
Yun
Gill